
To Create a Note in Outlook
- Go and click on “Three dots” at the left bottom of Outlook.
- Click “Notes” > Choose “New Note” > “Write your Note“.
Today, we will learn how to create a note in Outlook. Notes are the perfect source to add quick tasks that you can use to respond to different types of emails. You just need to do is copy-paste the text from here.
If you are finding a way to create a sticky note in Outlook then here is a complete guide below on how to create a note in Outlook.
Importance of Creating a Note in Outlook
Checking emails is a tough part of daily routine but your life can be easier by using Outlook Notes. While using Outlook, you may need to write posts, passwords, meetings, emails, essential things to include in an email, and more. Sticky Notes can save you that extra time and effort.
Moreover, you can also use these notes to keep track of the feedback you receive to improve your work.
How to Create a Note in Outlook?
The procedure of creating a note in Outlook is easy, just you will have to launch Outlook’s Notes then you can create a Note in Outlook with just one click. In this tutorial, we will also show you the shortest way to create a note in Outlook with the help of a shortcut key. Let me show you practically in the following section.
- Create a Note in Outlook manually
- Create a Note in Outlook With a shortcut key
Create a Note in Outlook – Manual Method
In this process, you will have to access Outlook Notes first and then can create a Note by clicking on the “New Note” button.
Step 1
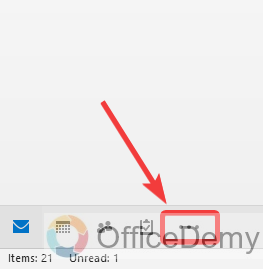
When you open Microsoft Outlook, first you see an email window in front of you. To create a Note in Outlook, you will have to switch to Outlook Notes. Look at the left bottom navigation bar of Outlook. You will find the three dots option, click on it to open it.
Step 2
When you click on this three dots option, a small pop-up menu will open where you will see the “Notes” tab. Click on this “Notes” tab to open Outlook Notes.

Step 3
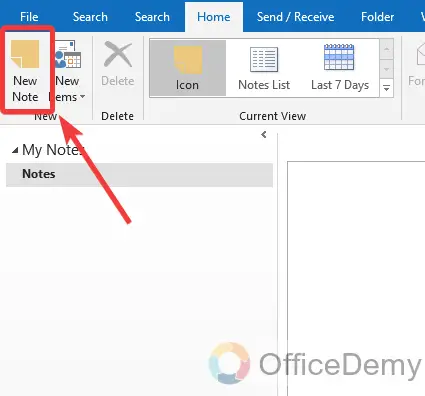
As you click on the “Notes” tab, you will be redirected to the Outlook Notes window. To create a Note in Outlook, click on the “New Note” button located at the left top corner of the window as highlighted below.
Step 4
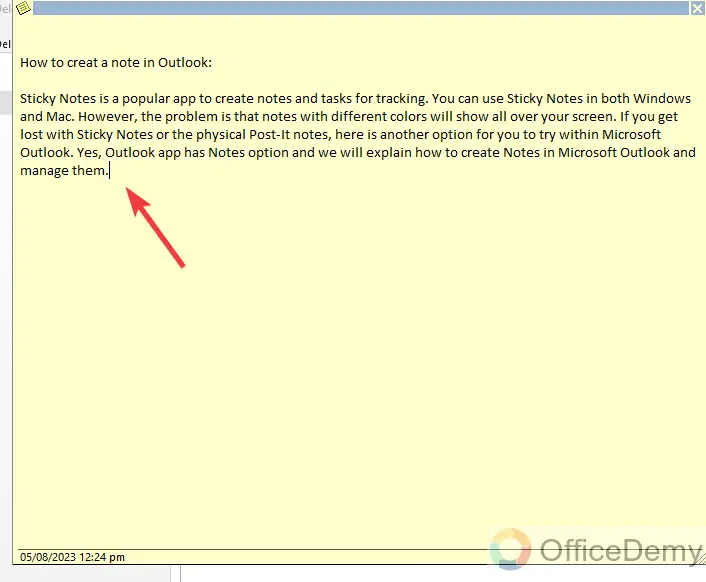
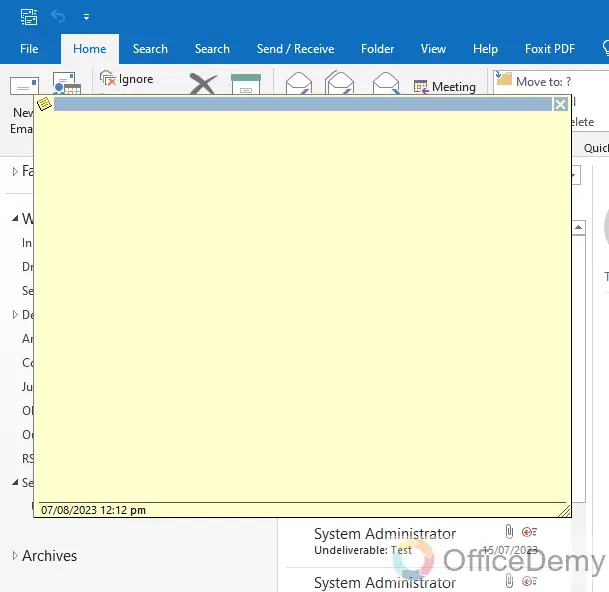
As you click on the “New Note” button, a new notepad will appear in front of you as can be seen in the following picture, create your note here and write anything you want to add to your note.
Step 5
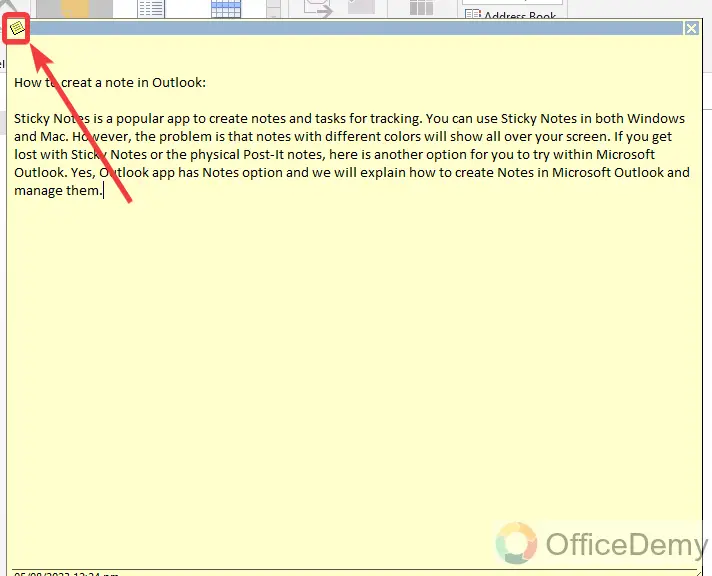
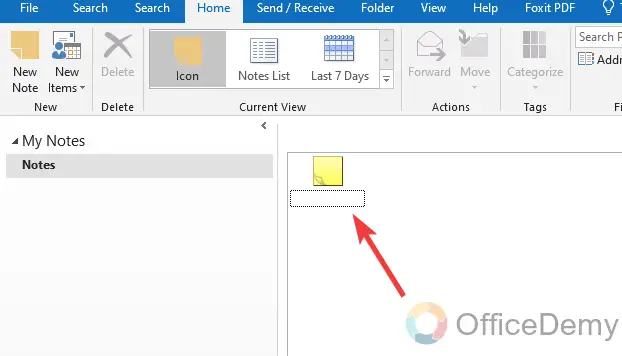
Once you have completed creating a note, now you will have to save it to your Outlook. To save a Note, click on a left top corner icon consisting of a small yellow note as can be seen in the following picture.
Step 6
When you click on this small icon, a drop-down menu will drag down with some options, in these options you will see the “Save as” option at first. Click on it to save your Outlook note.

Step 7
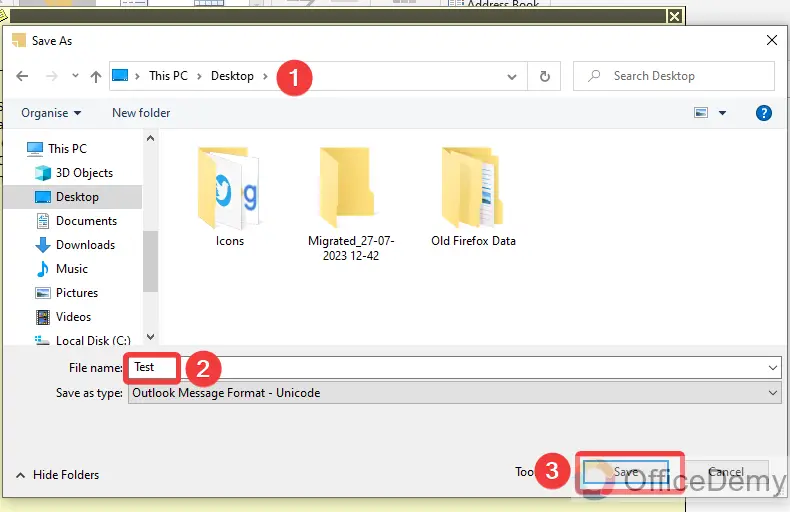
Clicking on the “Save as” button will result in you an ee pop-up window, on this window first select the destination for your file to be saved, then give a file name to your Note and then finally click on the “Save” button to save your Outlook note.
Step 8
As you can see from the result in front of you, your Note has been created and has been saved in Outlook. In this way, you can create any Note in Outlook.
Create a Note in Outlook – Shortcut Key
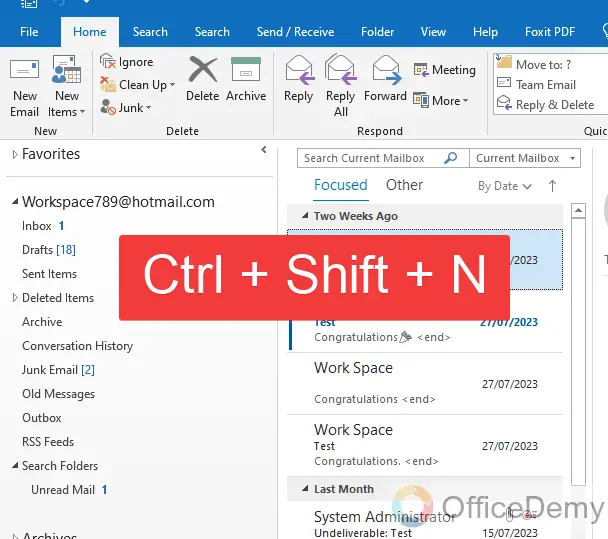
As we all know Outlook is not just for sending and receiving emails, it comes with hundreds of features in it with shortcut ways. Similarly, there is a very handy way of creating a note in Outlook by pressing a shortcut key. Because Notes may be the choice suddenly for any user. Then in that case just press Ctrl + Shift + N, and a sticky notepad will appear in front of you in a jiffy. Let me show you practically in the following steps.
Step 1
Step 2
Frequently Asked Questions
Can I Share a Contact List in Outlook After Creating a Note?
Yes, you can share outlook contacts after creating a note. Simply select the contact list or specific contacts you want to share, click on the Share button, and choose the desired sharing method. With this feature, collaborating and keeping your colleagues up-to-date becomes easier than ever.
How to delete a Note in Outlook?
Notes are usually used for remembering some important information regarding any project, tasks, to-do list, activities, events, confidential data, etc. But once they end these sticky notes may be useless for you. Then what to do? You should remove them from your Outlook, so to delete a note in Outlook follow the following steps.
Step 1
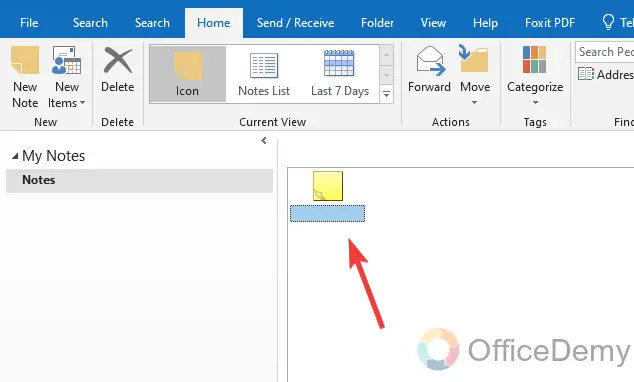
First, open Outlook Notes from the Outlook’s navigation bar to manage Outlook notes. When you open the Outlook notes window, you will see all your saved notes in front of you. Select the note that you want to delete.
Step 2
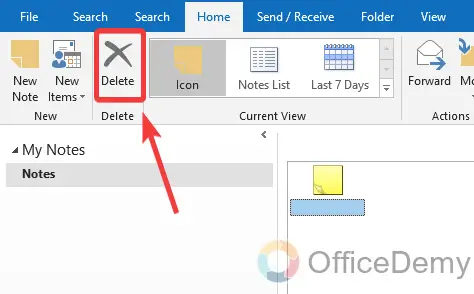
After selecting the note, click on the “Delete” button located just in front of you in the home tab as can be seen in the following picture as well. As you click on this “Delete” button, your note will instantly be removed from the list.
How to categorize your Notes in Outlook?
If you are creating notes with different material like email, contacts, events, meetings, etc. Then it may be difficult to find a specific note for one category. But Outlook has resolved this panic by providing a Categorize option in Outlook Notes. Now you can categorize your notes in different categories with color or name so that you can easily find the note you are looking for. With the help of the following steps, you can categorize your notes in Outlook.
Step 1
To categorize your notes in Outlook, first open the Outlook Notes window to manage them, then select the note that you want to categorize by just clicking once on it.

Step 2
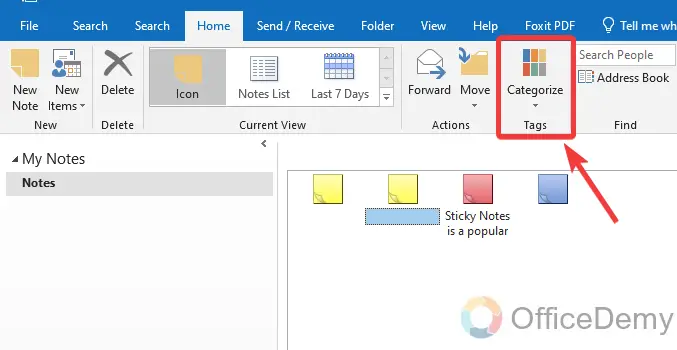
After selecting the note, look into the Home Ribbon, you will see an option for “Categorize” as highlighted in the following picture.
Step 3
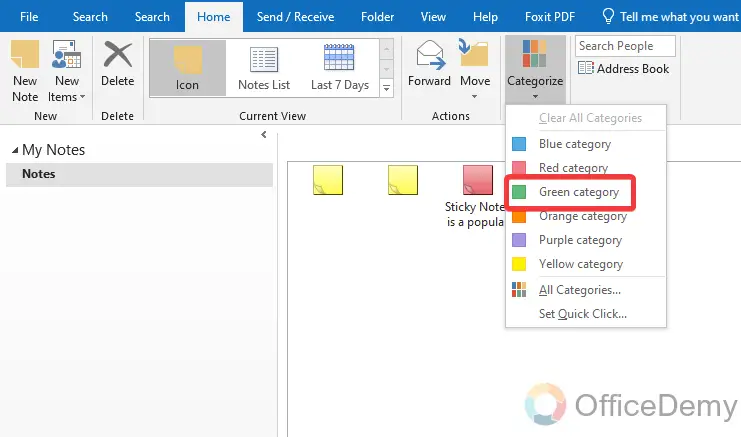
When you click on this “Categorize” option, a drop-down menu will open with different categories by colors. Select the color in which category you want to add your note.
Step 4
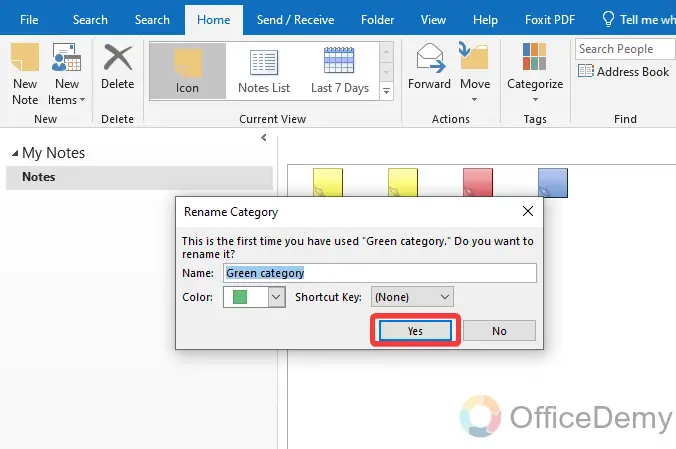
If you use a category for the first time, then the following pop-up will appear in front of you, where it will ask you to name your category, color, and shortcut key (if you want to add) then click on the “OK” button to add your note in the specified category.
Step 5
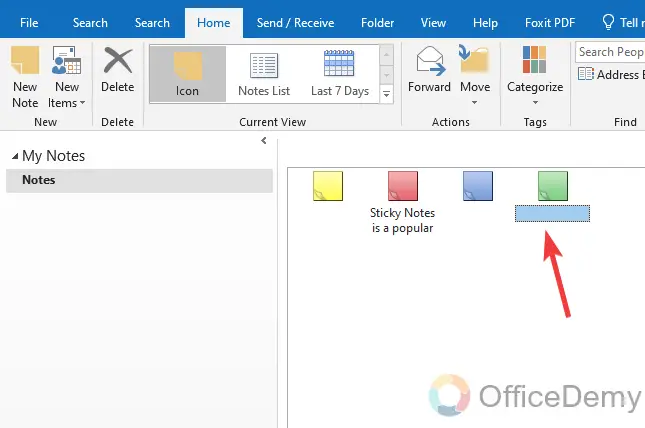
As you can see from the result in the following screenshot, the selected note has been categorized with green color.
How to share a note in Outlook email?
Outlook offers you to add these sticky notes to an email for sharing. You can store and display information that you use frequently, and unlike sticky notes that you stick to your monitor, they don’t fall off. You can directly attach Notes to an email to send to coworkers or clients to share information. If you also want to share your sticky note with an email, then you can directly share it via email in Outlook. Follow the following instructions to share a note in Outlook.
Step 1
First open Outlook Notes, you will see all your saved notes in front of you, select the note that you want to share with email as I have selected in the following example.

Step 2
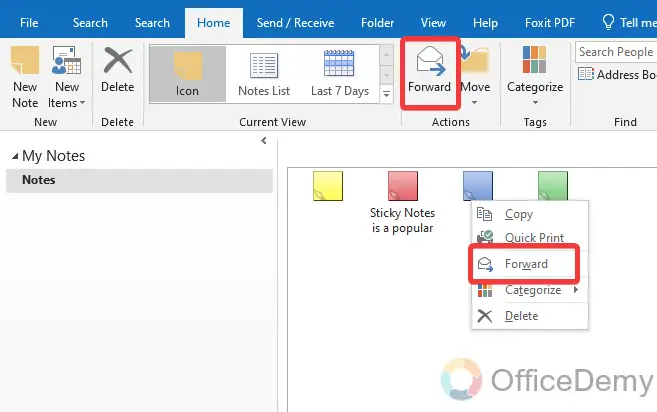
After selecting the Note, press the right click of the mouse on it, and a small drop-down menu where you will find a “Forward” option you can also find this “Forward” option in the Home Ribbon as highlighted in the following picture.
Step 3
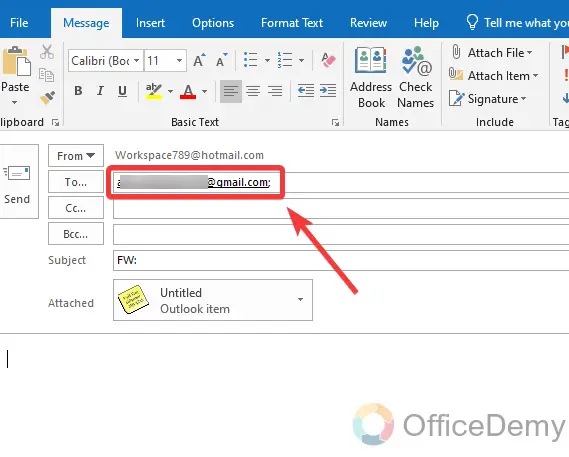
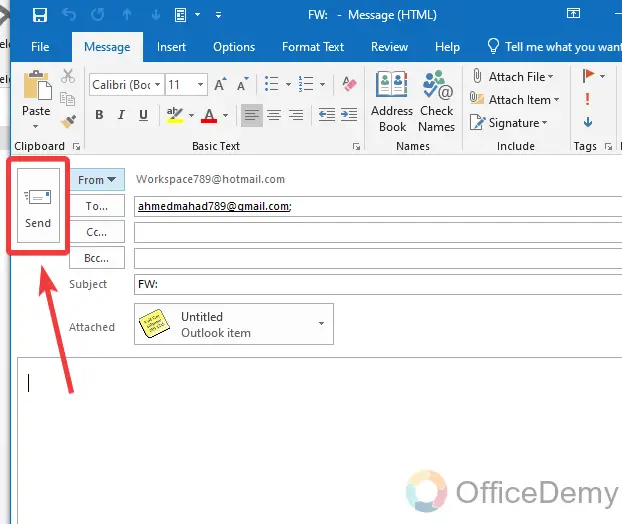
As you click on the “Forward” button, you will be automatically directed to the email window with the attached note file. Now put the recipient in the To field to whom you want to send this note.
Step 4
Once your email has been completed, click on the “Send” button to share this note with the email.
Conclusion
That’s all about how to create a note in Outlook. Emails might be time taking, Hence, using a feature like Notes can help you send and respond to them faster than before. Hope with the help of the above article on how to create a note in Outlook. You would be familiar enough with these sticky notes.


