
To Share a Contact List in Outlook
- Go to “People” > Select all contacts.
- Right-click and choose “Forward“.
- Add recipients> Share all contacts as an email attachment.
OR
- Go to “New Email“.
- Select “Attach items” from the “Include” group.
- Select “Business Card“.
- Select a contact as a business card.
- Tap “Ok” > Click “Send“
In this article, we will learn how to share a contact list in Outlook Microsoft Outlook is an application that’s used mainly to send and receive emails. But it’s also used to manage various types of personal data including calendar appointments, tasks, and contacts. The Contact’s folder is a built-in folder in on-premises Exchange Server and Microsoft 365. Like the Calendar folder, this folder has a special view in Outlook.
If you want to share this contact list in Outlook, I have brought you a complete tutorial on how to share a contact list in Outlook you can learn how to share a contact list in Outlook.
Importance of Sharing a Contact List in Outlook
Let’s suppose you are working for an organization and you have a task to share a long list of contacts in Outlook, then what will you do? You should learn the following article on how to share a contact list in Outlook.
With this article, you can share contacts from your contacts folder. The contact feature in Outlook enables you to share any data or information with multiple users. Contact lists in Outlook allow you to send the same message to different people without having to add each recipient individually.
Let’s move towards the next section of the article in which we will learn step by step a complete guide of how to share a contact list in Outlook.
How to Share a Contact List in Outlook
You can share a list of contacts in Outlook by these two following methods.
- Sharing a contact list from Outlook contacts
- Sharing a contact list through a business card
Share a Contact List in Outlook – From Outlook contacts
In this method, we will use the Outlook contacts folder to share the contacts list by selecting them. The following steps will give you more description step by step.
Step 1
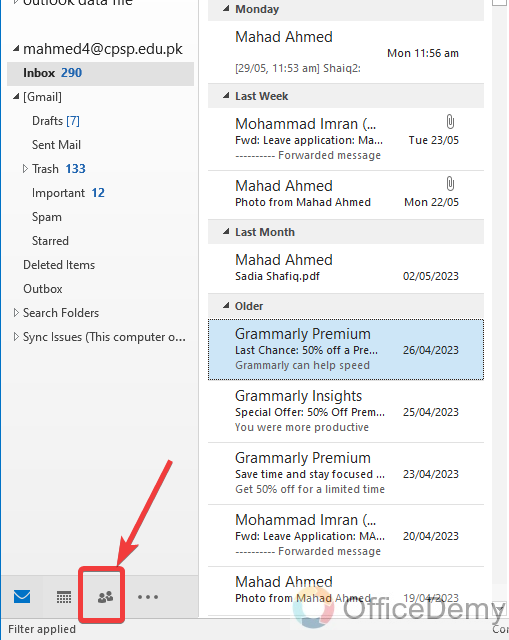
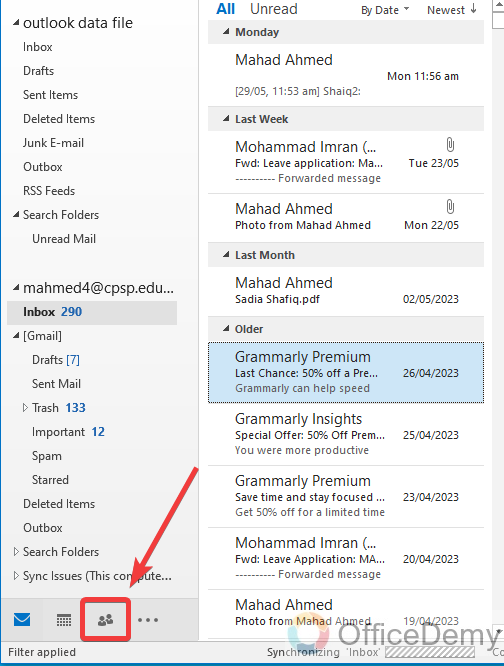
When you open Microsoft Outlook, by default it displays the emails first in the Outlook window. As we must share a contact list, we will have to go into Outlook’s contacts gallery. It’s very simple to open Outlook’s contacts, just press the icon for contacts located just below the email folders trees at the left bottom side of the window.
Step 2
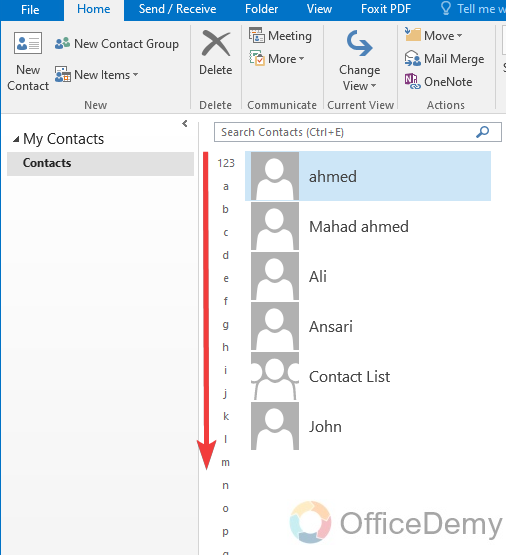
When you click once on the contact icon, here it will display in front of you all contacts from where you can easily share these contacts.
Step 3
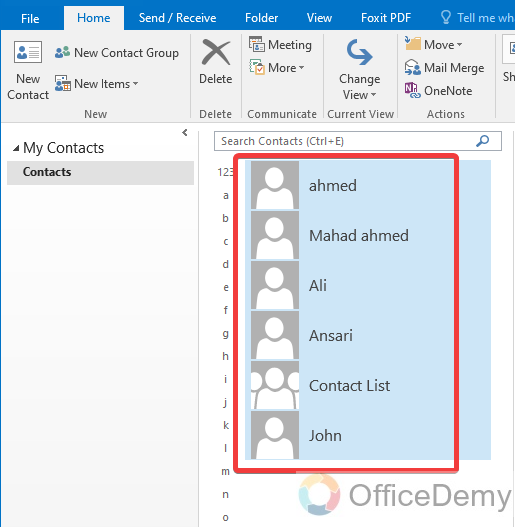
As we need to share a whole list of contacts, here I am selecting all those contacts which I want to share. You can select these contacts together with a mouse click while holding the CTRL key on the keyboard.
Step 4
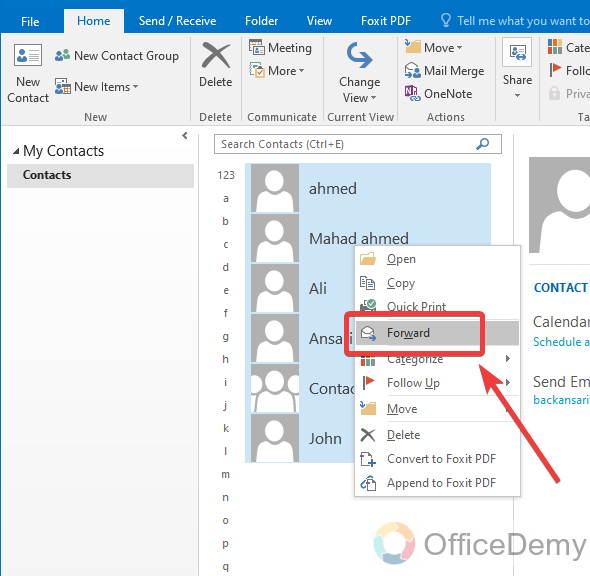
Once you are done with selecting all those contacts which you want to share, then press the right click of the mouse on it, then you will see a “Forward” button in the drop-down menus. This Forward button will lead you to a new email window with these contacts attached so that you will be able to share this contact list via email.
Step 5
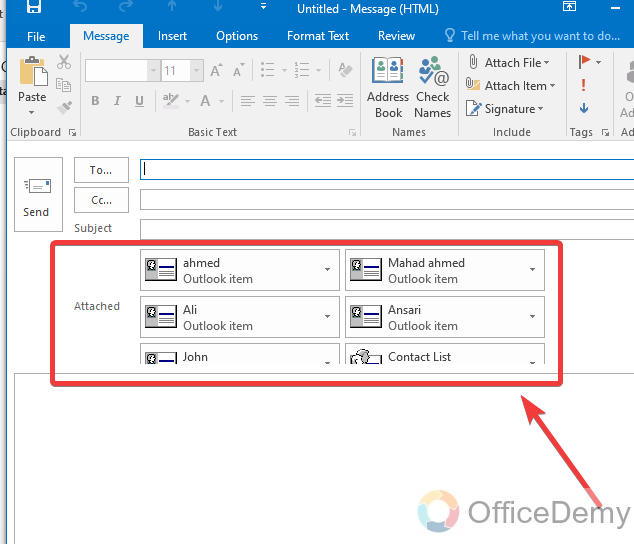
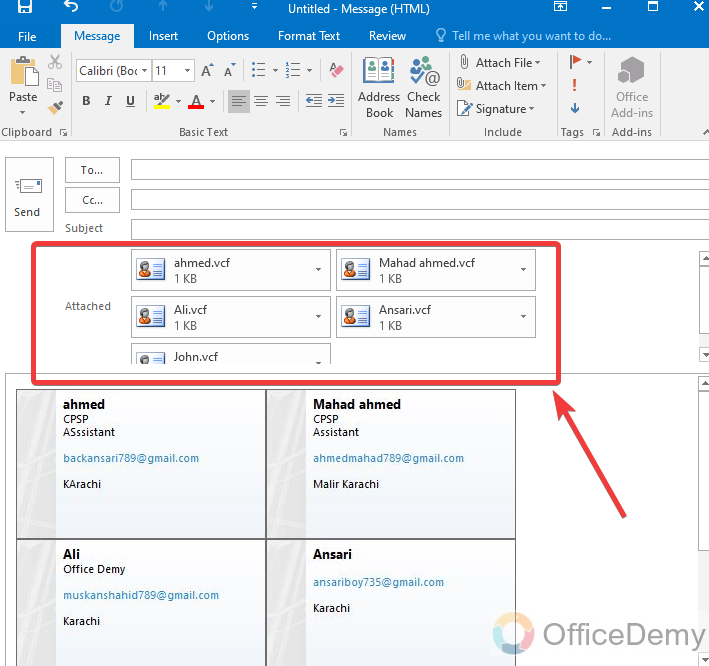
As I have said above, here is a new email window in front of you with the attachment of all the contacts which we need to share.
Step 6
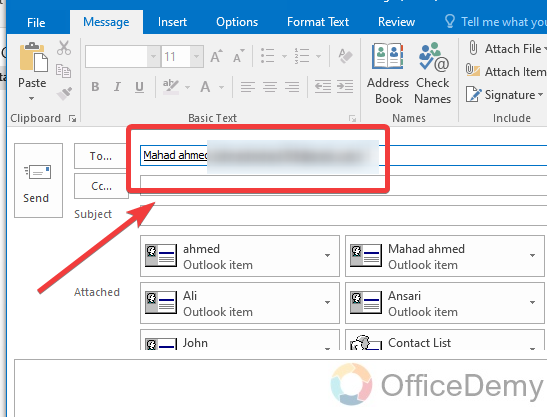
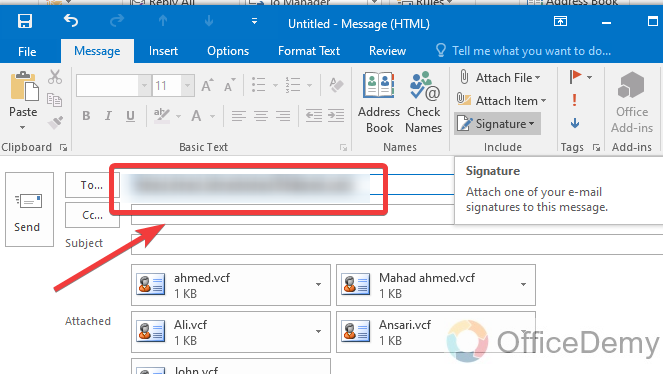
Now it’s time to share this contact list with those you want to share. Put the email of the person with whom you want to share your contact list in the dialogue box as I have entered below.
Step 7
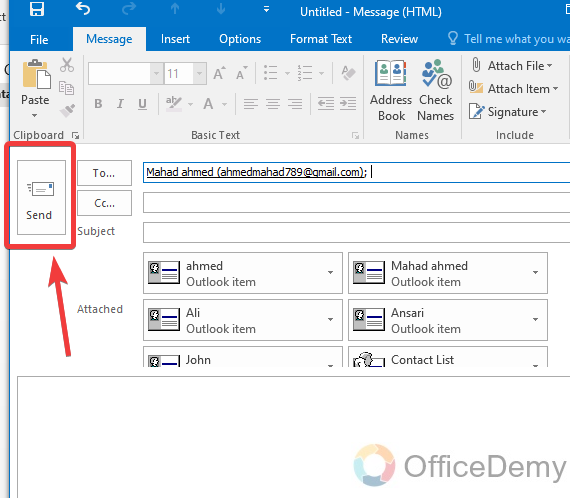
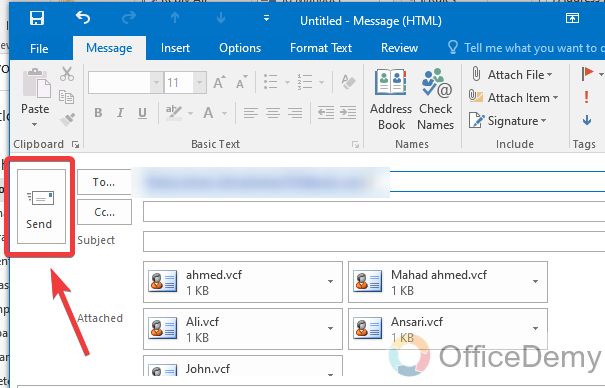
We are almost done at all, if anything else you want to add to your email like cc, bcc, and subject line, or any attachment then you can attach. Otherwise, just press the “Send” button to finish the procedure of sharing a contact list in Outlook. Your all contacts will be delivered to the person within seconds.
Share a Contact List in Outlook – Through a business card
In this method, we will attach contacts directly to the email via a business card.
Step 1
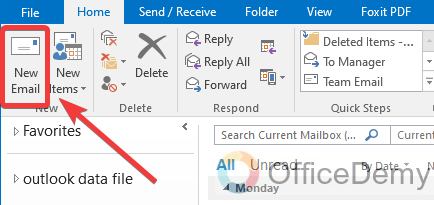
In this method, first, we will take a new email with the “New Email” button. This New Email button can be found in the home tab of the menu bar at the left corner of the ribbon as highlighted below.
Step 2
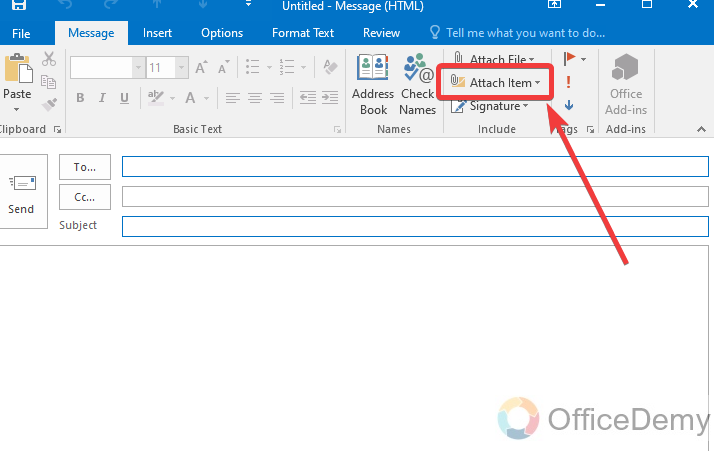
When you click on the new email button, a new message window will open where you can prepare your message. As we need to share a contact list to attach with the email so click on the “Attach item” button from the ribbon menus as highlighted in the following picture.
Step 3
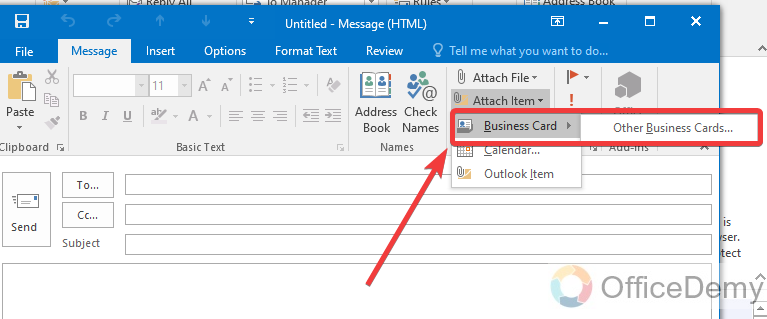
When you click on the Attach item button, it will ask you to select the item which you want to share, as we need to share contacts so I will select the “Business card” option from the drop-listed menu as marked in the following picture.
Step 4
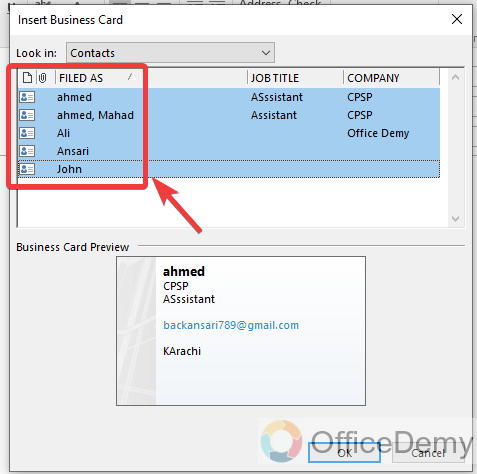
When you click on the business card option a small new window will appear in front of you where you will see all your contacts. In case of not finding contacts then click on the enclosed option “Look in” and select the “Contact” from the drop-down list, and your all contacts will be displayed.

Step 5
Once you have got all your contacts at your front then select the desired contacts which you want to share from the list.
Step 6
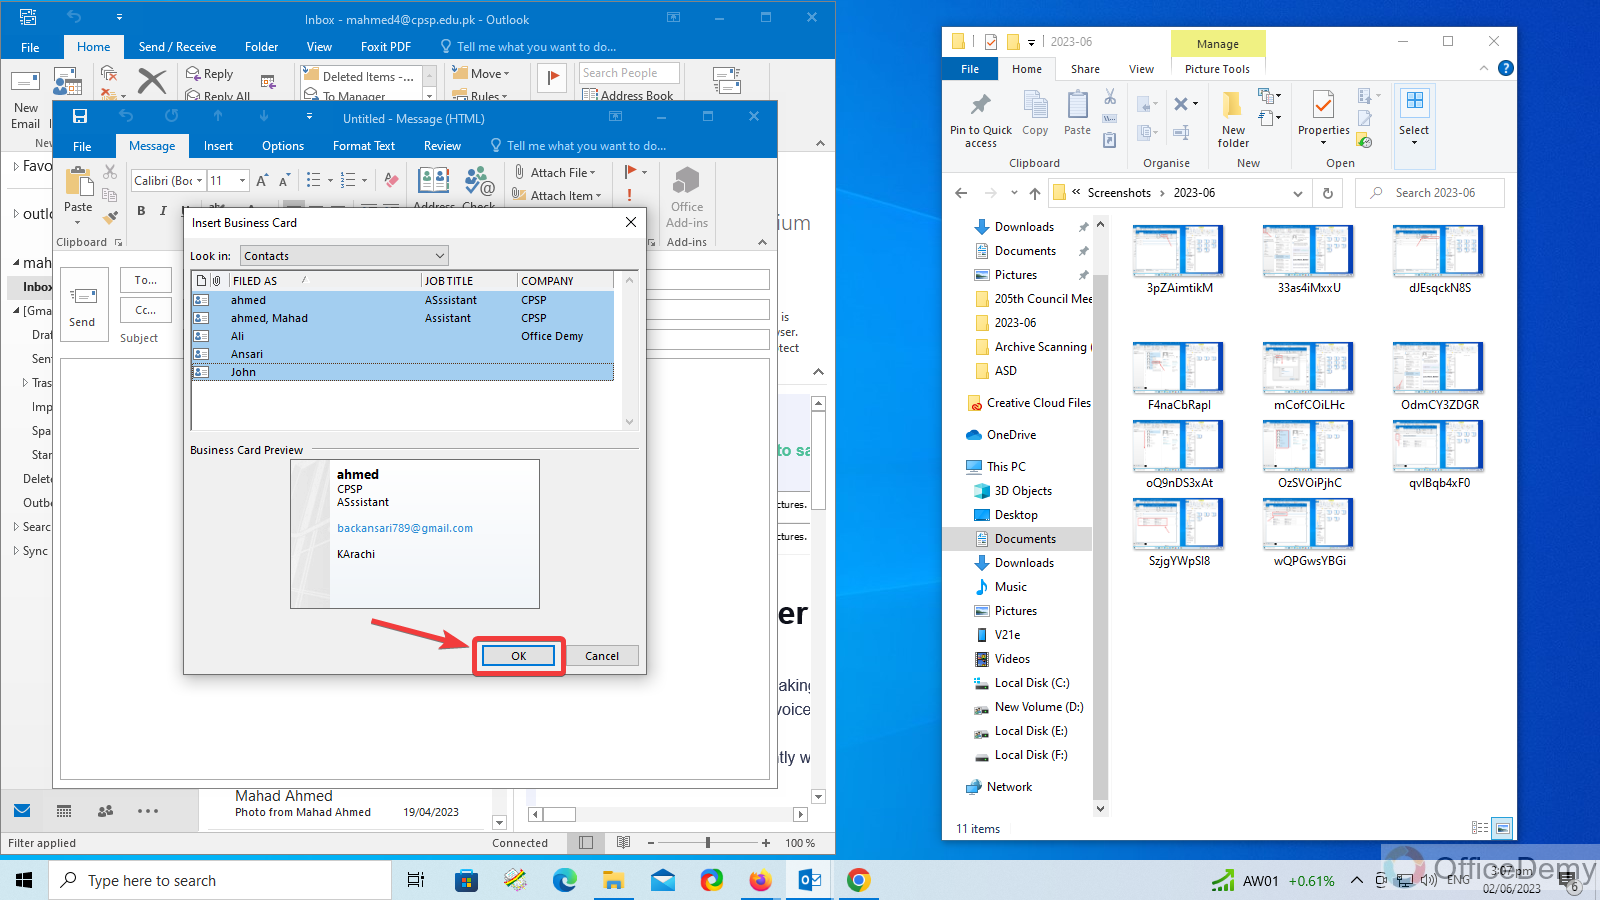
After selecting the contacts that you want to share, then click on the “OK” button to attach these business cards to your email to share.
Step 7
When you click on the OK button, you will return to the email composing window where you will see all your contact list attached to the email as can be seen in the following picture.
Step 8
Now, insert the recipient by writing an email of the person to whom you want to share your contact list in the following dialogue box.
Step 9
Now we are just one click away from sharing a contact list, just click on the “Send” button to share this contact list.
Frequently Asked Questions
Q: How to create a Contacts group in Outlook?
A: Dealing with many emails in Outlook can cost you a lot of time and effort to send the same email to different participants. Therefore, Microsoft Outlook features contact groups through which you can send an email to multiple users at the same time which can enable you to work efficiently and can save a lot of time and effort as well. If you want to know how to create a contact group in Outlook, then follow the following steps.
Step 1
Go into the Outlook contacts by clicking g on the “Contacts Icon” as highlighted in the following picture.
Step 2
When you are in the Outlook Contacts window, find and click on the “New contact group” option from the Home tab of the menu bar.
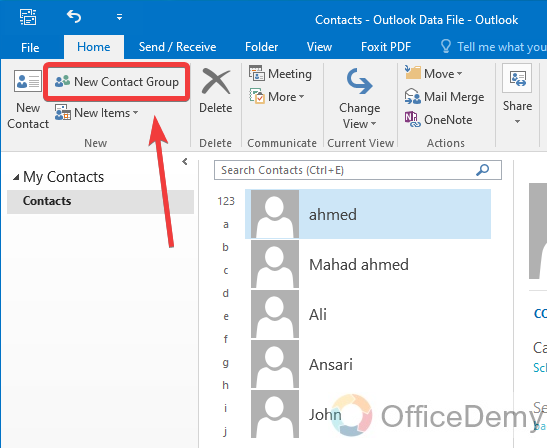
Step 3
When you click on the “New contact group” button, a new pop-up window will open where you will have to find the “Add members” option. When you click on this add members option, a drop-listed menu will open where select the “From Outlook contacts” option.

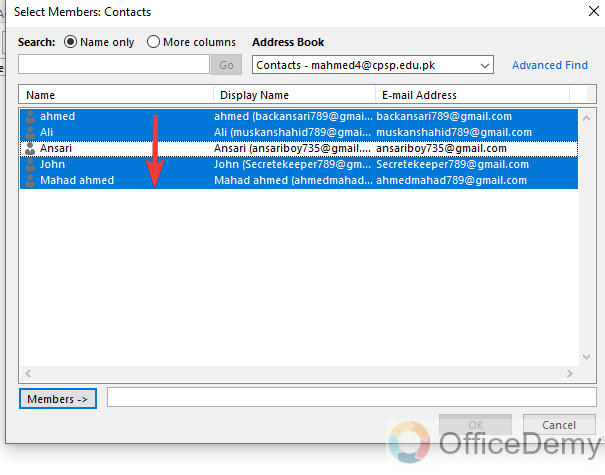
Step 4
Another Pop-up window will appear in front of you, where you will see all your contacts, and select the members that you want to add to the group.
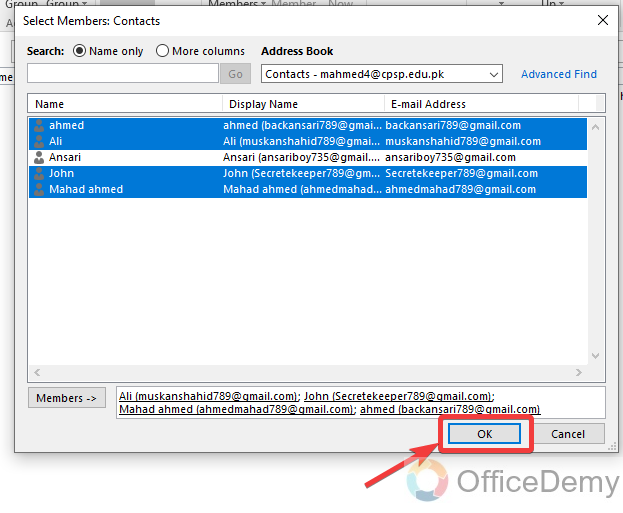
Step 5
After selecting the members, click on the “OK” button to add them.
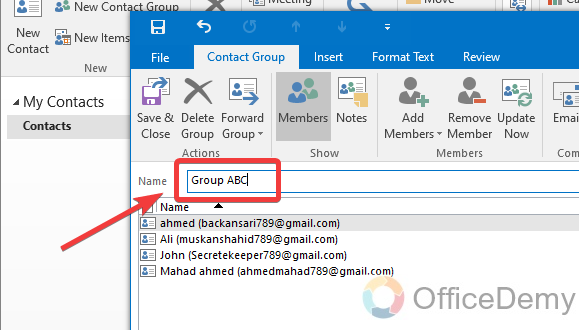
Step 6
Once your members are added to the group then before saving the group, name the group by writing in the name text box.
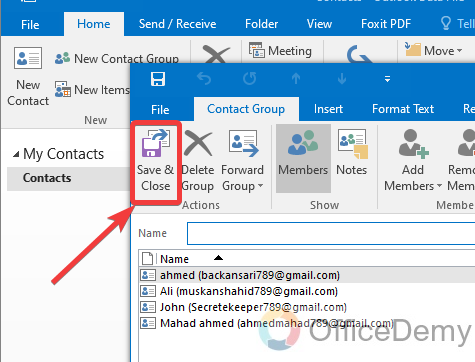
Step 7
Now just click on the “Save & Close” button to save this group in Outlook.
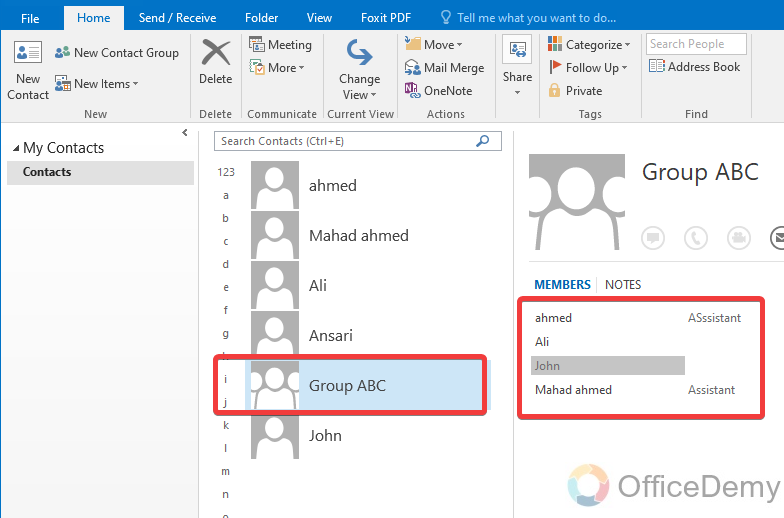
Step 8
We have done with creating contact groups, as you can see in the following picture the group we have just created a contacts group, you can also see all the members of the group in the thumbnail view at the right side of the window.
Conclusion
This was all about how to share a contact list in Outlook. I hope you have got it now after reading the above article on how to share a contact list in Outlook. Let us know whether this is useful or not. For more informative tutorials keep visiting our site Office Demy.


