
To Add a Border/Frame to an Image in Google Slides
- Open your presentation.
- Insert an image.
- Select it and click the border icon.
- Choose a border style.
- Adjust width and color.
OR
- Add an image.
- Insert a shape.
- Place it over the image.
- Adjust shape color.
- To remove the shape border, and set the border color to Transparent.
OR
- Click the image.
- Use the mask image tool to select a shape.
- Adjust the border size with the Image border tool.
OR
- Insert an image.
- Search the web for decorative borders.
- Select a border and place it on the image.
In this lesson, you’ll learn how to frame or add a border to an image in Google Slides. This can help your pictures to stand out and look more professional so that they blend with the rest of your presentation.
You’ve already done the hard work of creating your amazing presentation, so all you need to do now is make it look good. But don’t worry—you don’t need to be a graphic designer or have a background in visual art to make your presentation pop. You just need to know how to add effects, borders, and shadows!
Adding effects like glow and shadow can help to make images seem more lifelike.
You’ll also learn how to adjust the thickness of the border, its color, and some other properties. By the end of this lesson, you’ll be able to make your pictures pop!
One of the most fun parts of working with images in Google Slides is the fact that you can modify those images in a variety of ways, including the addition of a border. The border can help to make your picture seem a little more polished and professional, while also helping it fit in with the theme of your slide presentation. You can adjust the border’s size and color as well, which makes it even easier to customize it to your specific needs.
Our tutorial below will show you how to add and format a border around an image in Google Slides.
How to Add a Frame/Border Around an Image in Google Slides
The steps here was performed in Google Chrome, but they should likewise work with other Web browsers such as Firefox, Internet Explorer, Edge, and Safari.
Add Image Border in Google Slides using Border Tool
Step 1: Open a google slide presentation first.
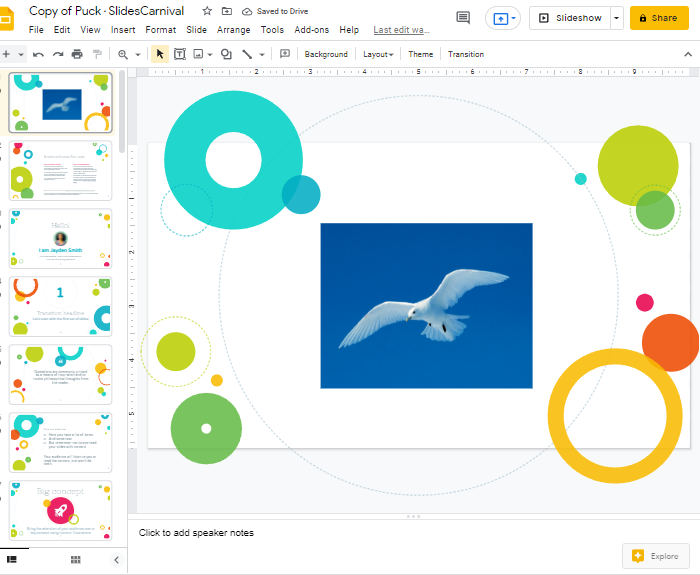
Step 2: Upload a picture on your google slide on which you would like to add a border.
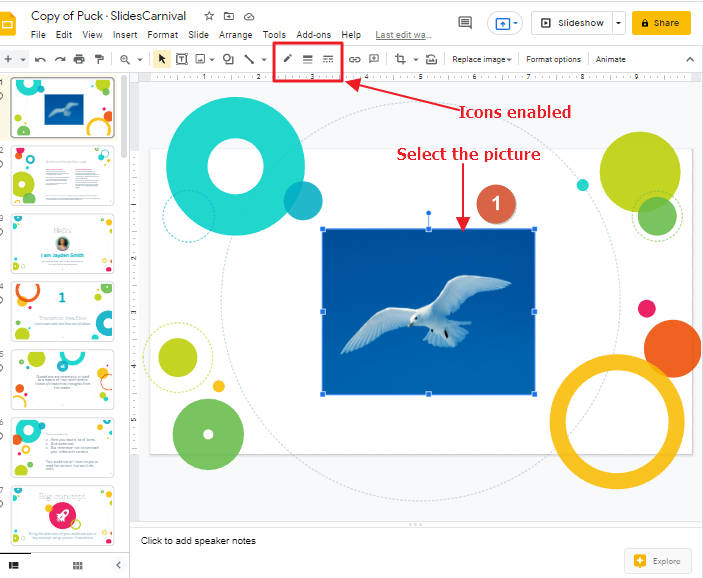
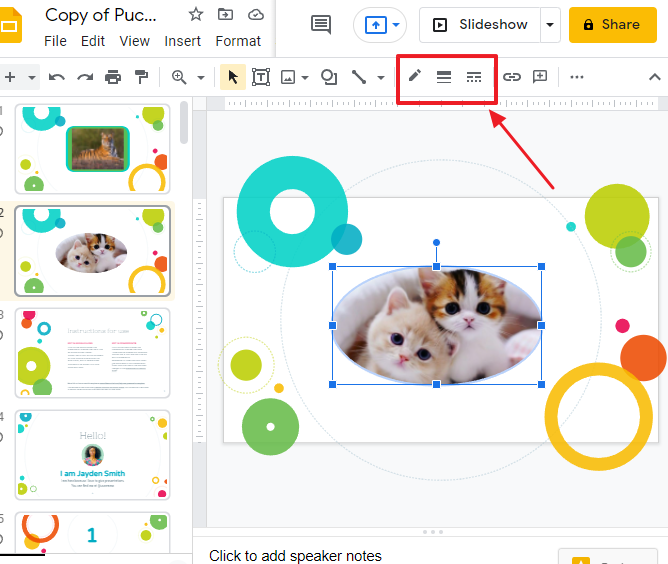
Step 3: Now click on the picture to select it. As soon as you select the picture, the border icon is enabled which is disabled by default.
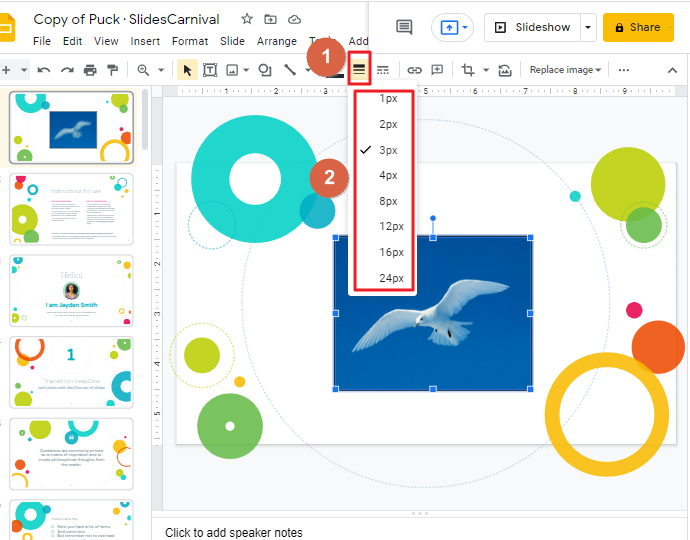
Step 4: Click on the border style icon to add a border around the picture.
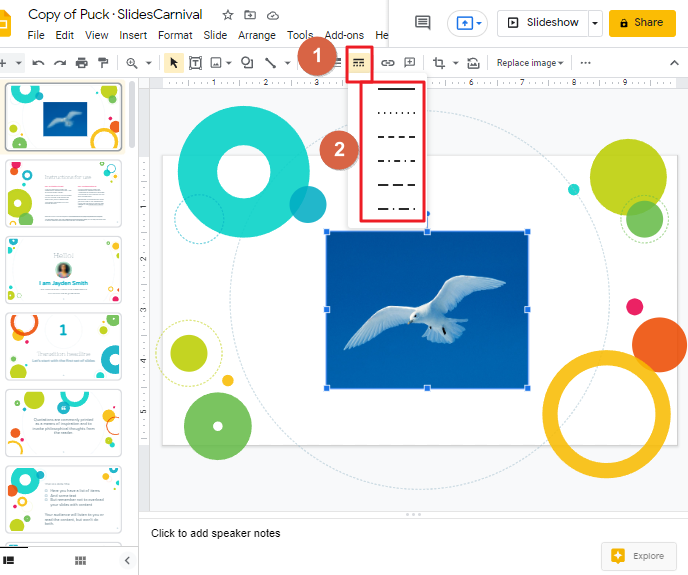
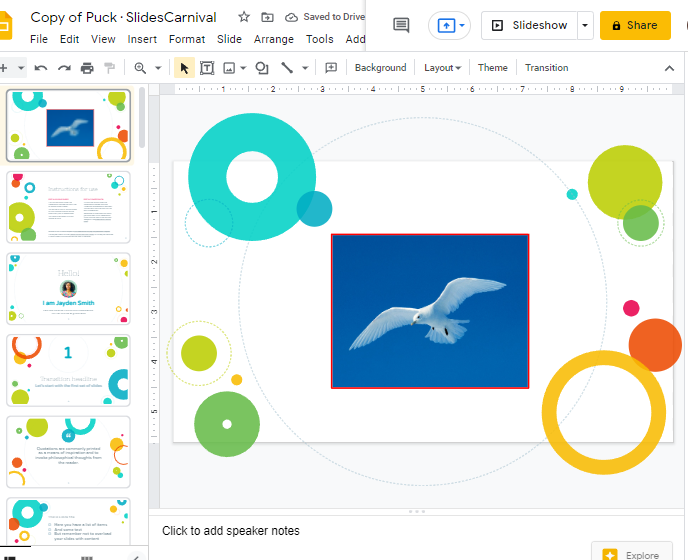
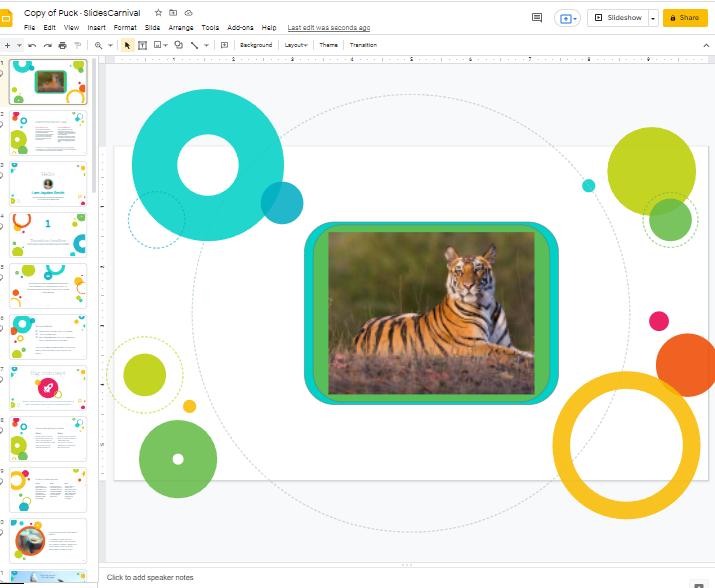
For example, I have chosen the first border style. So, this is how my picture looks like,

Bonus Tip
Once you have added a border according to your preference, you can change its width and color too any time.
To change the width of a border, click on the picture first. Then click on the width icon which is located at the top of your screen. and choose a width according to your preference.
To change the color of the border, click on the border color icon so that a list of colors will appear on your screen. choose a color according to your preference.
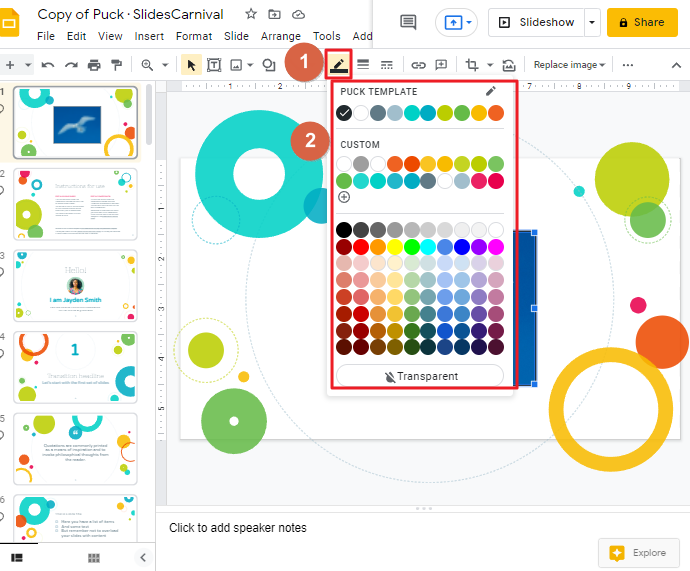
As soon as you choose a color from this list, the color will be added to the border. For example, I have chosen red. So, this is how my picture looks like,

Add Image Border in Google Slides using Shapes Option
Are you tired of the same old boring built-in borders?
Try something new and use shapes to create custom borders. With this method, you can add an image on top of a shape or use a shape as the background for an image. The end result is an image with a customized border that will wow your friends and family.
So, Let’s get started!
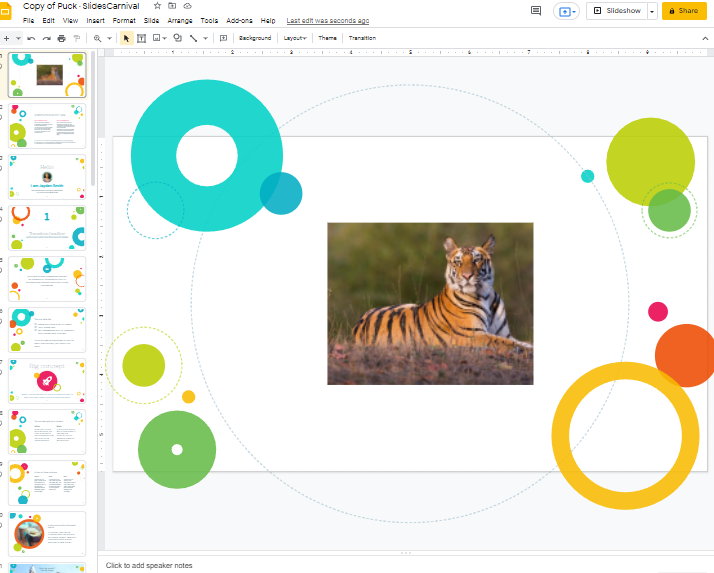
Step 1: Open a google slide presentation first. Then add an image to your slide.
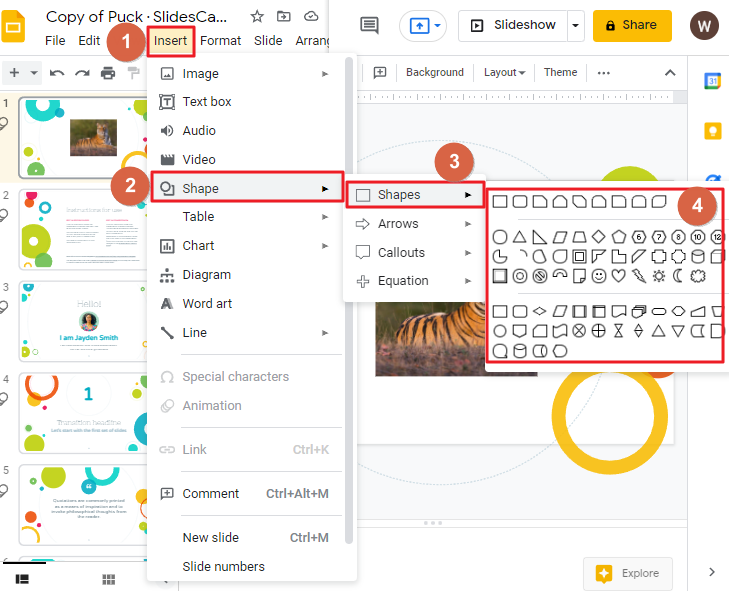
Step 2: The Insert option in the menu bar is available in the menu and enables you to select Shape. Choose the shape you would like to insert of your choice from the listed options.
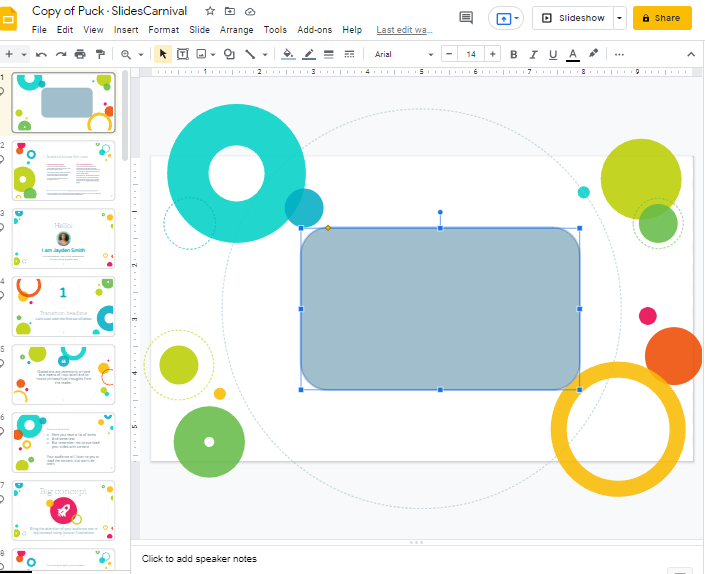
Step 3: Experiment with your mouse by dragging the desired shape onto the slide. It will appear on the top of the image.
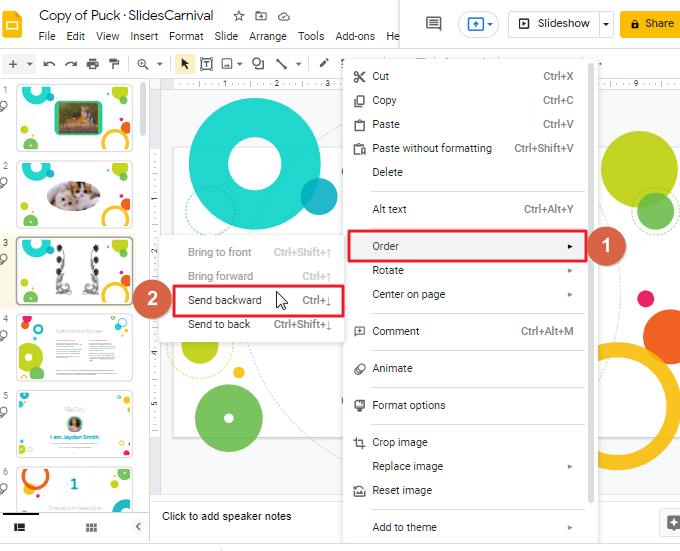
Step 4: To bring the picture to the front, right-click on the shape so that a drop-down menu will appear, Click on Order > Click on Send backwards.
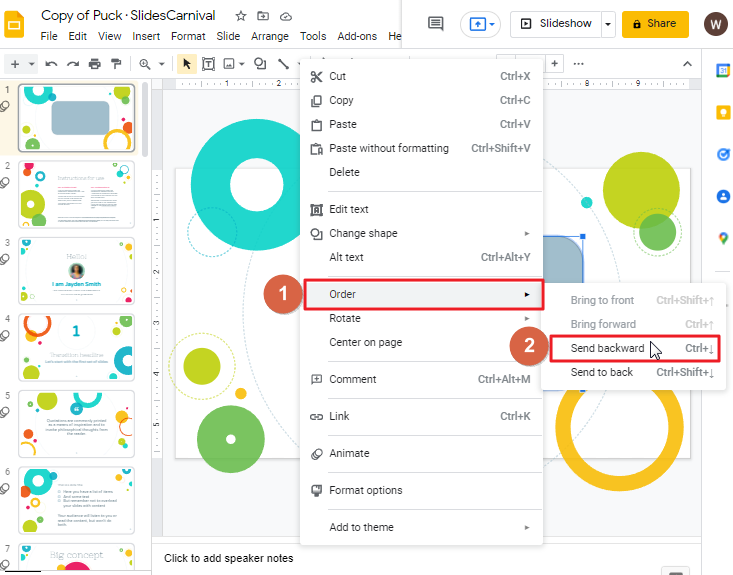
As soon as you click on Send backwards, the image will come forward.

Bonus Tip: You can boost the ease of use by adding the shape first, then an image on top of that.
Step 5: The default color can be left as-is or can be changed to a new color. to add a new color to the shape, Select the shape first so that the fill color icon will be enabled in the menu bar.
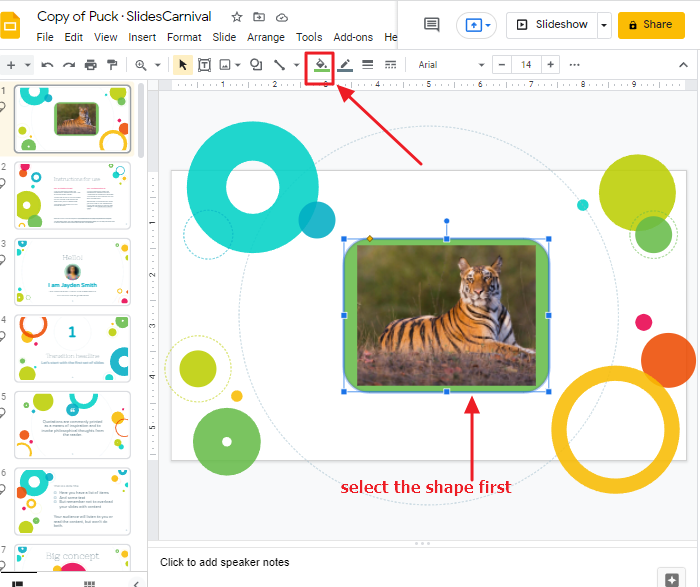
When you click on the fill color icon a list of colors will appear on your screen.
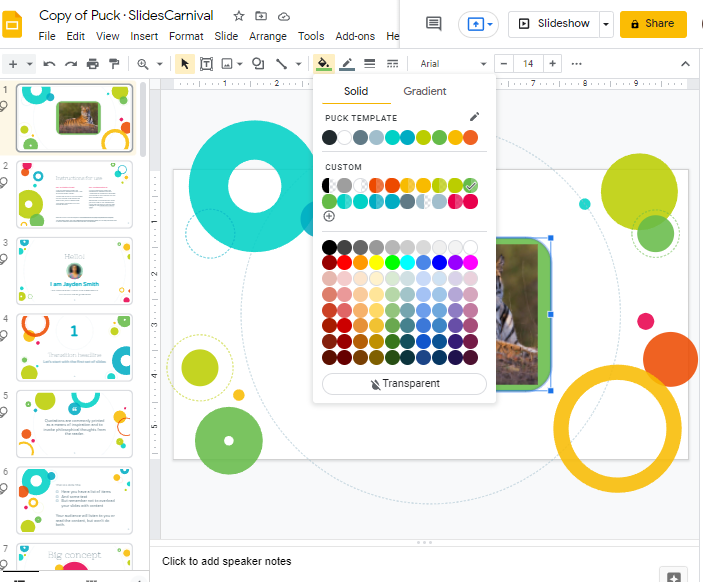
Select a color according to your choice to add the color to the shape. For example, I have selected Green.
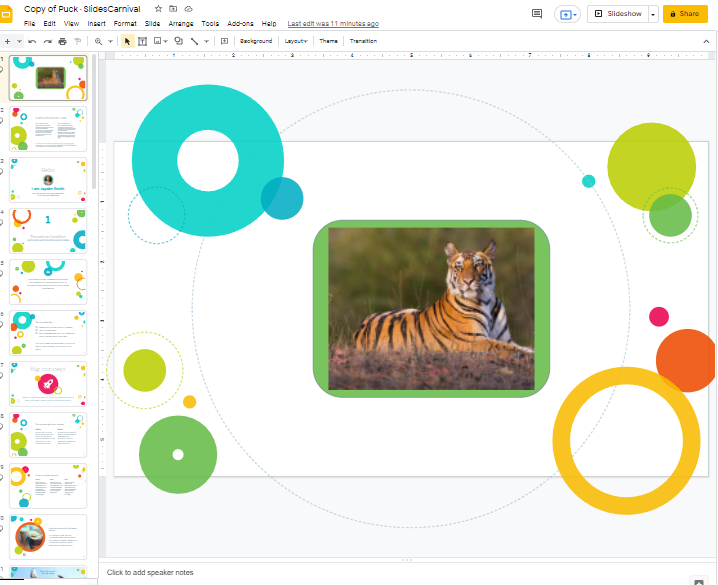
Bonus Tip 1: Add a double border
You can also add a double border to your image. Follow the steps mentioned above to add the first border. When you add the second border to your image click on send to back instead of send backward.
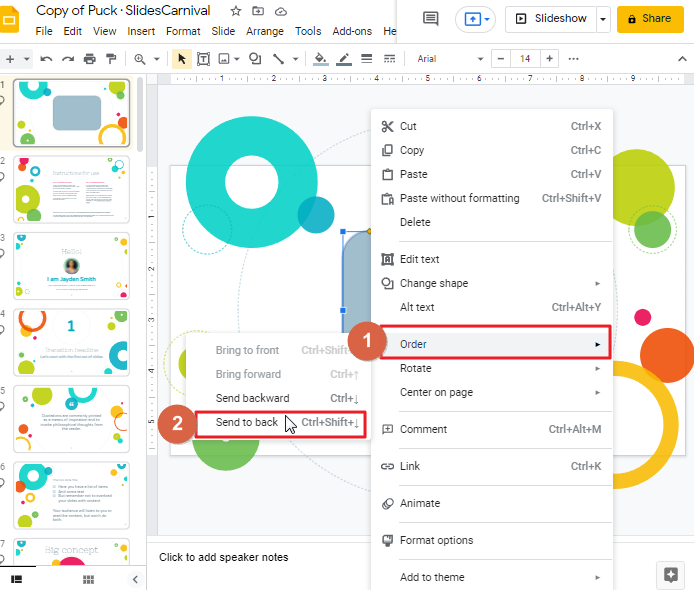
As soon as you click on Send to Back, the shape will move to the back. You can also add colors to the shape according to your choice.
Bonus Tip 2: Remove shape border
To remove the outline in black from the shape, Select the shape first. Then select Border color from the menu bar and hit Transparent.
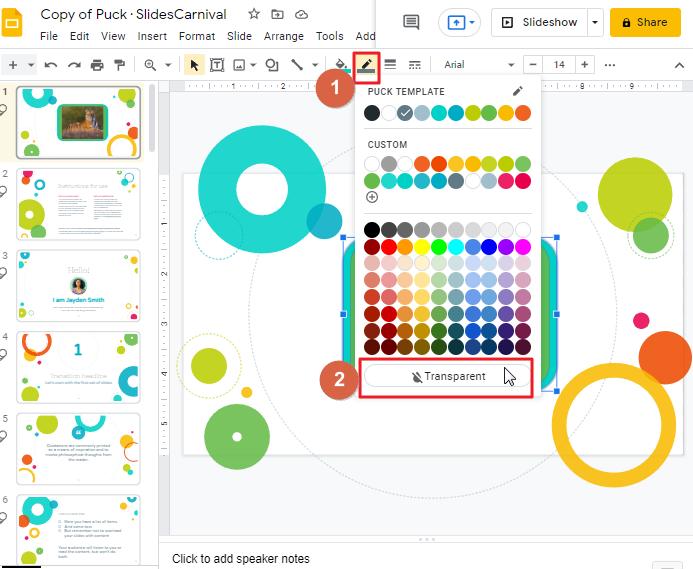
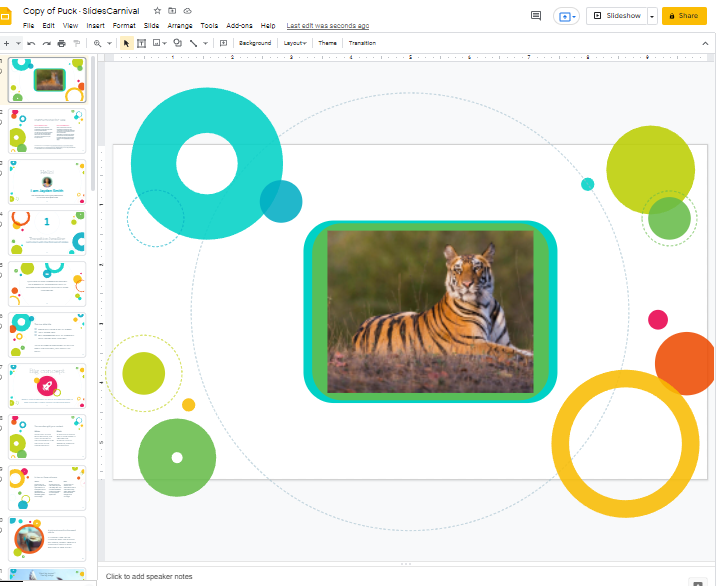
Clicking on Transparent will remove the black border from the shape.
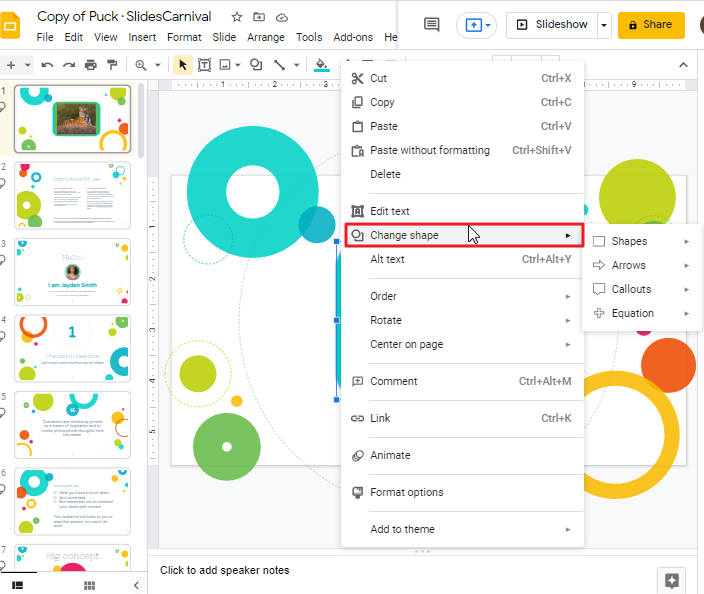
Tip 3: Change the shape
You can alter the shape/border of the image quickly if you don’t like their current form. To do so, right-click on the shape first so that a dropdown menu will appear. Choose the Change Shape from the menu option and select the new shape.
You can also try different borders for your photos without needing to start over entirely.
Tip 4: Group Shape and Image
When you wish to move or resize a picture and shape, grouping them contributes to ease of use. Check out how to group and ungroup components in Google Slides.
How to Group & Ungroup Objects in Google Slides (Best Practice)
Add Image Border in Google Slides using Masking Tool
Through the use of the mask and border tools, we will be taking the following steps:
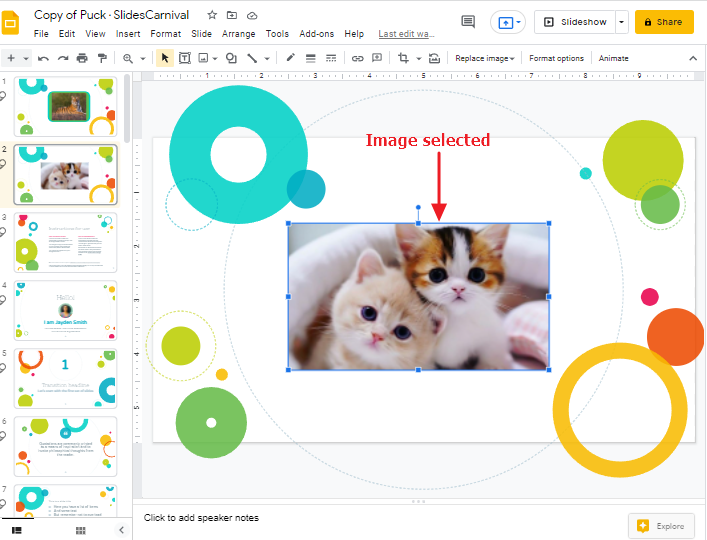
Step 1: Click the image where you want to add an attractive border.
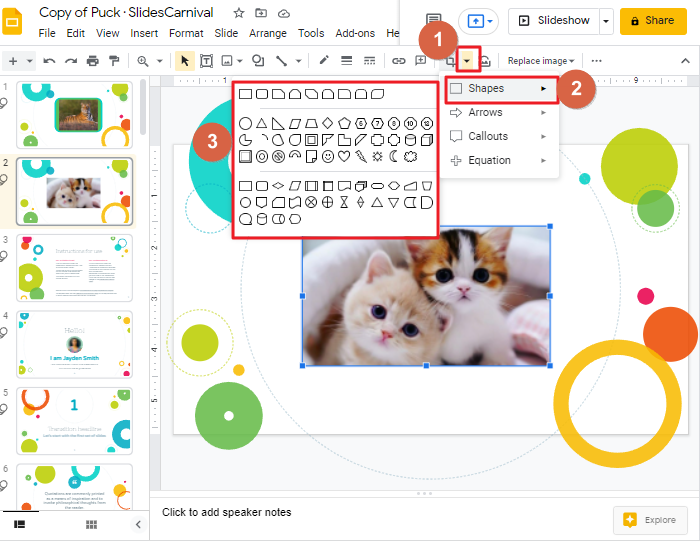
Step 2: Click on the mask image icon which is located at the top of your screen in the menu bar. A Drop-down menu will appear. Click on shape > choose a shape according to your preference.
The relevant image will automatically adjust to the desired shape.
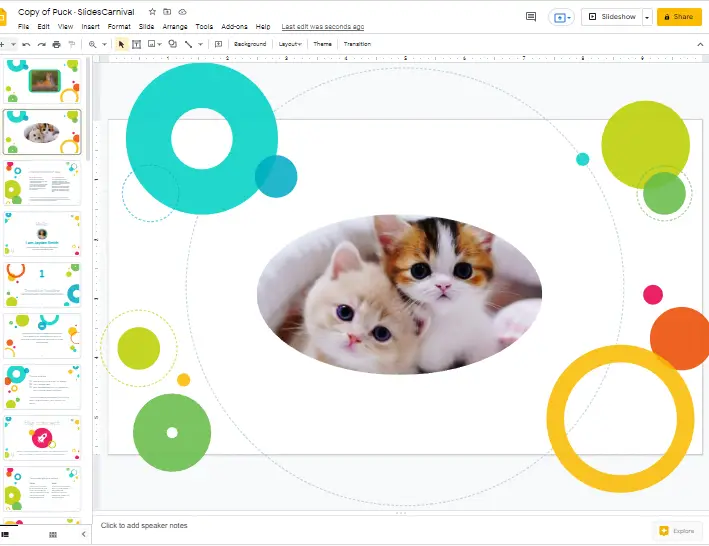
Step 3: Select the Image border tool when the picture is selected, and then use it to place the desired border.
Add Image Border in Google Slides using Decorative Tool
You can also look for decorative borders on the internet to add to the image. Follow these steps to add borders to your google slide image from the web.
Step 1: Once your image is ready in your google slide, Click on Insert > Click on Image > click on search the web.
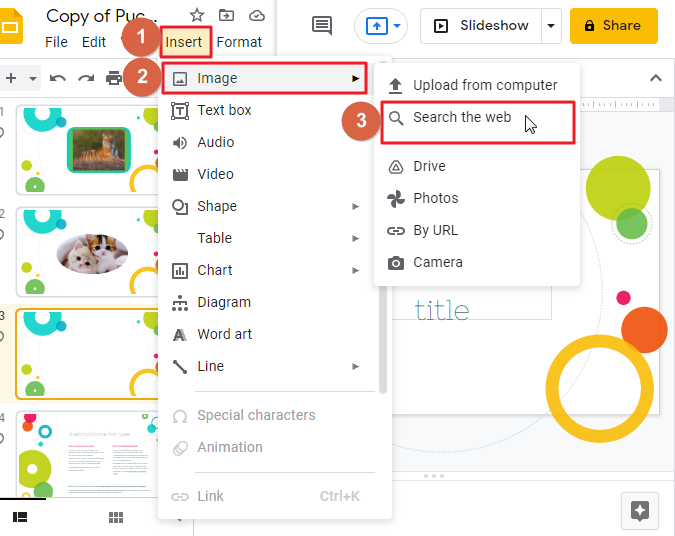
Now look at the right side of your screen. search the web window.
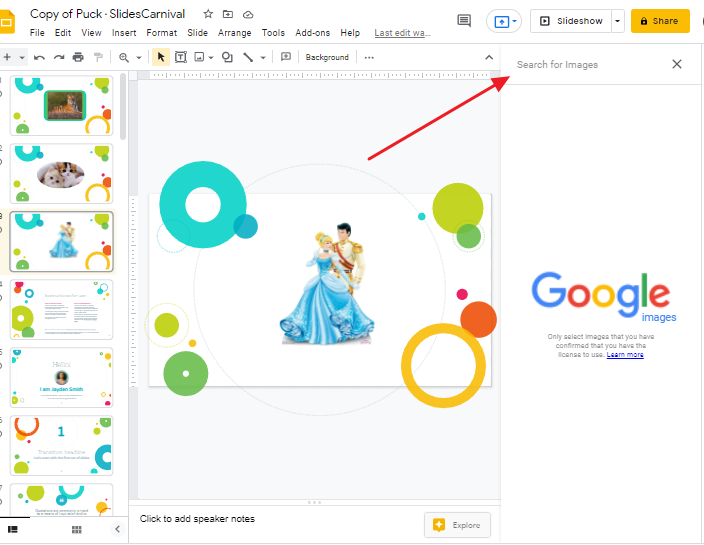
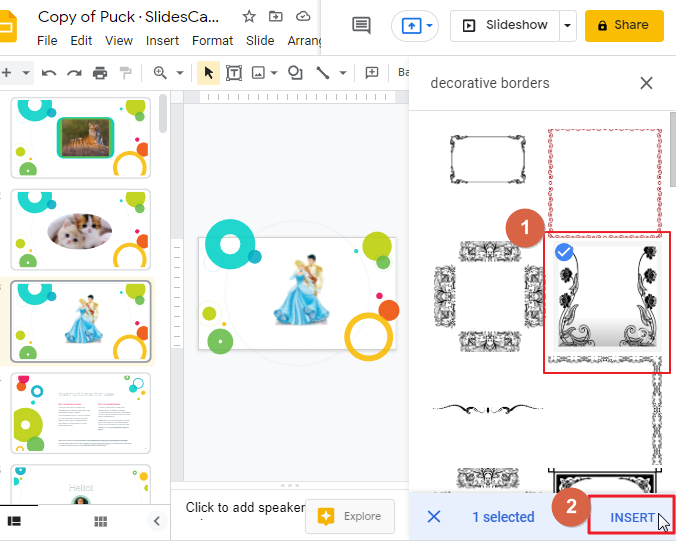
Step 2: Now type decorative borders in the search bar so that the decorative border options will appear. select a border according to your choice then click insert.
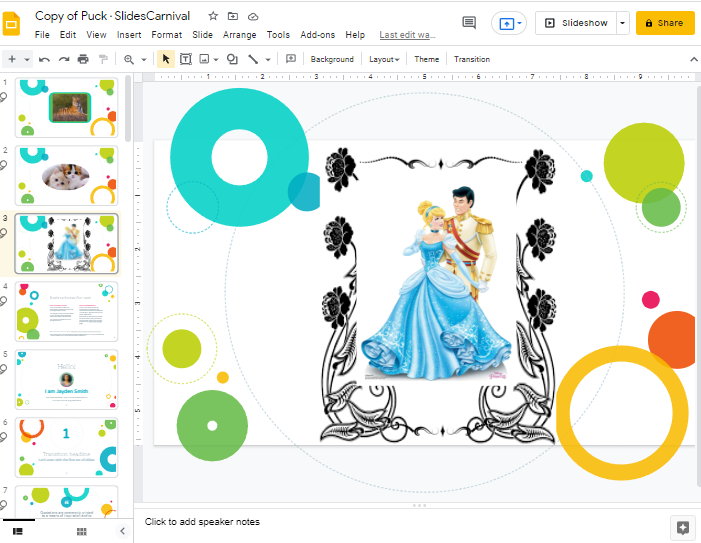
Step 3: Place the border over the image. Resize the border so that the border fits the image. Then right click on the image so that a drop-down menu will appear. Click on Order > click on Send backward.
Now look at your image in the google slide. The border has been added to your image.
FAQs
How can I adjust the size of a picture border in Google Slides?
To adjust the size of a picture border, click on the picture then click the Border weight button from toolbar of Google Slides and select your desired border width and click OK.
How do I change the border type of a picture in Google Slides?
I’ll choose the picture with the border. Then I’ll click on the Border Dash button from toolbar and finally select the desired style.
How can I remove the border of an image in Slides?
Click on the required photo. Select the Transparent option from the Border color button in the toolbar.
How do you delete a picture in a Google Slides presentation?
First you need to click on the picture, then press Backspace or Delete on your keyboard, it will delete the image.
Conclusion
So that’s how you can add decorative borders around images in Google Slides. As you can see, it is easy to do so, and you have a lot of options to choose from. We recommend using a shape as the border if you want something simple and clean looking. If you want more variety, use the image borders we have featured here. But if you are looking for something entirely different, then explore our site to find more Google Slides tutorials.
That’s all there is to it. You are now ready to add borders to your images in Google Slides. If you have any questions or suggestions, feel free to reach out using the comments section below.


