
To Add Google Slides to Flipgrid
- Open a Flipgrid account.
- Set up a group within Flipgrid.
- Open both Flipgrid and Google Slides in your web browser.
- Start recording in Flipgrid.
- Choose the Google Slides tab for sharing.
- Begin recording your presentation while switching slides within Google Slides.
- Utilize other tools like text, drawing, stickers, and more if needed.
- Edit your recorded video as necessary.
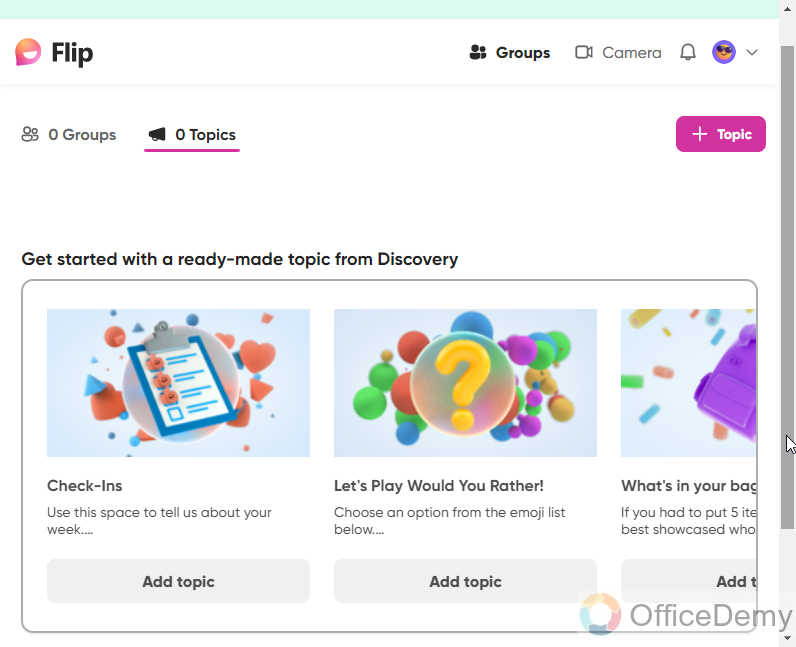
Hello, and welcome to another tutorial in the Google Slides series. In this article, we will learn how to add Google Slides to Flipgrid. What is Flipgrid? Flipgrid is an online application or a website that is designed for students and teachers to share study materials and learn like a visual classroom, it can be compared with Google Classroom as well. Flipgrid allows teachers to create “grids” to facilitate video discussions. Each grid is a board where teachers can pose questions, called “topics,” and the students can reply as video responses that appear in a tiled grid display. Grids can be shared with classes, groups, or any collection of users interested in a common strand of questions.
Each grid also holds a countless number of topics and each topic can hold an unlimited number of responses from the students who are the group members. Topics can be text-based or include a resource such as an image, video, etc.
So, get started with this stunning platform, we will learn how to add Google Slides to Flipgrid.
Importance of adding Google Slides to Flipgrid
A user as a teacher needs to use Flipgrid to share study material with their students in the form of grids. A leader (group creator) is responsible to create a group first, then adding members, then starting posting material, the group members who are the students or learners, can respond to the material posted by teachers, in the form of video responses. The teacher’s posts are called grids, and the student’s replies can be said to be responses in the terms of Flipgrid.
So as a teacher, or tutor we must learn how to add Google Slides to Flipgrid to direct the slides files into the Flipgrid platform to teach the students, a slides presentation can be easily presented into Flipgrid in real-time without any external or third-party add-on. So, it’s an essential study platform so that’s also a reason to learn how to add Google Slides to Flipgrid.
How to Add Google Slides to Flipgrid
Before adding Google Slides to Flipgrid we must have a ready-to-present .slide file in our drive or local memory. Also, we must have a Flipgrid account and a group where we will add the Google slides to share with the group members. We can also present Google slides on Flipgrid and then share the video externally on several platforms. Below are step-by-step methods and procedures to learn how to add Google Slides to Flipgrid.
How to Setup Flipgrid
To add Google Slides to Flipgrid, we first need to create and set up the Flipgrid account and create a group inside it. Then, we will be able to link Google Slides with it. So, let’s see how to create and set up a Flipgrid account.
Step 1
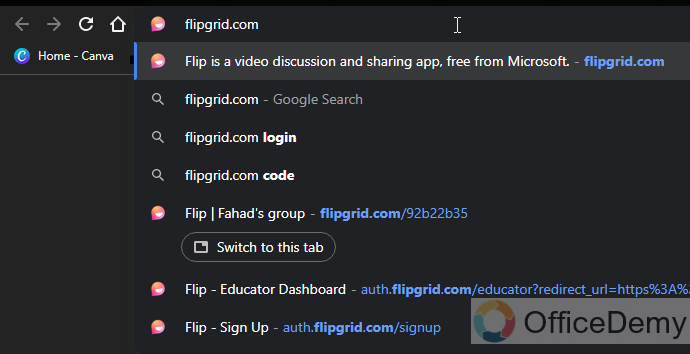
Go to Flipgrid.com
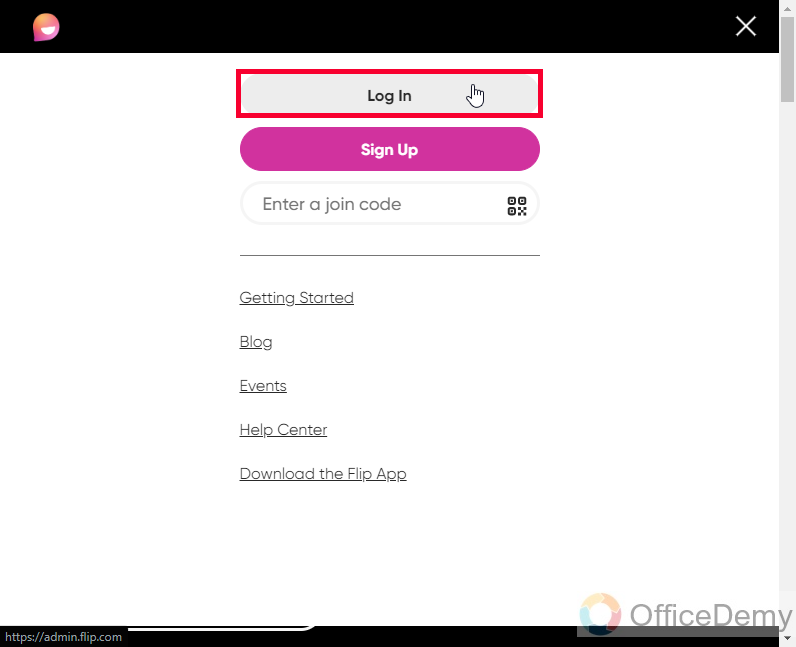
Step 2
Click on login (if you already have an account)
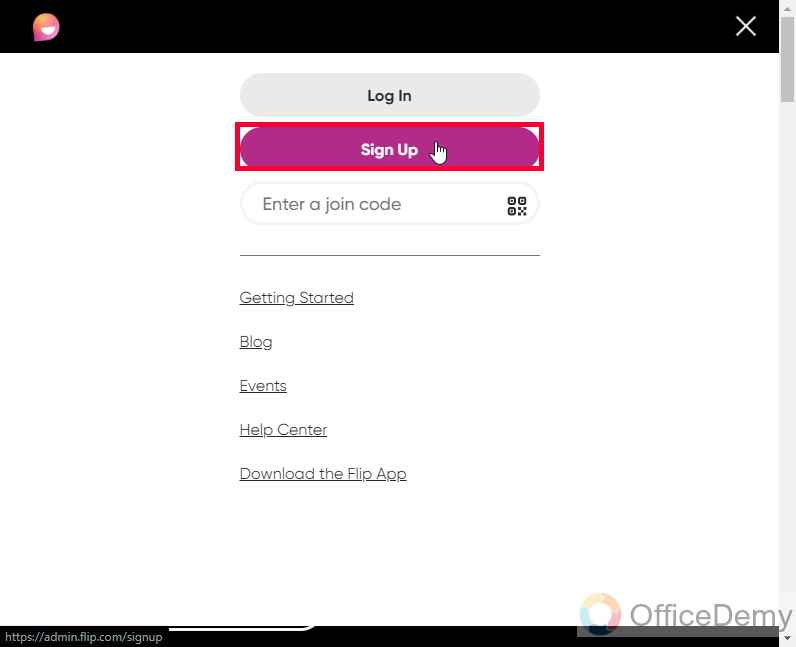
Or
Sign up (if you are new to this platform)
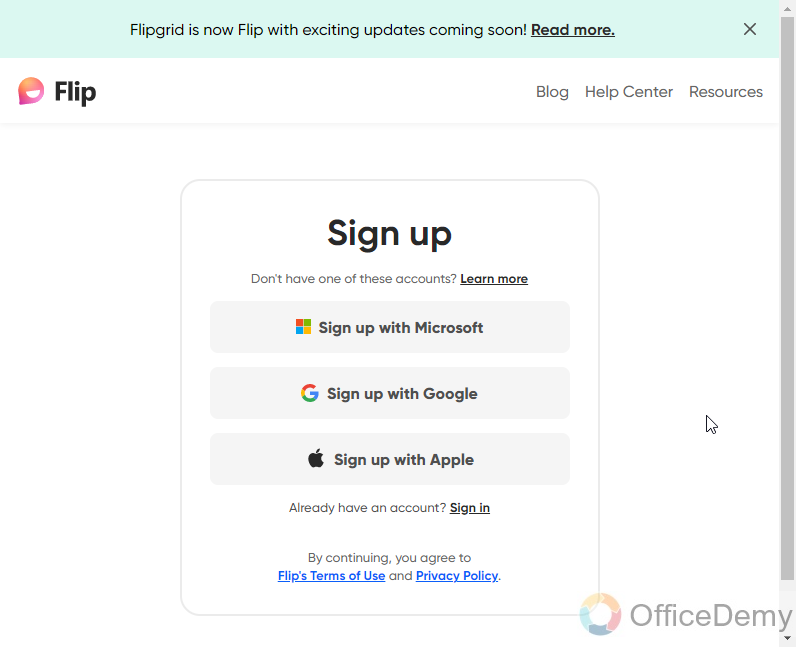
Step 3
You can sign up with Microsoft, Google, or Apple
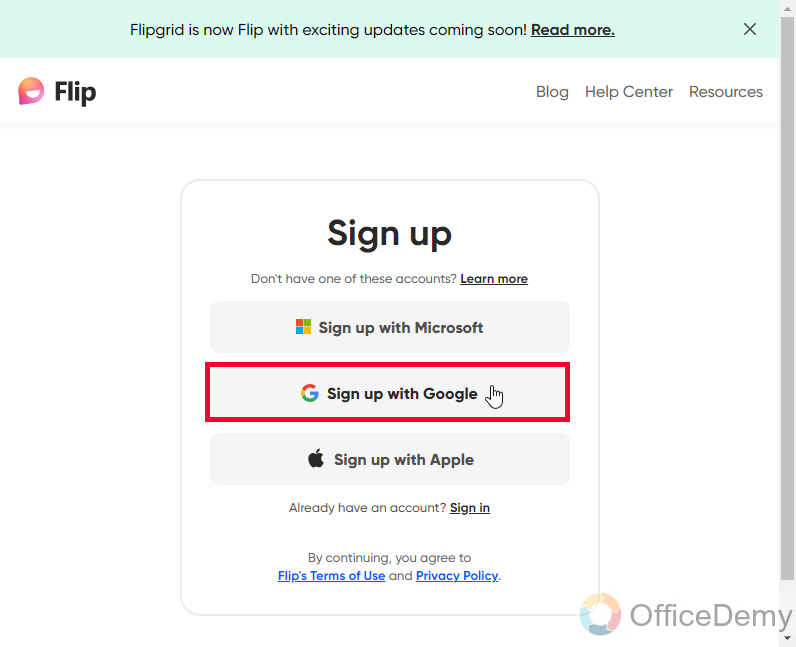
Step 4
Here I am using Google to signup, click on the Sign up with Google button
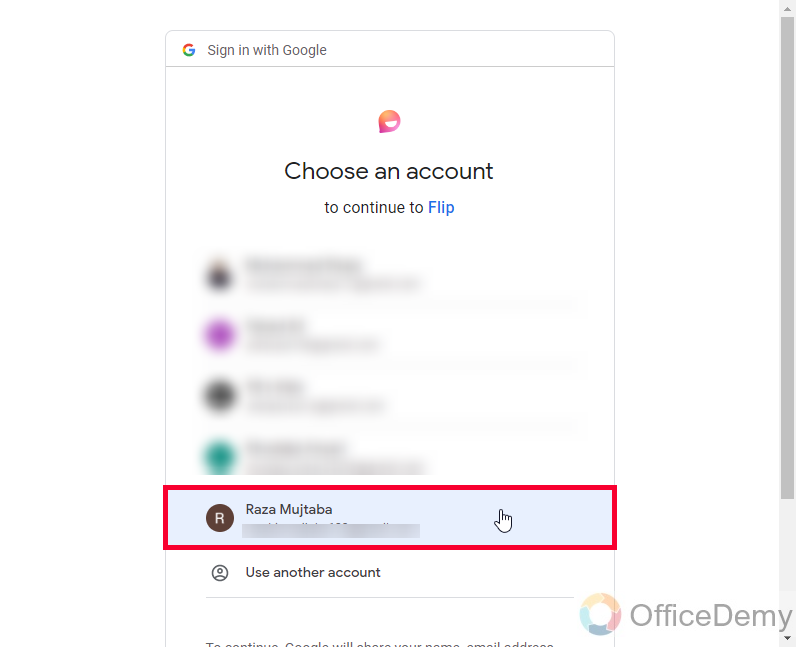
Step 5
Choose an account to continue
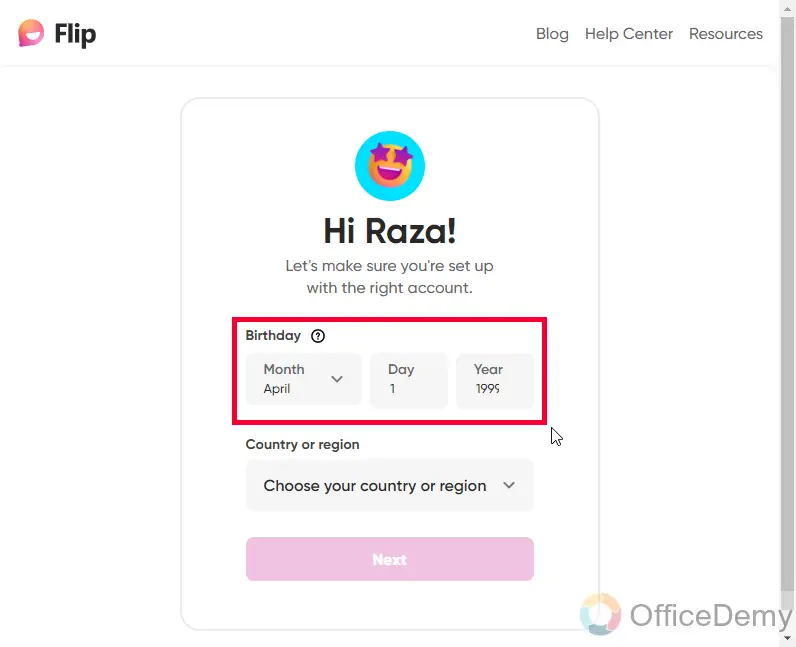
Step 6
Flipgrid will ask for some information such as your date of birth, enter your date of birth
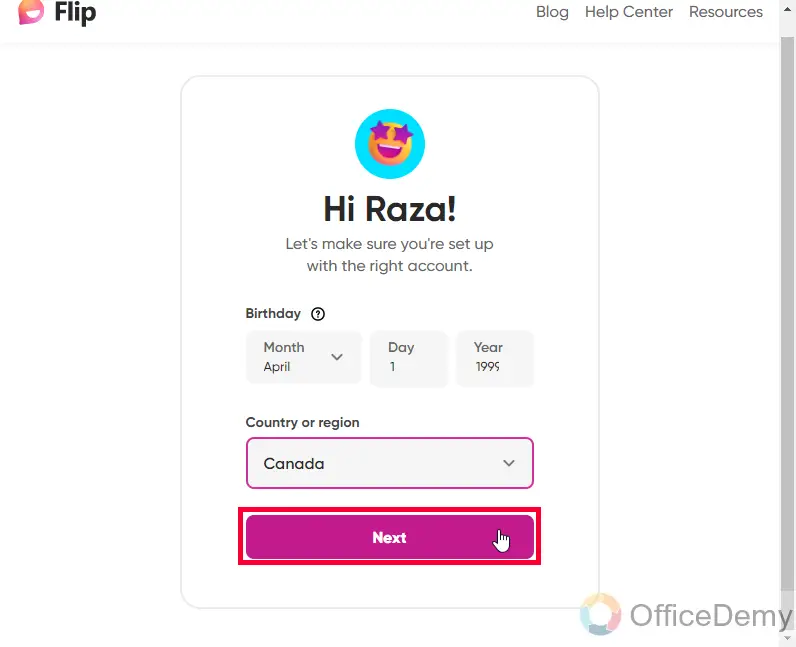
Step 7
It will further ask for your country. Select your country, and click on the Next button
Step 8
Your account has been created; this is the welcome screen for you.
Step 9
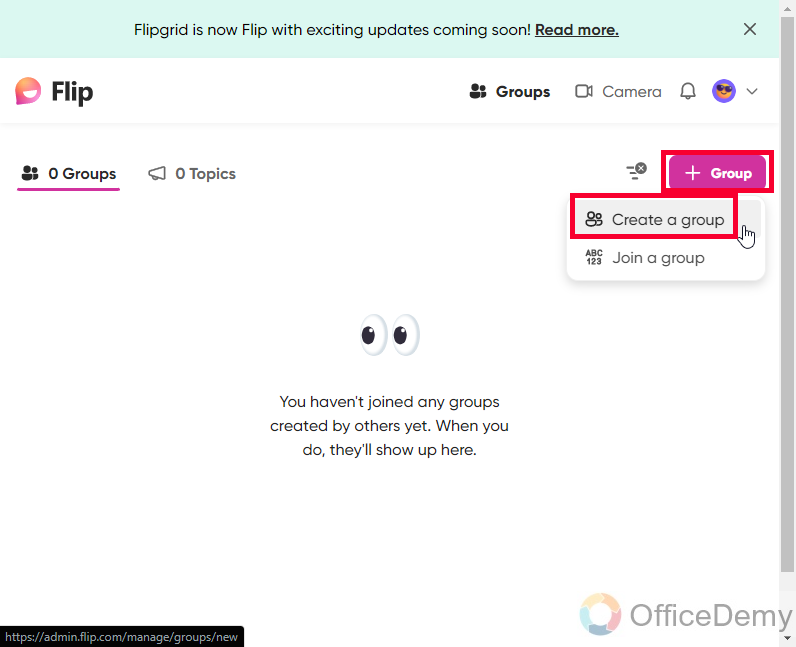
Now, you need to create a group, for that. Click on the Group Button, and then click on Create a group
Step 10
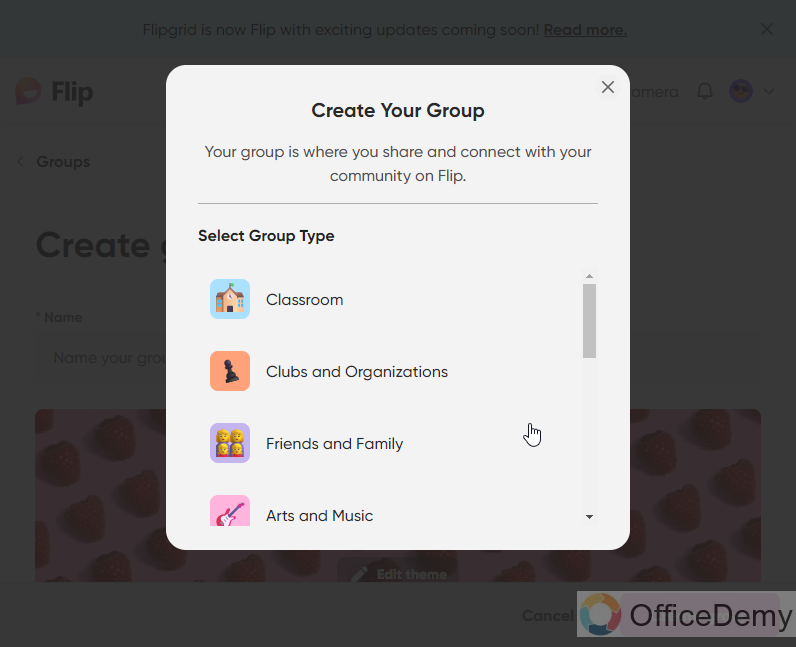
Select the group type.
Step 11
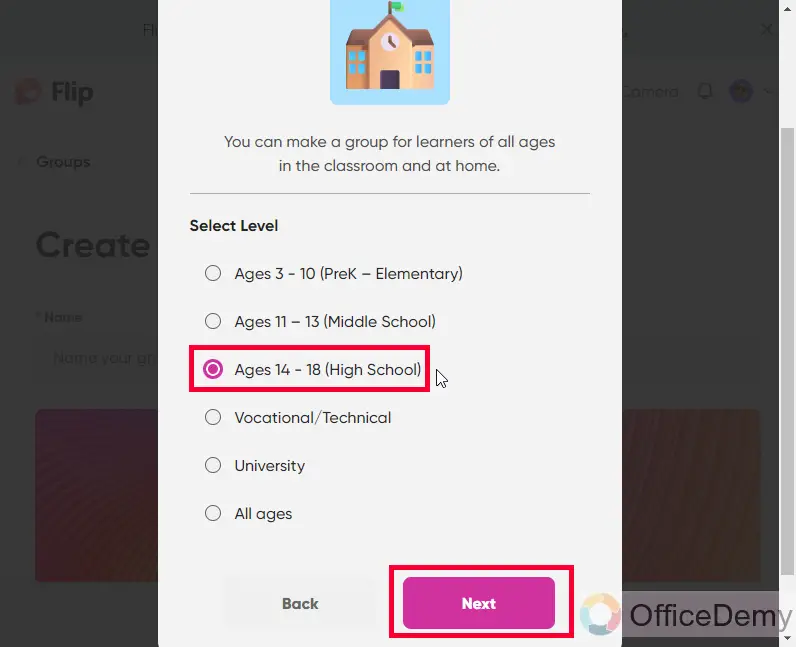
Select the level (age group) for the group members, and then click on the Next button
Step 12
Enter the Group name
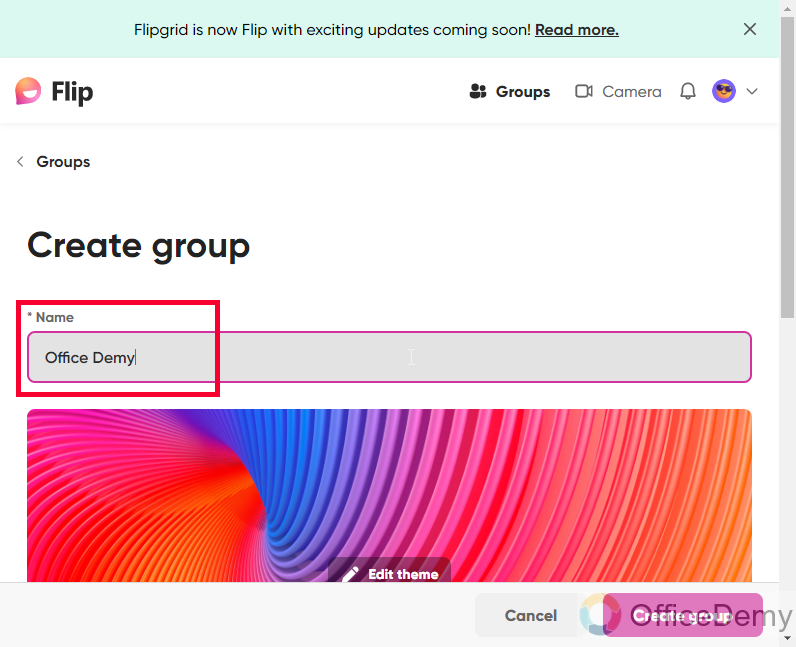
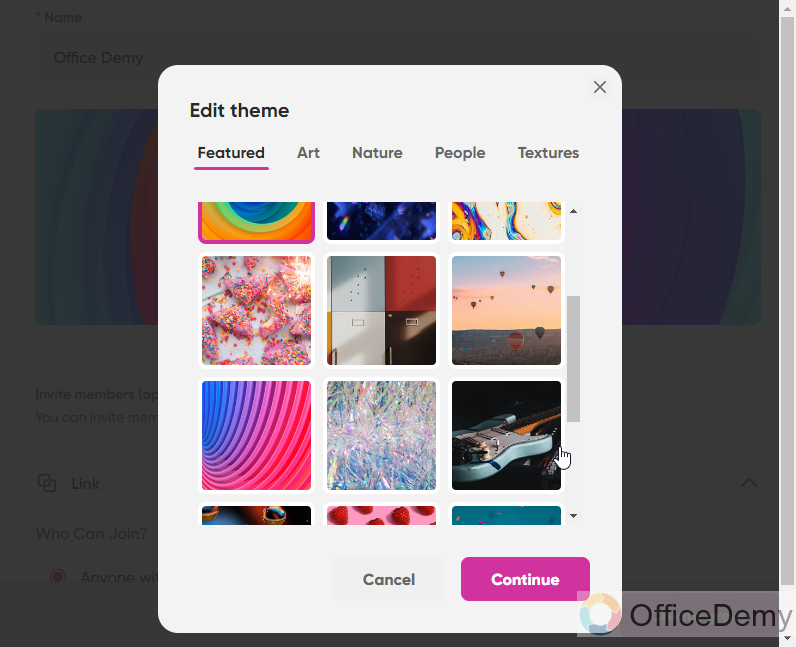
Step 13 (Optional)
Select a theme for this group
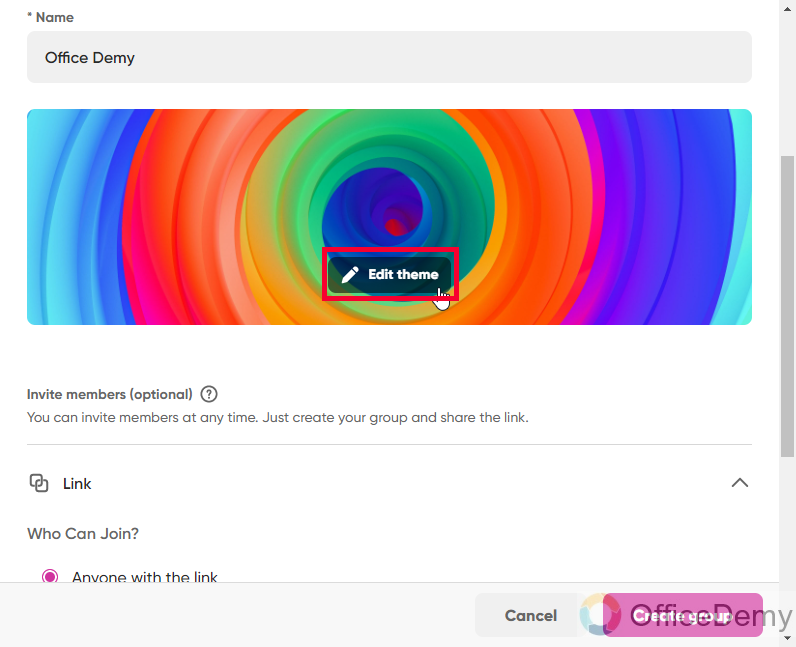

Step 14
Select an option from the Who can join radio button
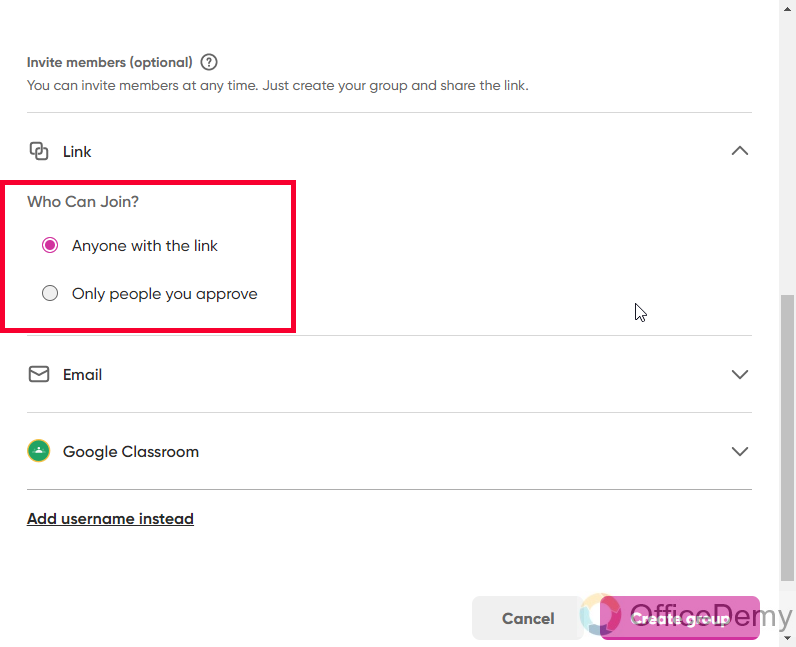
Step 15 (Optional)
You can invite people to join the group via Email, or Google Classroom
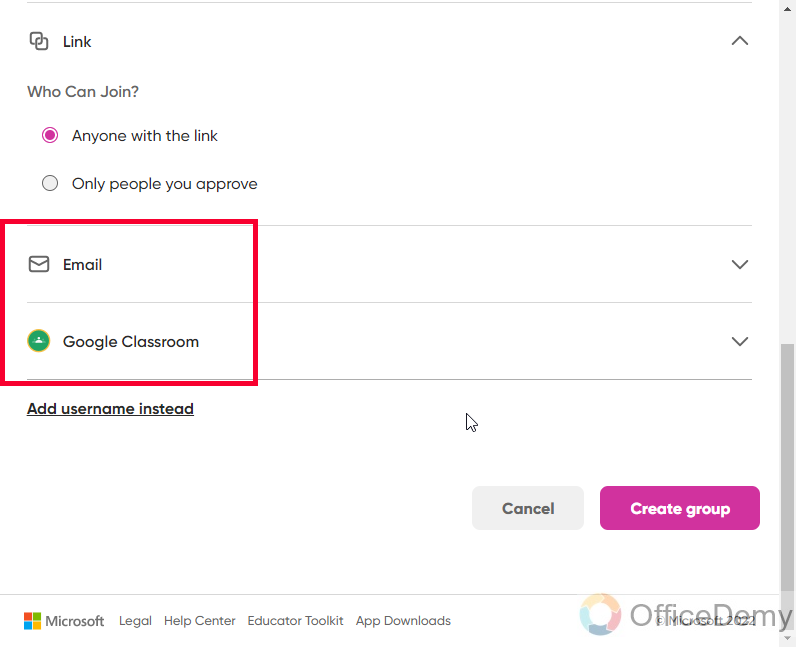
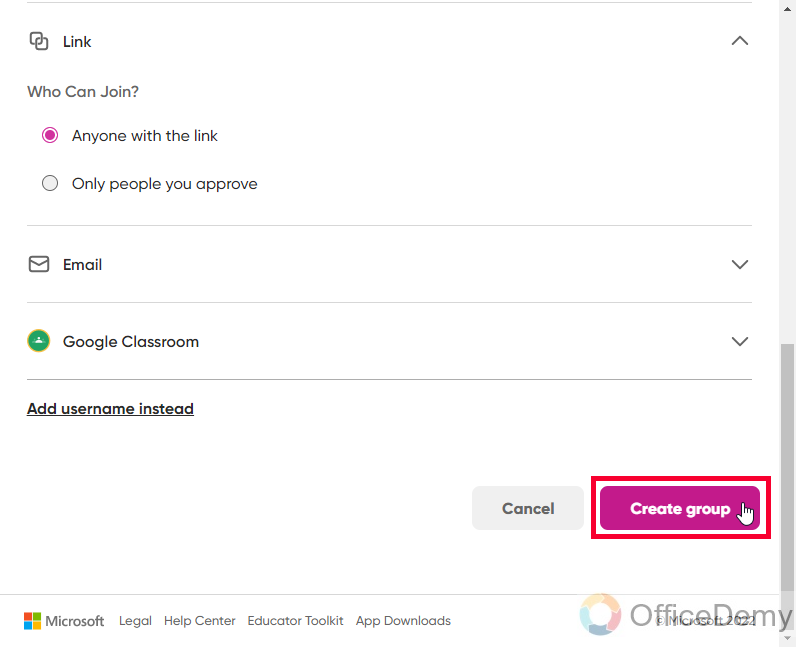
Step 16
Click on Create Group
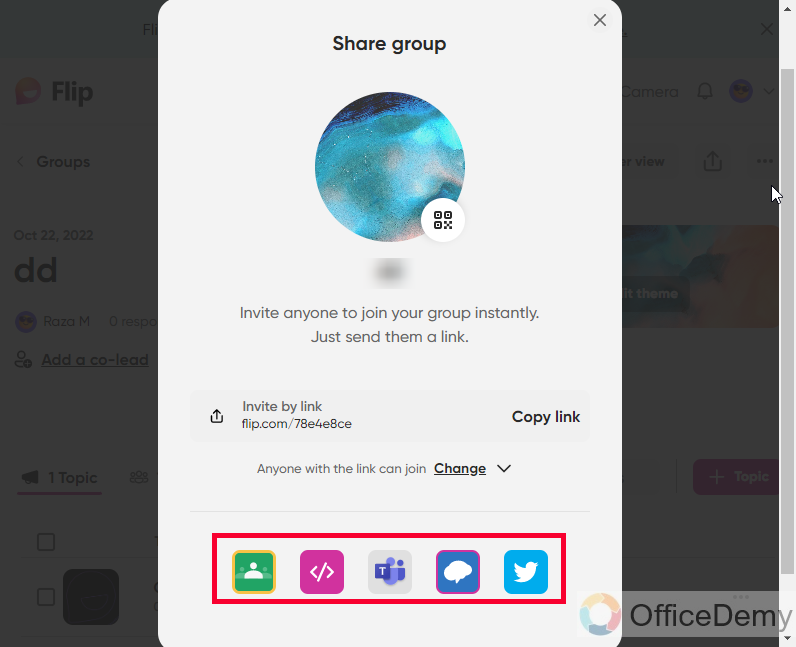
Step 17
You can Share your group on the following platforms
Now, we have successfully created our Flipgrid account and we have also created a group, now we need to add Google Slides to Flipgrid, in the below section we will see how to do that.
How to Add Google Slides to Flipgrid – Adding Google Slides
In this section we will learn how to add Google Slides to Flipgrid, now we have two similar methods to do that. We can create a video in Flipgrid and can capture the Google chrome tab in which we have our presentation. On-screen a video of the user (me) will also be added in this method, so the end users will see the presentation running in the background, and in the foreground, a tutor with no background popped up above the presentation presenting here. Sounds interesting? Let’s see how it’s done.
Step 1
Open Flipgrid, and your Google Slides file on a chrome browser window

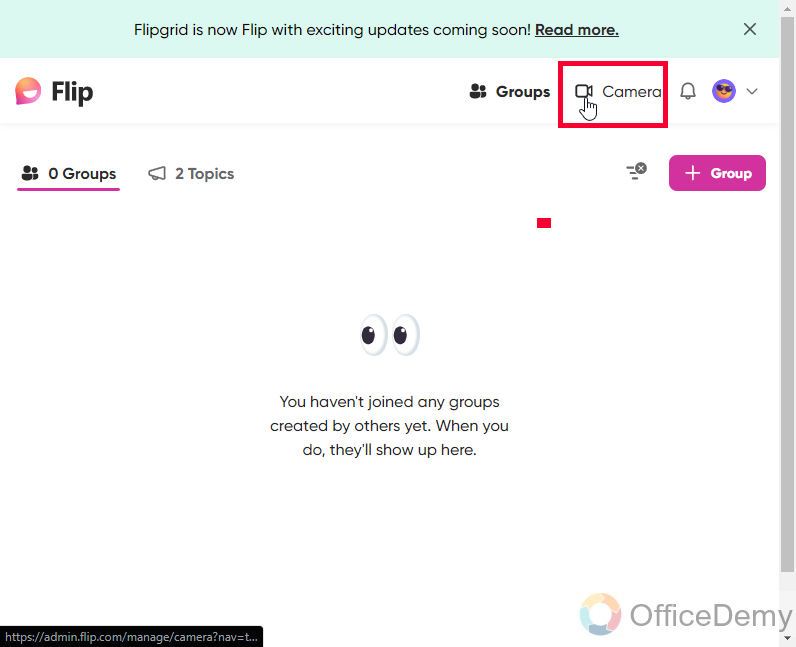
Step 2
In Flipgrid, click on the Camera icon to start recording
Step 3
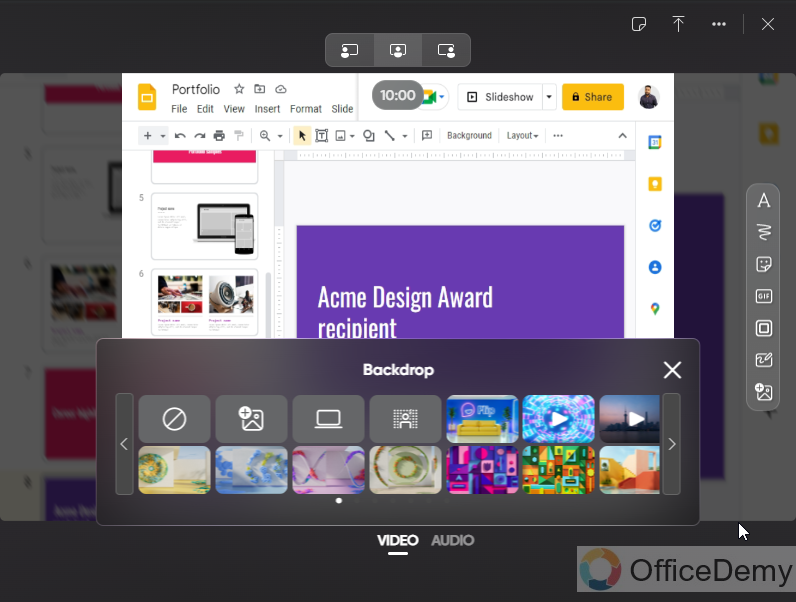
Click on the Backdrop button on the right side of the Capture button
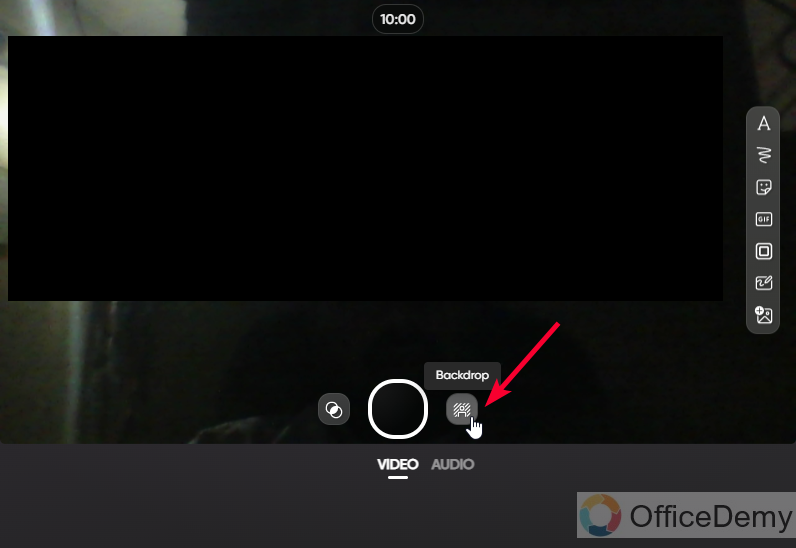
Step 4
Select Use screen as a backdrop
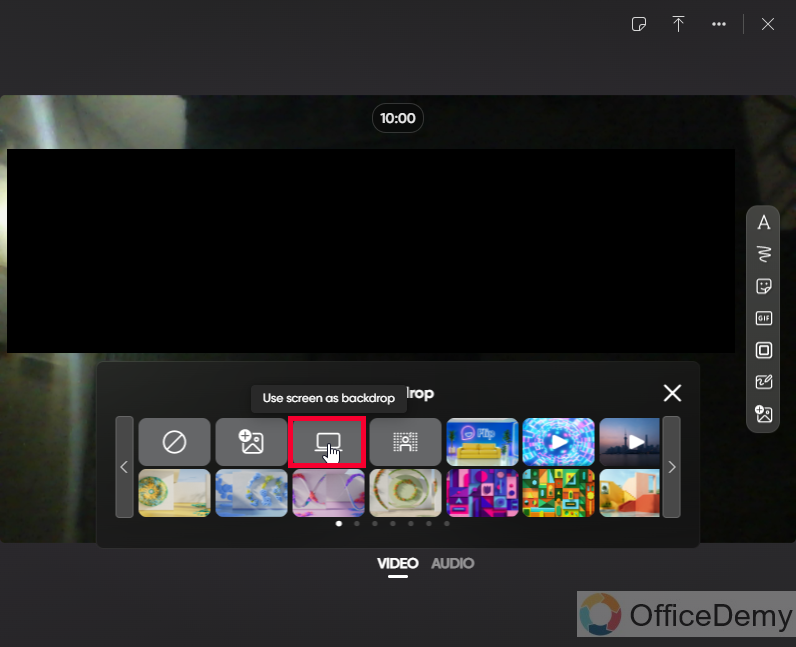
Step 5
Here, select the “Chrome Tab” tab
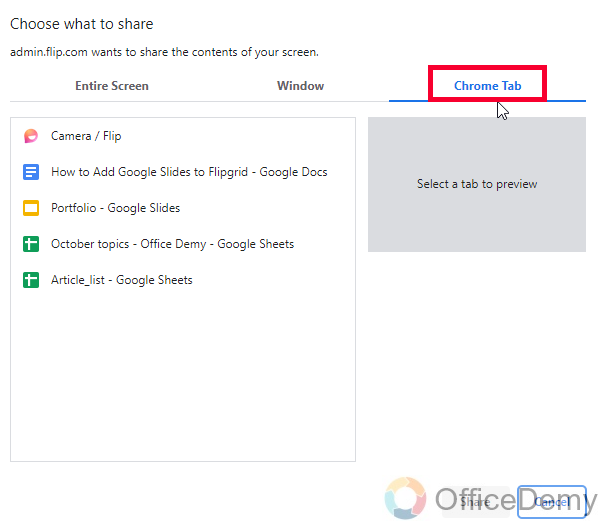
Step 6
Now select the tab from the list in which your Google Slides file is open
Step 7
Click on the Share button below
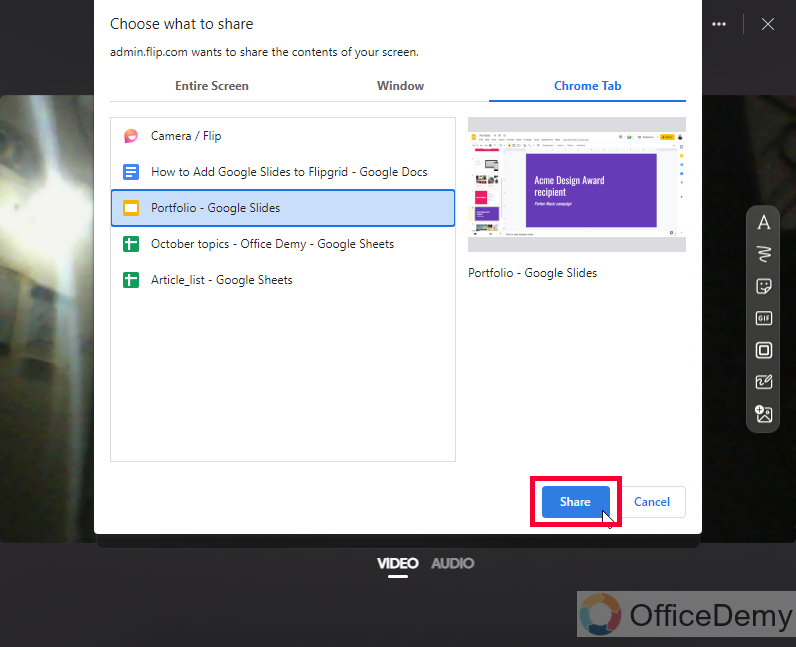
Step 8
You can see your Google Slides tab is shared and you are on the front of the screen with no background.
Step 9
Now you can start the recording in the Flipgrid
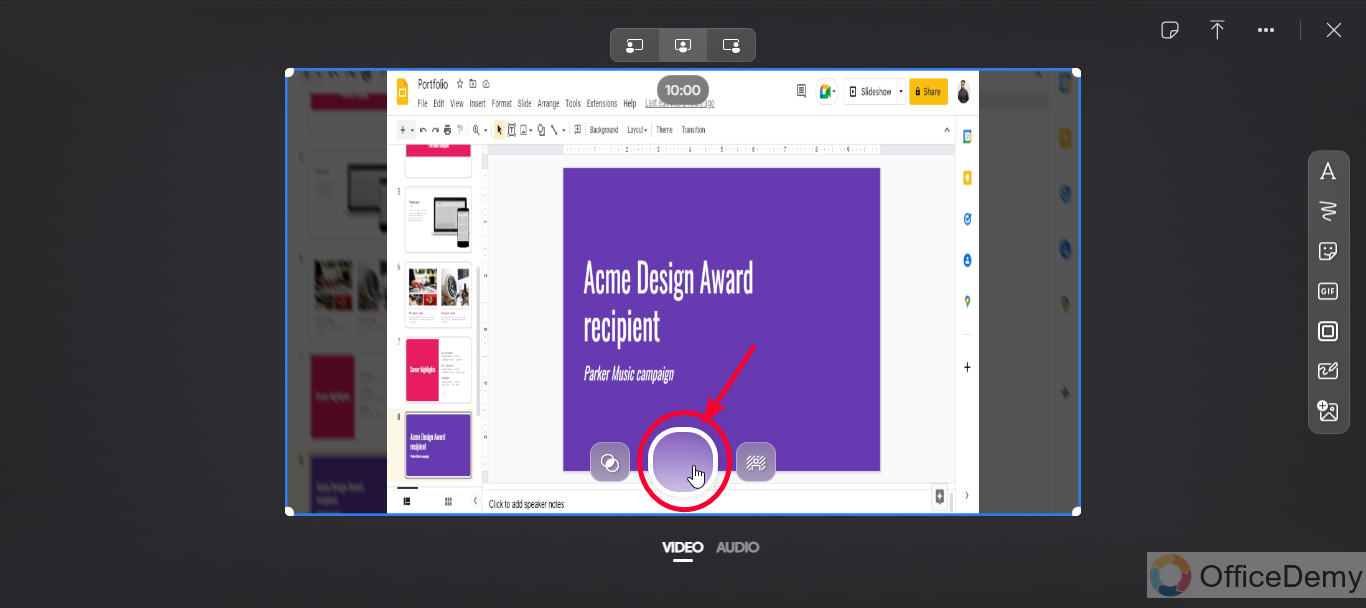
Tip: To change slides, you need to go to the Google Slides tab
Note: Your Google Slides screen and your face video via webcam will be recorded in both of these tabs, even if you are in Google Slides or Flipgrid.
Tip: You can also move your video part using mouse drag anywhere on the screen.
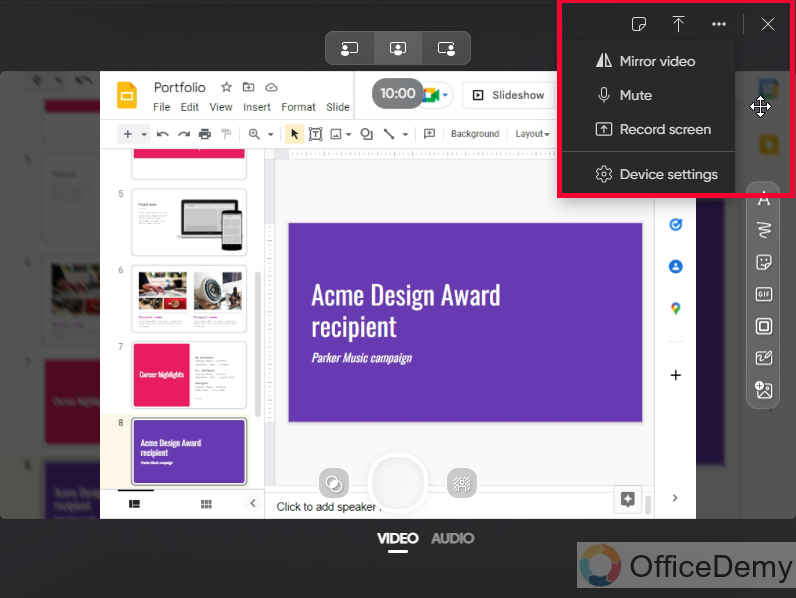
Step 10
Here you have the further option while recording a video. You can use the following buttons
- Add Sticky notes
- Upload clip
- Mirror Video
- Mute
- Record screen
- Device settings
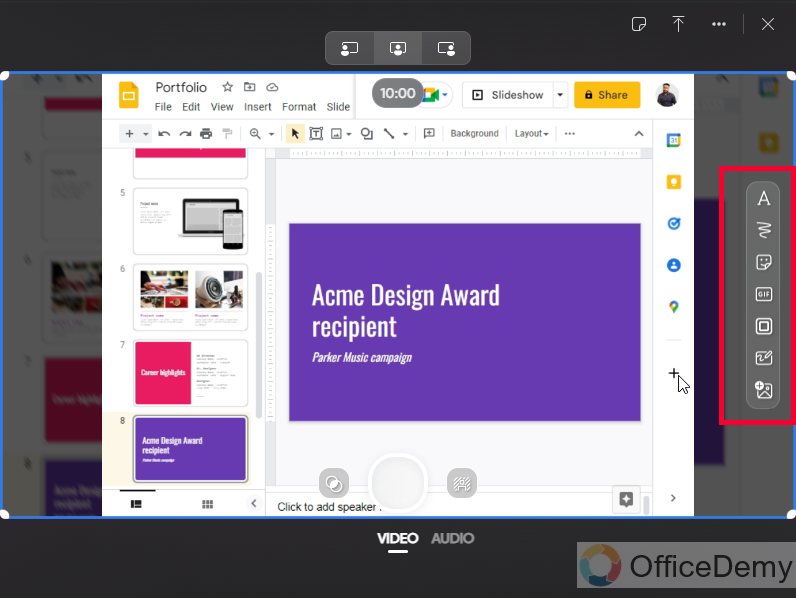
Step 11
You further have some more tools to insert elements into your Google Slides presentation streaming.
You can use the following feature
- Text
- Draw
- Sticker
- GIF
- Frame
- Board
- Photo
Step 12
After you’re done recording Google Slides, now you can stop the video by pressing the centered, capture button

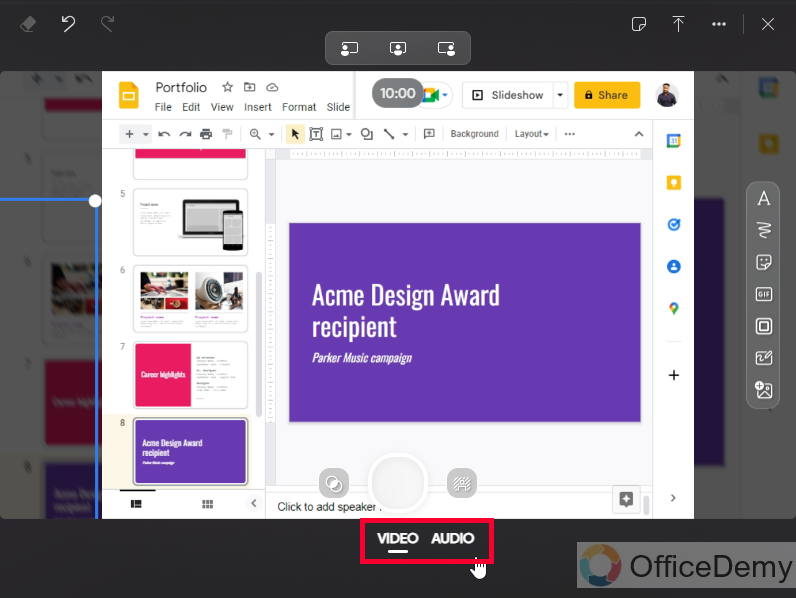
Step 13
You can switch to recording Audio/Video as per your requirements.
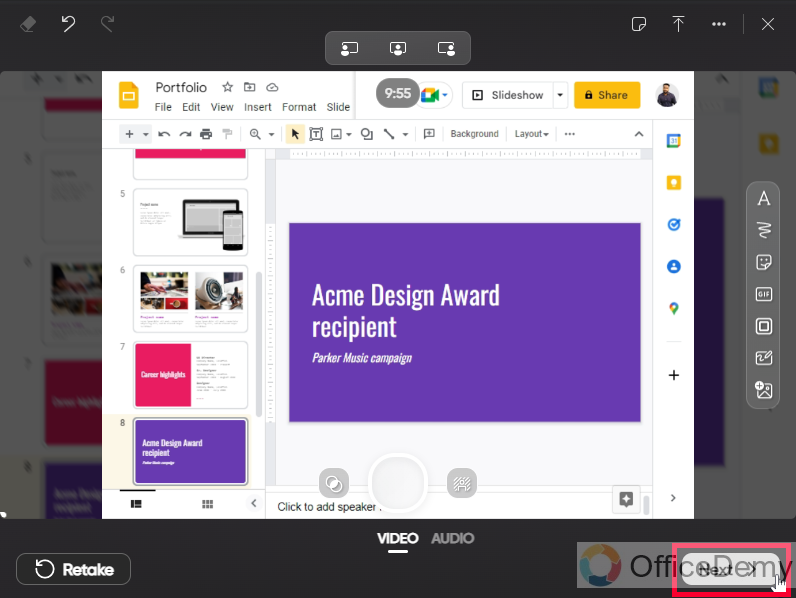
Step 14
Click on the Next button at the bottom right side
Step 15
Now you will see a basic editing tool here to edit your recorded video


Here you can Split your video, can add further parts to this video, and add Music as well.
There is so much background music of different genres available freely inside the Flipgrid media library. There are so many categories such as Features, Fun, Chill, Energetic, Inspiring, Cinematic, and Sentimental. You also have so many sound effects to add to your video
Step 16
Once you’re done with editing now you can click on the Next button
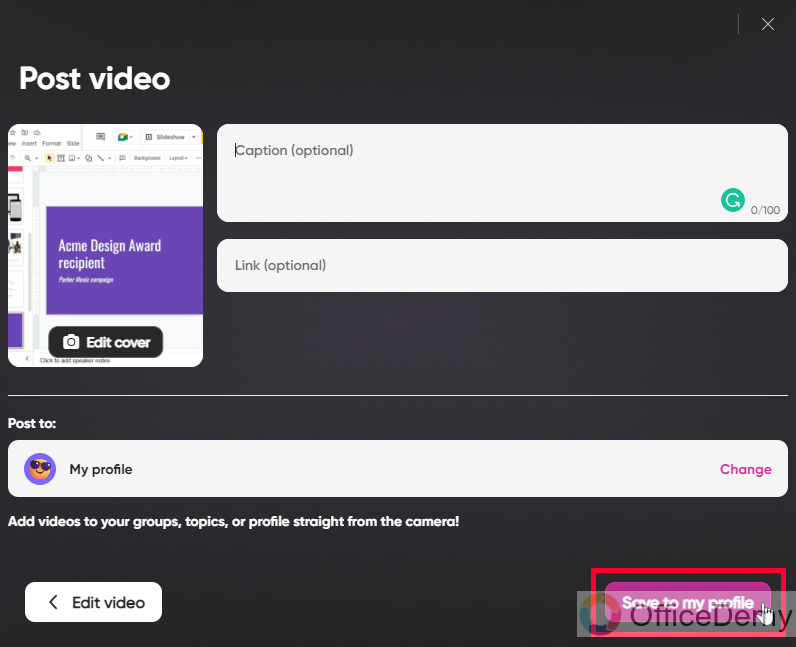
Step 17
Post Video
Here you have a few options to post your video on the Flipgrid group. Here you can add a video caption, then a link. Both of these options are optional.
Below you can set where to post this video, you can post to Profile, Topics, or in your Groups

Step 18
Now click on the Save to my profile button
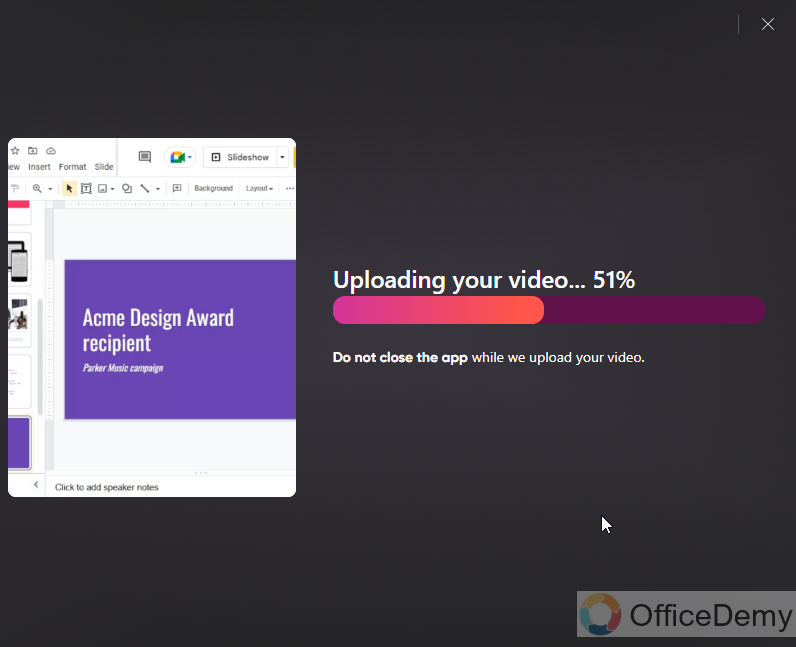
It will take some time to be uploaded to your profile.
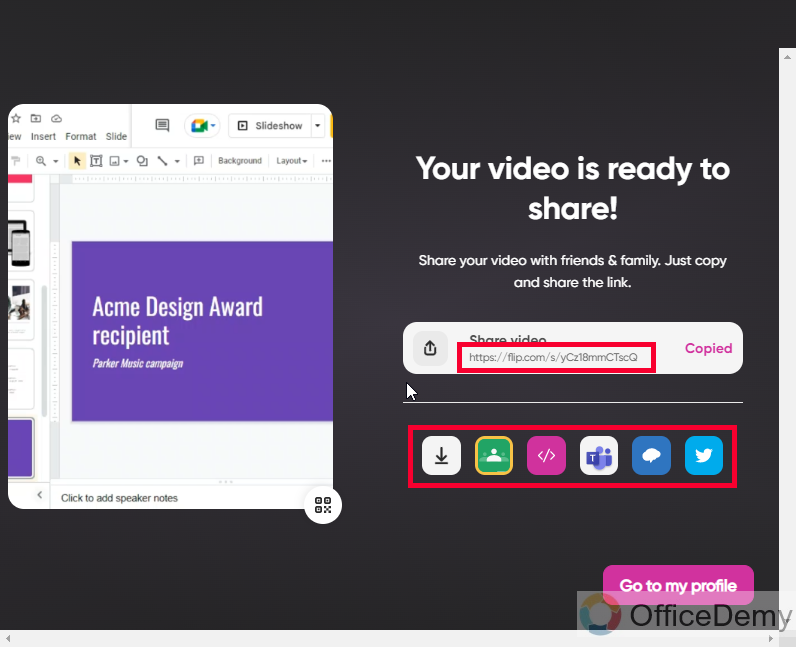
Step 19
Your video is ready, you can share the video on Google Classroom, Microsoft Teams, Remind, and Twitter
Or you can download the video to your local memory.
You can also Copy the video link to share with others.
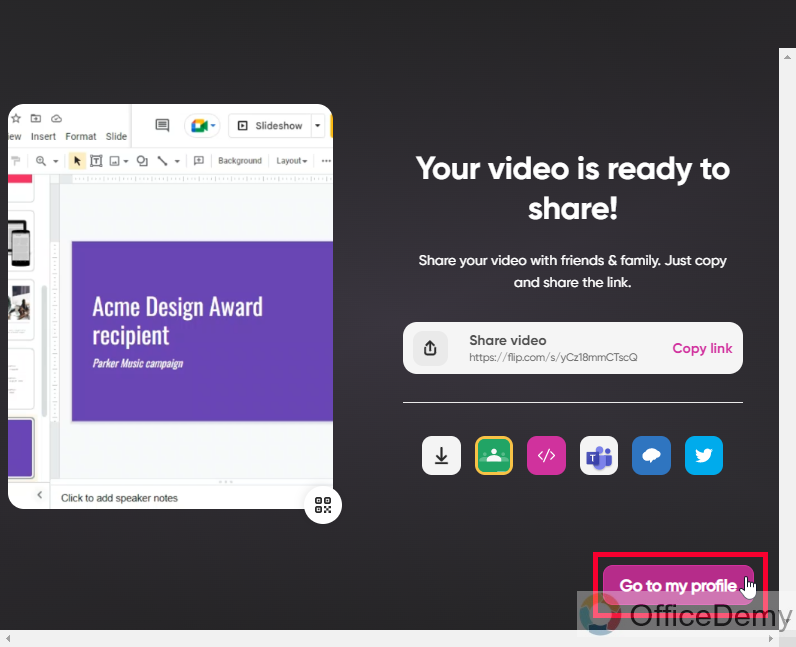
Step 20
Now click on Go to my Profile button to back to your profile and you can see the video there.
Step 21
Here is your video
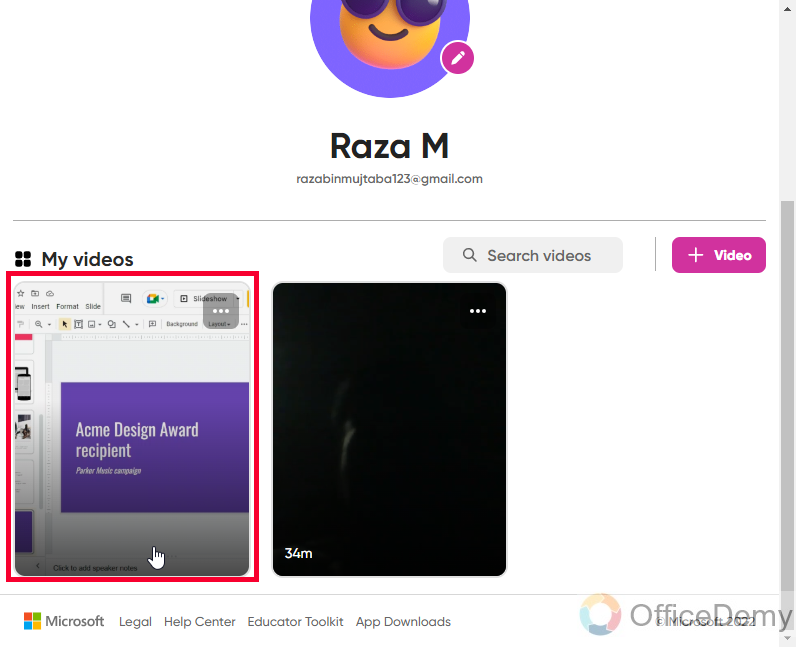
This is how you can add Google Slides to Flipgrid like a pro.
I hope you find this article helpful and that you have learned the complete procedure to add Google Slides to Flipgrid.
Important Notes
- You have so many options in the Flipgrid to add a backdrop to your video. We have seen g Google chrome’s tab because we want to show the Google Slides presentation on the screen.
- If you don’t want to record yourself you can switch to Audio, and now only your screen will be recorded which has Google Slides opened, you can switch to Google Slide’s tab to change the slides
- When recording screen with your video on the screen, you can also use video filters, even when recording only screen filters can be used.
- You can use the excellent drawing tools of Flipgrid to draw lines over the screen, this feature is used to highlight anything on the screen
- You can also add emojis, text, and images to your screen
- You can also use high-quality videos, blur screens, no screen, and custom video or image as your backdrop
- You can create a board on the screen to teach something like calculations, equations, or formulas. This option can help give students some quick notes.
Conclusion
That’s all about how to add Google Slides to Flipgrid. We have learned how to create a Flipgrid account, how to set up it, and how to create a group inside Flipgrid, then we learned how to add Google Slides to Flipgrid, then we talked about some exciting features of Flipgrid that can be used to further beautify the video, and make it more interactive and communicative using writing and drawing features. I hope you like this tutorial. Thank you so much for reading. Keep learning with Office Demy.


