
To Change Bullet Color & Size in Word
- Place the cursor.
- Click drag, and press CTRL+A to select all text.
- Click “Home” > bullet library icon in the paragraph section.
- Choose a bullet from the library.
- Click any bullet to select all.
- Go to “Font color” > Click “OK“.
In this article, you will learn “how to change the color and size of bullets in MS Word”. In this article step-by-step instructions are provided with the pictures for each step, to make it easy for you to understand the procedure. So let’s go for it.
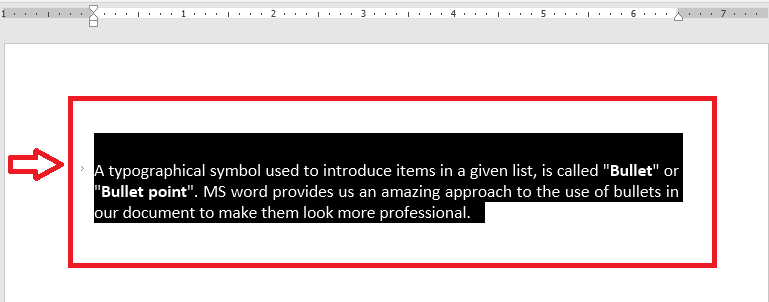
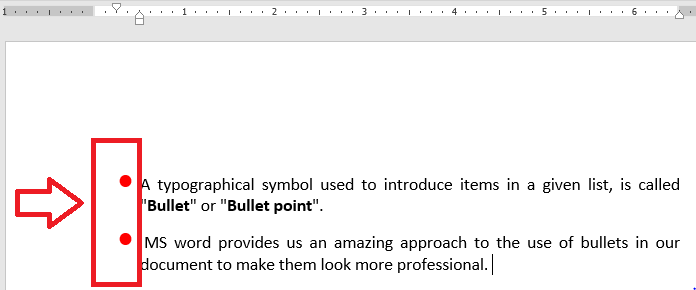
A typographical symbol used to introduce items in a given list, is called “Bullet” or “Bullet point“. MS word provides us an amazing approach to the use of bullets in our document to make them look more professional.
Example: Heavy black dot (.), open circle (o) etc.
If you are interested to learn about how to change bullet color in google slides, please follow the link below.
How to Change Bullet Color in Google Slides (Best Practice)
Benefits of bullets on the MS Word
There are alot of benifits of bullets in the MS Word, but here we will discuss some major uses, which are given below. They are used to:
- Draw the attention of viewers towards important information
- Help the readers to remember the information easily
- To show the step-by-step instructions
- Highlight an item in the list
- To organize the text in a document
How to Change Bullet Color in Microsoft Word
Choosing the Bullet from library, to change its color
Follow the steps to change the color of bullet in the MS Word:
Step 1: First of all, open your word document, and bring the cursor at the place where you want to place the Bullet.

Step 2: Select the text and place the cursor at the end of the text. Click and hold the mouse down word and then drag it towards the start of the text. Finally release the mouse button.
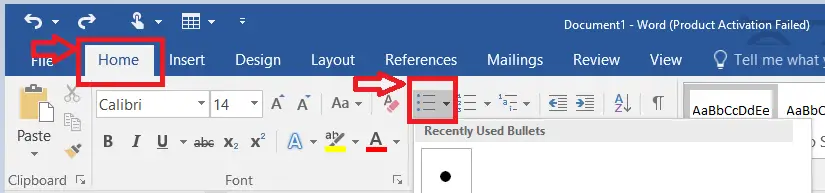
Step 3: Click on the “Home” button, and go in the paragraph section. Here click on the icon, with 3 dots and 3 horizontal lines, as shown below.
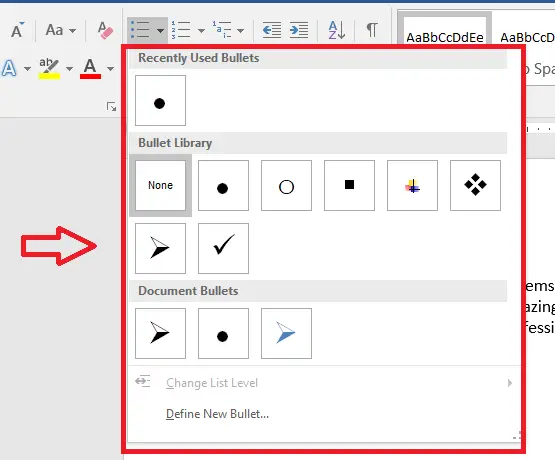
Step 4: A bullet library containing seven different bullets will open up. Choose one of these bullets, according to your requirements.
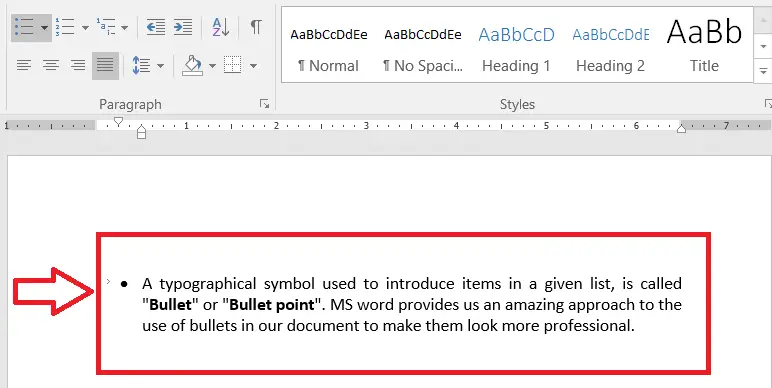
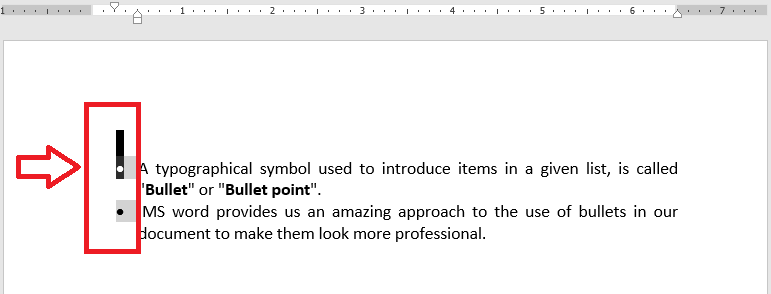
Step 5: The selected bullet will appear in the start of your selected text in the Word document.
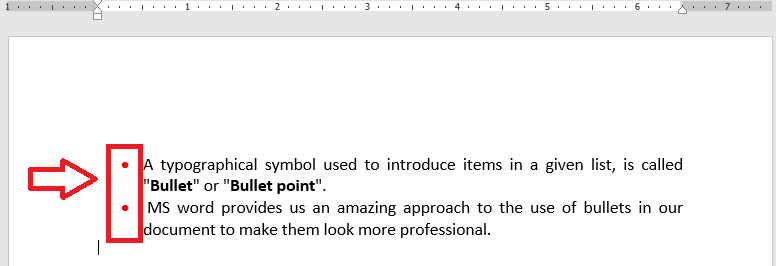
Step 6: Now, click on any single bullet to select all the consecutive bullets in the document.
Step 7: Go to the “Font color” option and click on the small arrow available beside the icon. It will open up a table of colors.
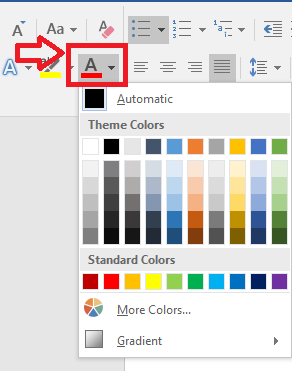
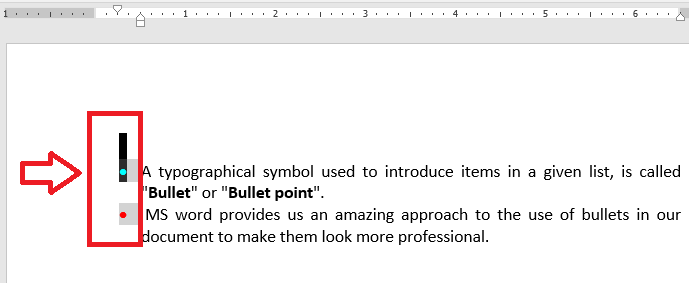
Step 8: Choose your required color from the “Theme colors” or “Standard colors” and click “OK” button. The word will change the bullet color into your selected color.
How to Change the Size of the Bullets in Microsoft Word
You can change the size of your selected bullet in the MS Word. To do this, follow the steps given below.
Step 1: First of all, open the word document which contains the bullets.

Step 2: Click on any bullet to select all the consecutive bullets in the word document.
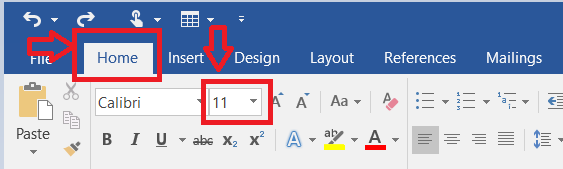
Step 3: Click on the “Home” button available at the top left side of the screen. Now, Click on the “Font Size” icon, available in the “Font” sections.
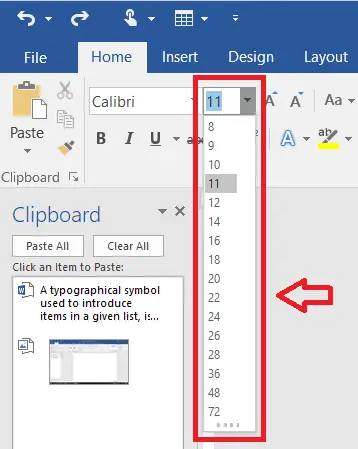
Step 4: It will open a vertical list of font sizes. Select the desired font size from the list.
Step 5: Once you click on the font size, the word will change the size of the bullets to the selected size.
Notes
You can also change the size of bullets and text together in word document. To do this, you have to select the font and bullets together, by pressing the CTRL+A keys on your keyboard. Then repeat the same procedure as shown above, to change the size of the bullets as well as text together.
Frequently Asked Questions
Can I Use the Same Method to Change Bullet Color in Google Slides as in Word?
When it comes to modifying bullet color, the method in Google Slides differs from that in Word. In Google Slides, you can change the color of individual bullets by selecting the bullet point and using the formatting options. However, in Word, you can modify bullet color by accessing the Bullets and Numbering dialog box and adjusting the color settings.
Conclusion
I this article we have shown you how the change the color of the bullets in MS Word as well as how to change the size of the bullets in MS Word. We have also mention the method of changing the font size and text together, in the same article. You can follow these step by step instructions to increase or decrease the font size or change the color of font, in your word document, as per your requirements.


