
To Create a Rule in Outlook
Simple Rules:
- Open Outlook and select the Inbox.
- Right-click an email and choose “Rules“.
- Select “Always move messages from Sender.
- Choose a folder or create a new one.
- Click “OK” to move messages from that sender to the selected folder.
Basic Rules:
- Select your Inbox folder.
- Right-click an email and choose “Rules” > “Create Rule“.
- Set conditions like “From,” “Subject,” or “To“.
- Choose actions like moving, changing sound, or desktop alerts.
- Checkmark options and click “OK” to create the rule.
Advanced Rules:
- Access the “Create Rule” dialog as before.
- Click “Advanced Options” in the top right.
- Use the “Rules Wizard” for complex conditions and actions.
- Select conditions, actions, and exceptions.
- Review and finalize the rule, then click “Finish“.
Managing Rules in Outlook:
- Go to the Home tab in Outlook.
- Click on “Rules” and select “Manage Rules and Alerts.”
- In the new window, check/uncheck rules to enable/disable them.
- Delete unnecessary rules.
Hello and welcome to this guide. We are learning how to create a rule in Outlook. In our fast-paced digital age, managing email efficiently is crucial for staying organized and productive. With the abundance of messages flooding our inboxes daily, having a system in place to automatically sort, prioritize, and handle emails can be a game-changer.
Fortunately, Microsoft Outlook offers a powerful solution through its rule creation feature. In this article, we’ll explore how to create a rule in Outlook, empowering you to streamline your email workflow and regain control over your inbox. From simple email categorization to advanced automation, discover how Outlook rules can revolutionize how you manage your emails.
Importance of creating a Rule in Outlook
Learning how to create a rule in Outlook is essential for anyone seeking to streamline their email management process. With the ever-increasing volume of emails, we receive daily, manually organizing and prioritizing them becomes a tedious and time-consuming task. By mastering Outlook’s rule creation feature, you can automate various actions, such as organizing incoming emails into specific folders, flagging important messages, or forwarding emails to designated recipients. This automation saves you valuable time and ensures your inbox remains organized and clutter-free.
Creating rules in Outlook also helps you prioritize your email communication effectively. By setting up rules based on specific criteria such as sender, subject, or keywords, you can ensure that important messages are promptly addressed while less critical ones can be dealt with later. This allows you to maintain focus and respond to crucial emails without being overwhelmed by the sheer volume of incoming messages.
Also, learning to create a rule in Outlook provides a flexible and customizable email management system. Outlook offers a wide range of options and conditions, allowing you to tailor the rules according to your unique requirements. Whether you need basic rules for simple sorting or more advanced rules involving multiple criteria and actions, Outlook empowers you to design a system that aligns with your workflow and preferences. So, these are some good reasons to learn how to create a rule in Outlook.
How to Create a Rule in Outlook?
Creating a rule is a big feature. It’s enriched with a lot of options and customization options. So, this article on how to create a rule in Outlook is divided into four different sections to make a simple learning curve for all levels of readers. So, first, let’s get started with the simplest form of rule in Outlook.
Create a Rule in Outlook – Simple Rules
In this section, we will learn how to create a rule in Outlook, and we will see the basics of rule creation. How rules work, and how you can compare them with conditional formatting to understand in a better way as a Google Sheets user.
Similarly, as we have conditional formatting in Google Sheets, in which we define rules, these outlook rules are very similar to them in nature, yet they have some differences in features, and available options to make any action based on a rule.
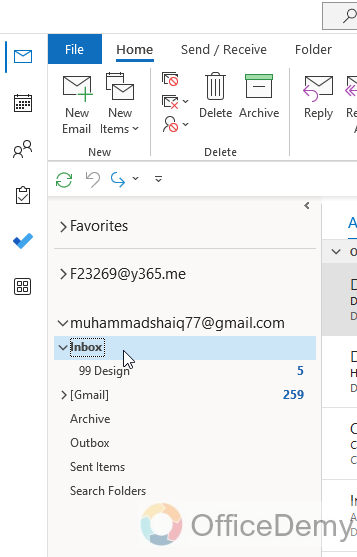
Step 1
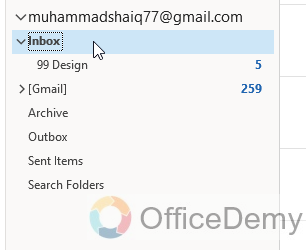
Open your Outlook app on your PC, and select the Inbox folder
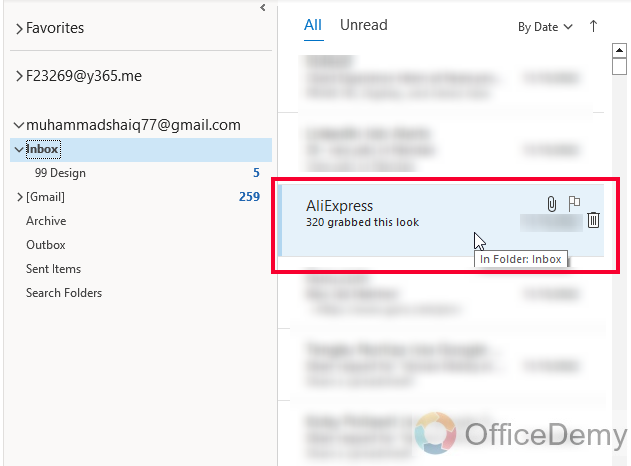
Step 2
Select any conversation or email message on which you want to create a rule and right click
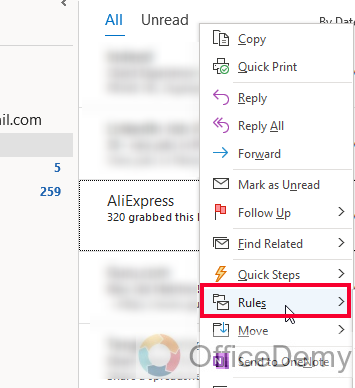
Step 3
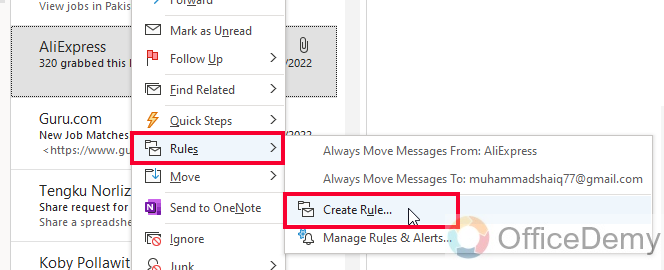
In the context menu, look for the option “Rules”
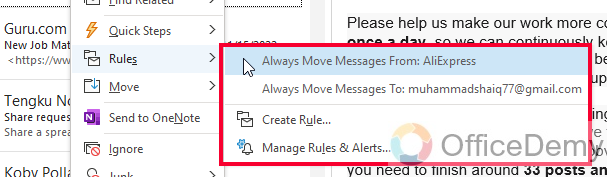
Step 4
You will get further options for “Rules”, for the simplest form of rule, we normally perform a “Move” action for a sender. Select “Always move messages from ‘Sender’”
Step 5
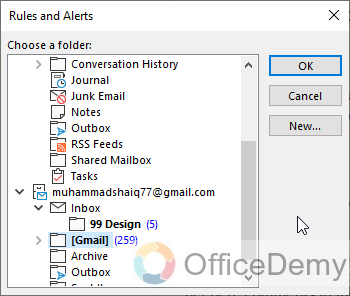
A new “Rules and Alert” dialog box will appear
Step 6
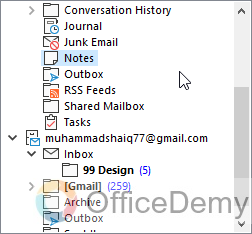
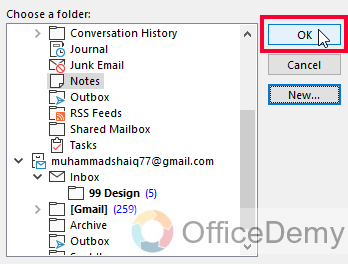
Select a folder from the list to move the messages always from the selected sender.
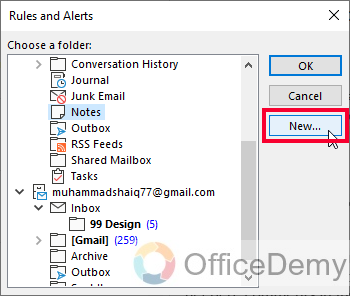
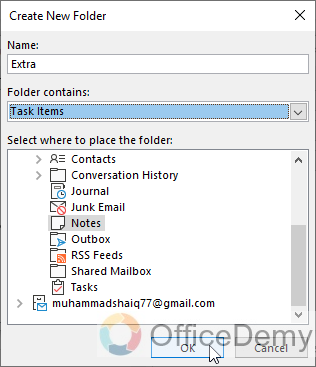
Step 7
Click on the “New” button if you want to create a new Folder.
Step 8
Click on the “Ok” button and your simple rule has been setup now every message from the selected user will not come to your inbox, it will be directly moved to the New Folder you selected.
Create a Rule in Outlook – Basic Rules
Now let’s talk about some basic rules. In this section, we will learn how to create a rule in Outlook, but this time we will be working with some basic rules, more complex than in the previous section. So, let’s see how we can have more options and more power over rules to set them up more dynamically.
Step 1
Select your Inbox Folder and look for an email message for which you want to set the rule
Step 2
Right-click on the message and select “Rules” Then from more options, select “Create Rule”
Step 3
A new “Create Rule” window will appear.
Step 4
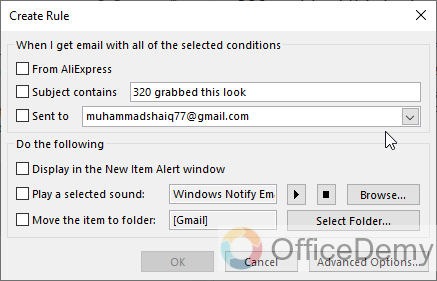
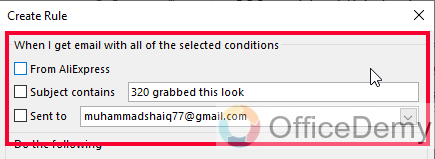
Here you can set the condition for the message before running the rule on it, you have got three options in the first section, where you can define the details of the sender. The major options here are “From”, “Subject”, and “To”
Step 5
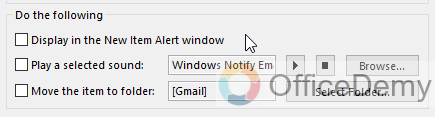
In the below section, you can select what to do when the condition is satisfied, you can set the move option to move the message from any other folder, you can also change the notification sound for it, and may get a desktop alert for it.
Step 6
Check marks the points that you need, and then click on the “Ok” button.
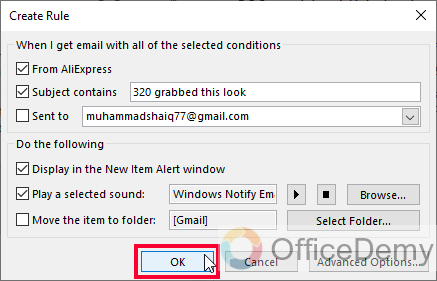
This is how you can make a more complex rule where you can have more control over the conditions and actions to be taken for that condition.
Create a Rule in Outlook – Advance Rules
Now in this section, we will explore some more advanced options regarding the Rules in Outlook. So, we are learning how to create a rule in Outlook, and these are going to be some advanced rules more complex than in the previous section.
Step 1
Repeat all the steps to reach the “Create Rule” dialog box.

Step 2
Now in the top right corner, click on the “Advanced Options” button

Step 3
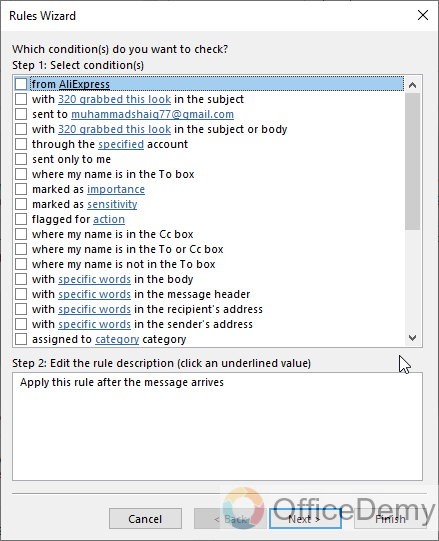
Now you have another dialog box opened “Rules Wizard”
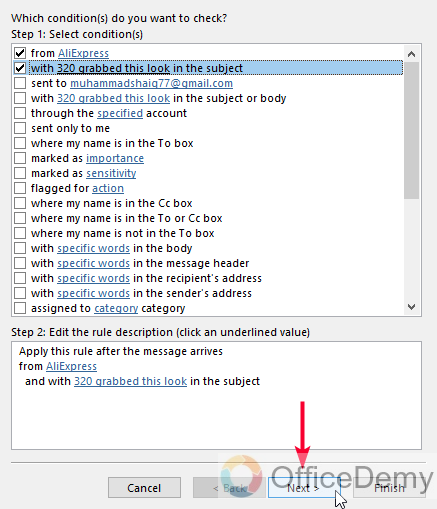
Step 4
Here you have tons of more advanced options for setting the conditions.
Check the points that you like to add to your rule and then click on the Next button
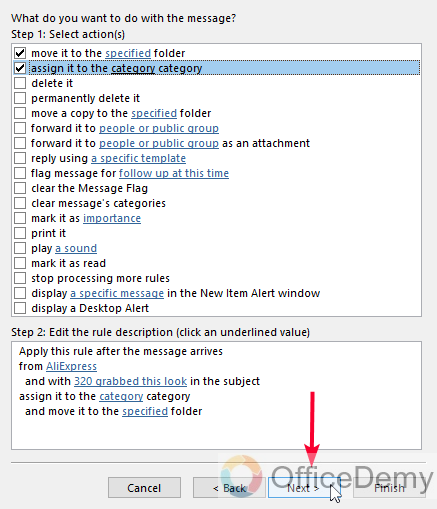
Step 5
Now select the actions from a big list, you can select multiple actions you want to trigger when the condition is satisfied. And click on the Next button.
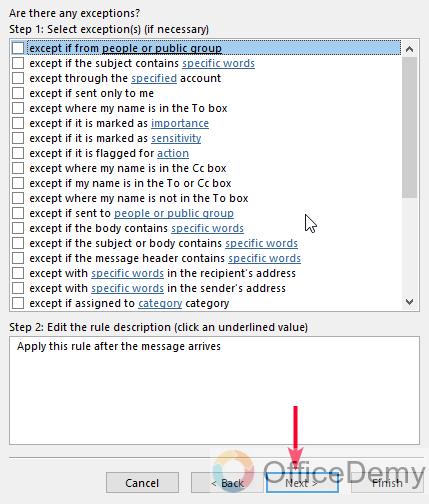
Step 6
Now here, you can select any exceptions if you need them, this is optional. Click on the Next button again
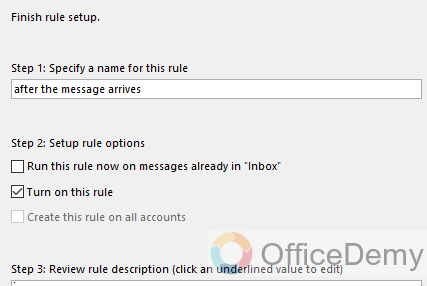
Step 7
Now review and finalize your rule here, check on all three steps, and then click on Finish.
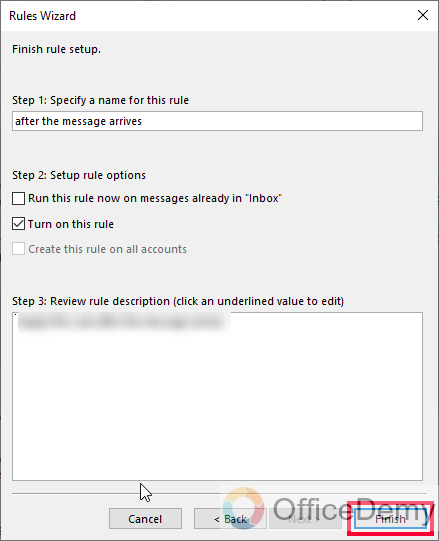
Your new advanced rule has been created and now it will run to all those emails that will satisfy the condition.
Create a Rule in Outlook – Manage Rules
In this section, we are learning how to create a rule in Outlook and then how to manage our rules like a pro. So, let’s see some good ways to manage rules efficiently.
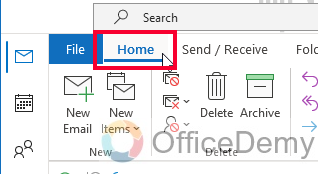
Step 1
Go to the Home tab in your Outlook App
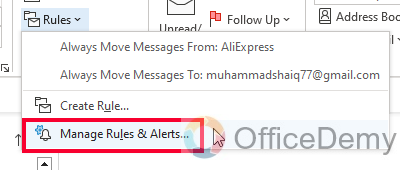
Step 2
Go to Rules, and click on “Manage Rules and Alerts”
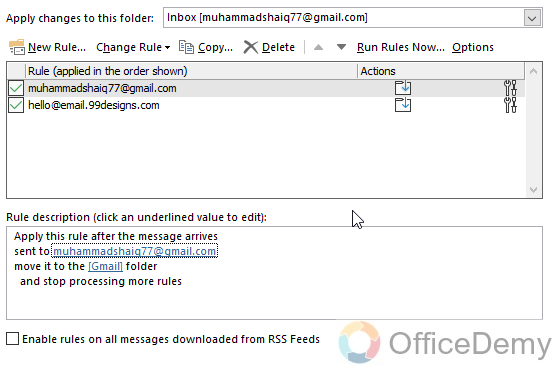
Step 3
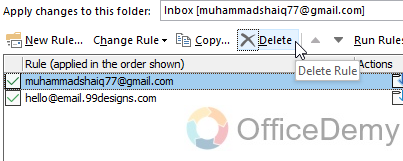
You will get a new window, and here you have all your rules you can check or uncheck rules, to keep them on and off respectively.
Step 4
You can also delete rules from here if they are no longer necessary.
So, this is how to manage rules in Outlook.
Conclusion
I hope you find the above guide How to Create a Rule in Outlook helpful. For more, please like, share, and Subscribe to our Blog. Thank you and keep learning with Office Demy.


