
To Create a vCard in Outlook
- Go to your “People View“.
- Select “Contact“.
- Go to “File” > Click “Save As“.
Hi, today, we will learn how to create a vCard in Outlook. A vCard is an electronic business card that is usually used to attach email messages with information like one’s name, address, telephone numbers, email addresses, company logos, and photographs.
Microsoft Outlook makes it easy to set up your vCard and include it with any email messages you send from any account on Outlook. If you are also a particular user of Microsoft Outlook and deal with sharing information with others, then you may need to learn how to create a vCard in Outlook.
Importance of using vCard in Outlook
Let’s suppose you are a busy user of Outlook and deal with hundreds of people daily, it may cost much time to share someone’s contact details or other bio. But a vCard makes it so easy. You can share anybody’s details with just a few clicks by sharing his vCard.
If you have many Outlook contact lists and want to create a vCard for them here is the tutorial on how to create a vCard in Outlook.
How to Create a vCard in Outlook
Creating a vCard in Outlook is so easy in Outlook, just follow the steps of saving a file, and you will get your vCard in Outlook. If you are still confused with creating a vCard in Outlook read the following steps.
Step 1
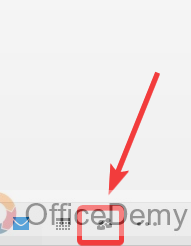
When you open Microsoft Outlook, you will see emails on your screen first, to create a card you will have to go into the Outlook contacts. Click on the following people icon located at the bottom left of the window to open Outlook contacts.
Step 2
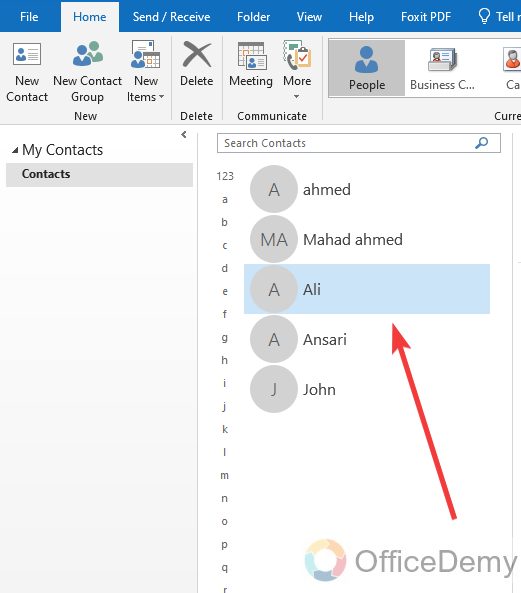
As you can see in the following screenshot, Outlook contacts have been opened, there are all your Outlook contacts in front of you. Now find the contact that you want to make a vCard . First, select it by clicking on it.
Step 3
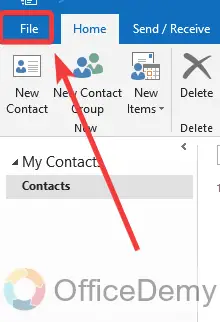
After selecting the contact that you want to make a vCard , go into the “File” tab of the menu bar of Outlook as directed in the following picture.
Step 4
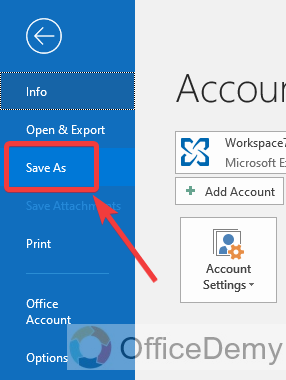
When you click on the “File” tab, the following screen will slide in front of you, look at the left blue panel where you will find a “Save as” option. Click on it to save your contact.
Step 5
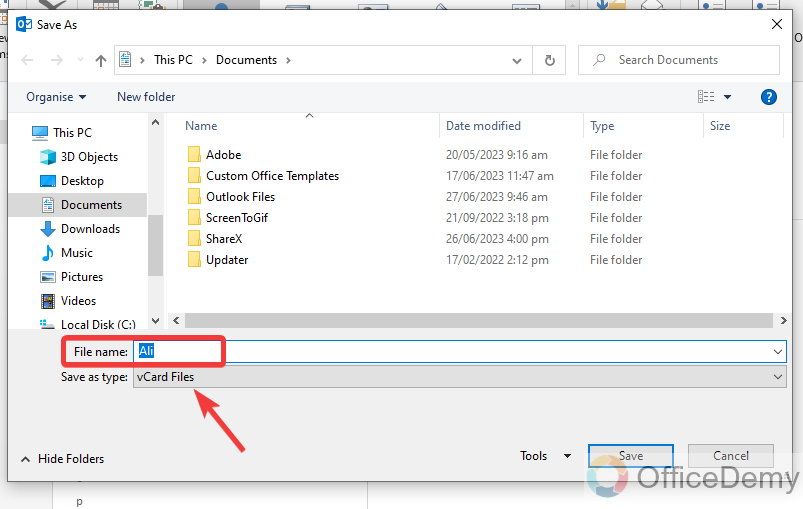
Clicking on Save as an option, a new small window will open. First, select the file location where you want to save your vCard . Then write the file name for your vCard as mentioned in the following example.
Step 6
Once you are done selecting the file location and name, just click on the “Save” button as directed in the following picture. Your contact will be saved to your selected VCF file type or vCard location.
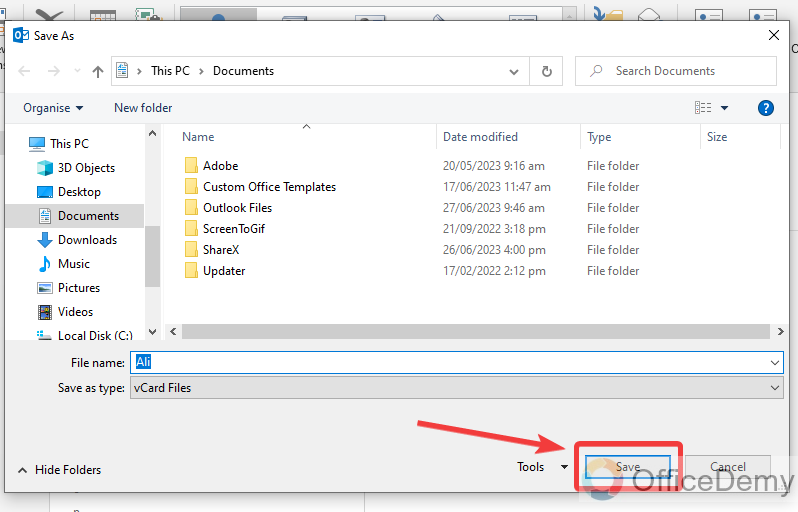
In this way, you can create a vCard from your Outlook contacts.
Frequently Asked Questions
Q: How to create a new contact in Outlook?
A: Outlook contacts can save and store information, including names, email addresses, street addresses, pictures, birthdays, and other information. Outlook contact allows you to send emails to a group of people at the same time. If you want to create an Outlook contact, here are a few steps through which you can create a new Outlook contact.
Step 1
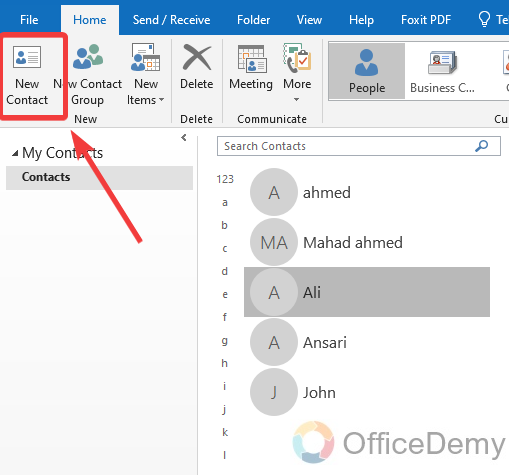
If you are on the Home screen of Outlook contact, then look at the extreme left top corner of the window, you will see an option to create a new contact namely “New Contact“. Click on it to create a new Outlook contact.
Step 2
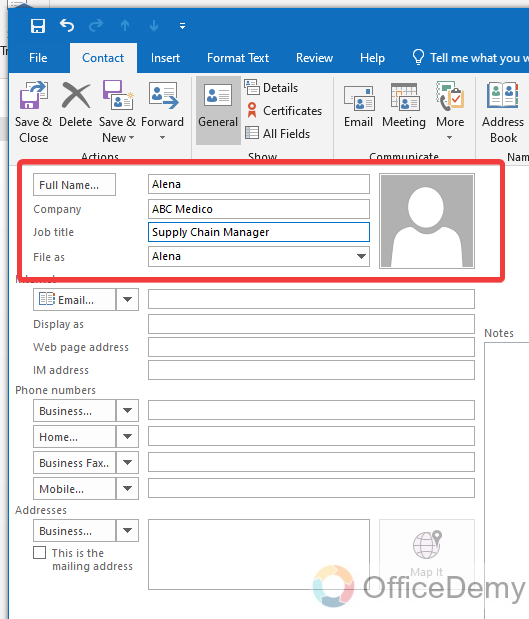
When you click on the “New contact” option, a new window will open in front of you where you will have to fill in some requirements to create further contact. First thing you will have to write your Name, organization, job title, etc.
Step 3
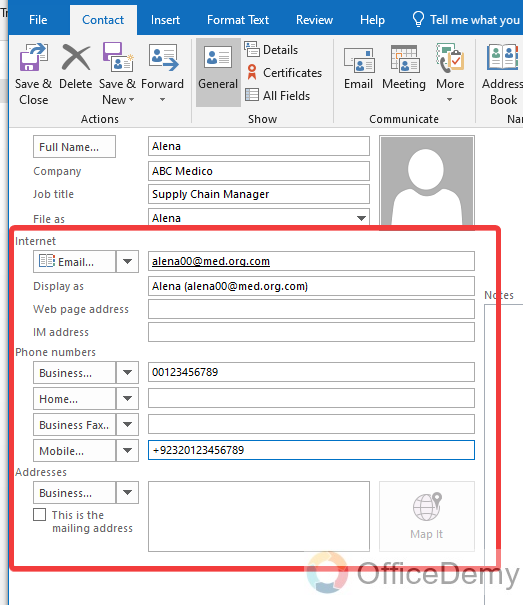
In the second section, you will have to provide your contact information, this may include your email address, web address, contact number, cell number, address, etc.
Step 4
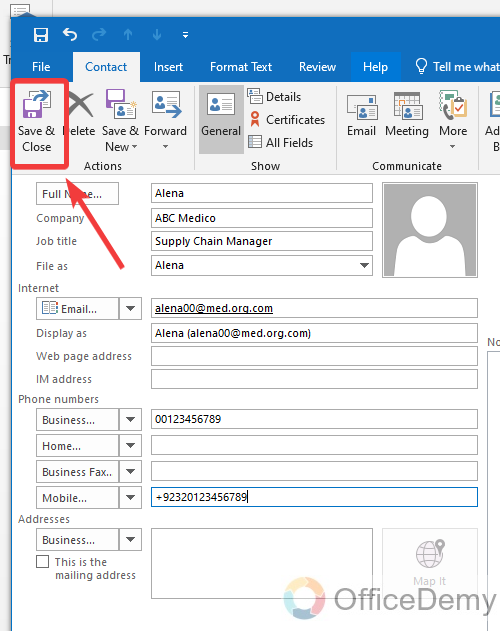
Once you are done with giving all information then click on the “Save & Close” button as highlighted in the following picture to save your contact.
Step 5
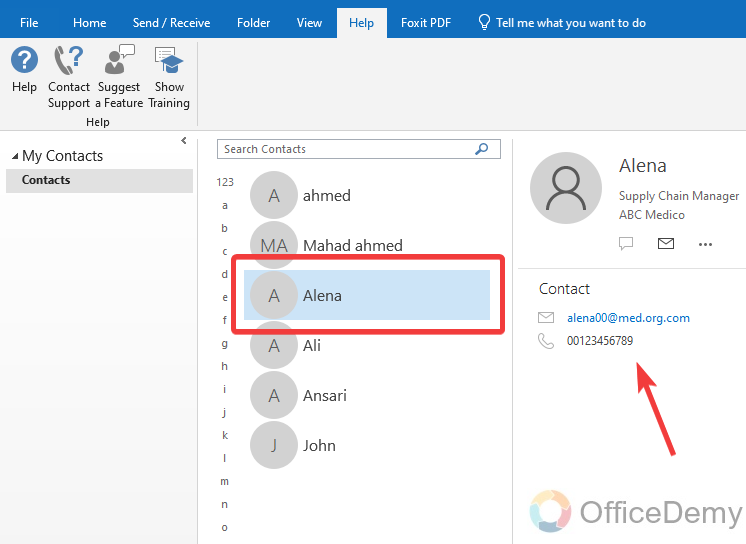
Here, you can see the result in the following picture, your contact has been created.
Conclusion
That’s all about how to create a vCard in Outlook. As it’s been an era of digital and electronic media. Therefore, we have brought the above article on how to create a vCard in Outlook, hope it’ll find helpful to you. Thanks, and keep learning with Office Demy.


