
To Insert Image in Google Sheets
- Click the cell where you want to insert the image.
- Go to “Insert” > “Image“.
- Upload the image from your device.
OR
- Click the cell where you want to insert the image.
- Go to “Insert” > “Image” > “Image over the cell“.
- Upload the image from your device.
OR
- Click “Insert” > “Drawing” > “Image“.
- Upload the image from your device.
- Edit the image using the drawing tool.
- Click “Save and close” to insert the edited image.
Hi, today we will learn how to insert image in Google Sheets. It’s true, a Google Sheets spreadsheet consists of numbers, text, and tables but that’s not wrong that a spreadsheet can include more than numbers as well. This is to insert an image in Google Sheets. When you are dealing with data visualization in Google Sheets spreadsheet, you may need to insert images in Google Sheets. Images can be very helpful to show a large amount of content in a specific area.
Fortunately, now it is possible with Google Sheets to directly insert an image to your sheet. As Google Spreadsheets consists of cells, you find all the ways to insert images in the cell or over the cell. In this article on how to insert an image in Google Sheets, we are going to teach you both a method to insert an image in the cell or over the cell and another method by Google Sheets drawing tool to make the image editable. Let’s move ahead without wasting our time.
Importance of inserting Image in Google Sheets
Images not only make your documents attractive but also are the best source of data visualization. In Google Sheets where we use charts to give data visualization to the users. Whereas images are another way to improve the visual impact of your Google sheet spreadsheet. One of the best things is that Google Sheets directly allows the users to Insert an image in the cell which may be more useful. Then why should we not learn this useful feature of Google Sheets? Let’s take a deep overview of how to insert images in Google Sheets from the following steps.
How to Insert Image in Google Sheets?
As per new updates, fortunately, now it is very easy to insert images in Google Sheets because Google Sheets has a direct option available to do this now. Here we will study both ways of inserting images in the cell and over the cell. In this tutorial, we will also learn to insert images with drawing tools. Then let’s quickly move toward the steps to cover all these topics.
Insert Image in Google Sheets – in a Cell by Insert Tab
Step 1
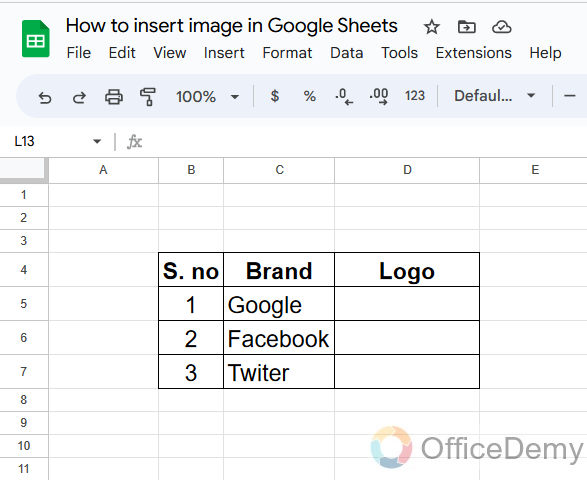
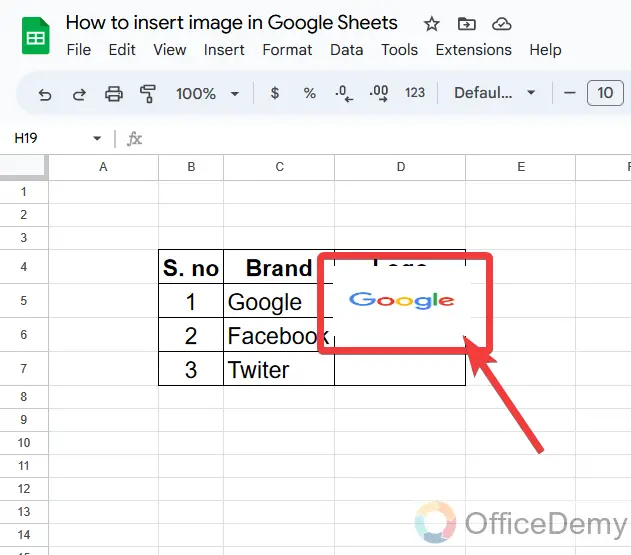
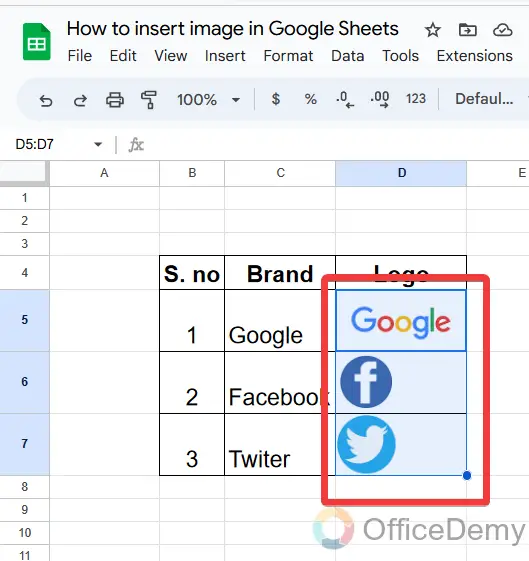
In the following sample picture, you can see a table on which we are going to insert an image in Google Sheets.
Step 2
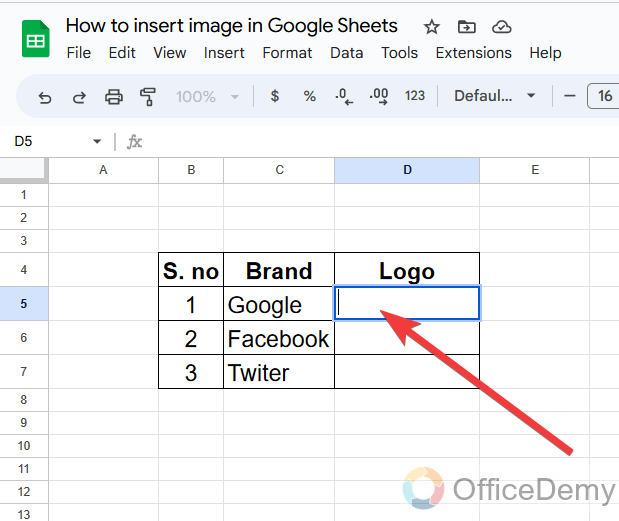
As we are inserting an image in a cell, first place your cursor in the cell where you want to insert an image in Google Sheets.
Step 3
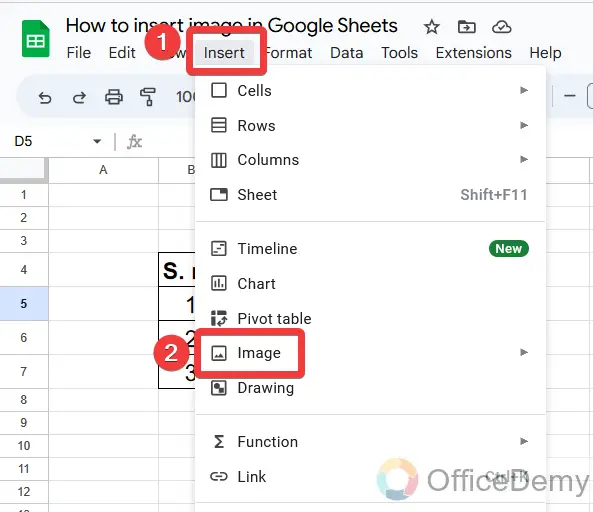
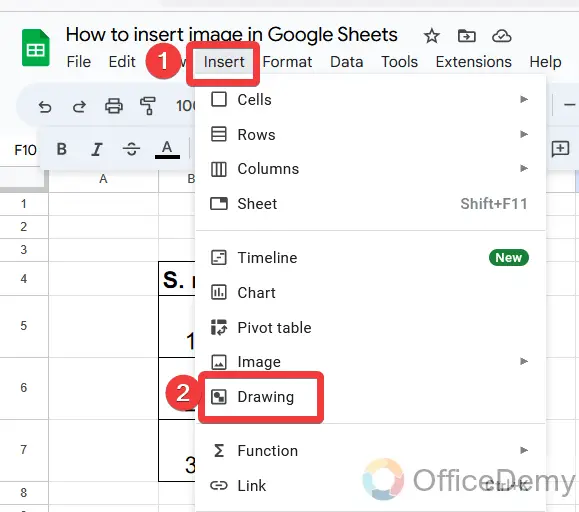
Then to insert an image go into the “Insert tab” of the menu bar of Google Sheets, on clicking on the Insert tab a drop-down menu will open in which you will find an option for “Image“. Click on it to insert an image.
Step 4
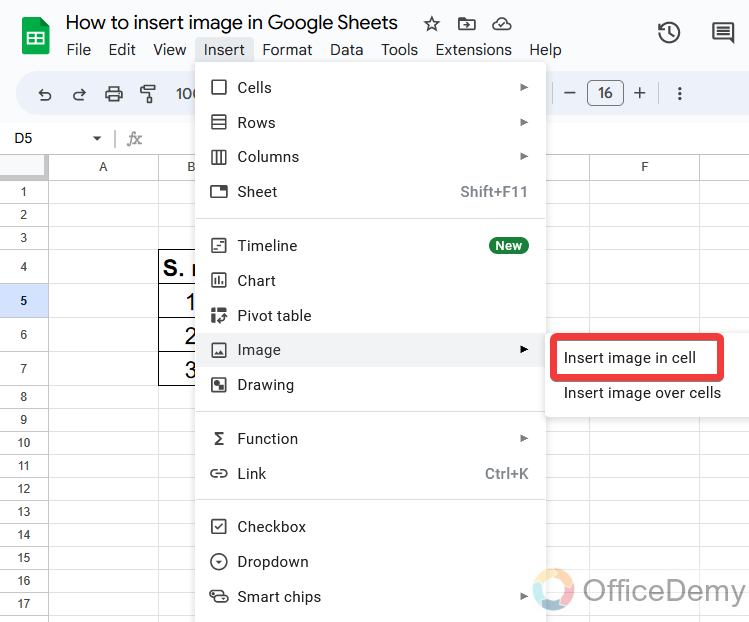
Another slide menu is to open, when you click on an image from the drop-down menu. Here you will find two options, the first one is to insert an image in a cell and the second one is over the cell. As we are inserting an image in a cell, here we will select “insert image in cell“.
Step 5
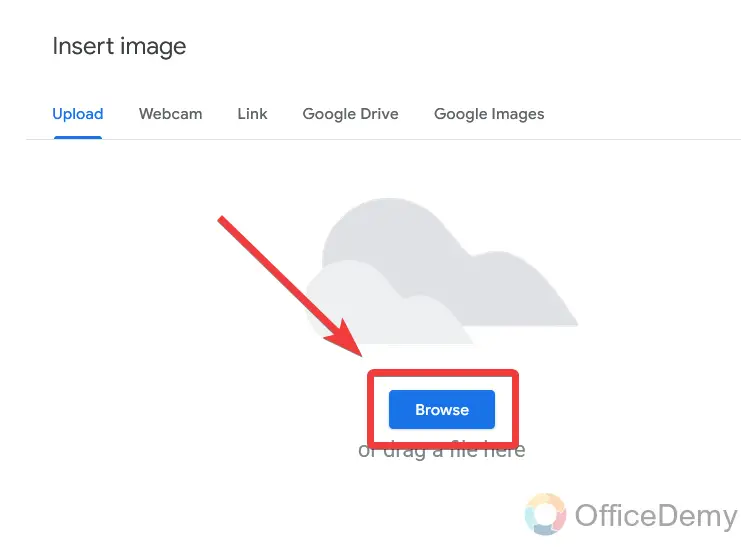
When clicking on insert in the cell, it will promptly ask you to browse your picture from the device on a different window. Click on the “Browse” button on this window to select your picture from the device.
Step 6
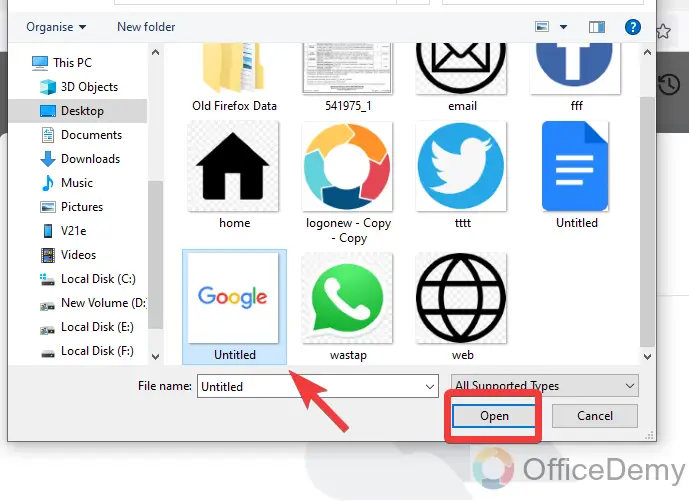
Then simply select your desired picture from your device and click on the open button. Your image will be inserted in a cell in Google Sheets.
Step 7
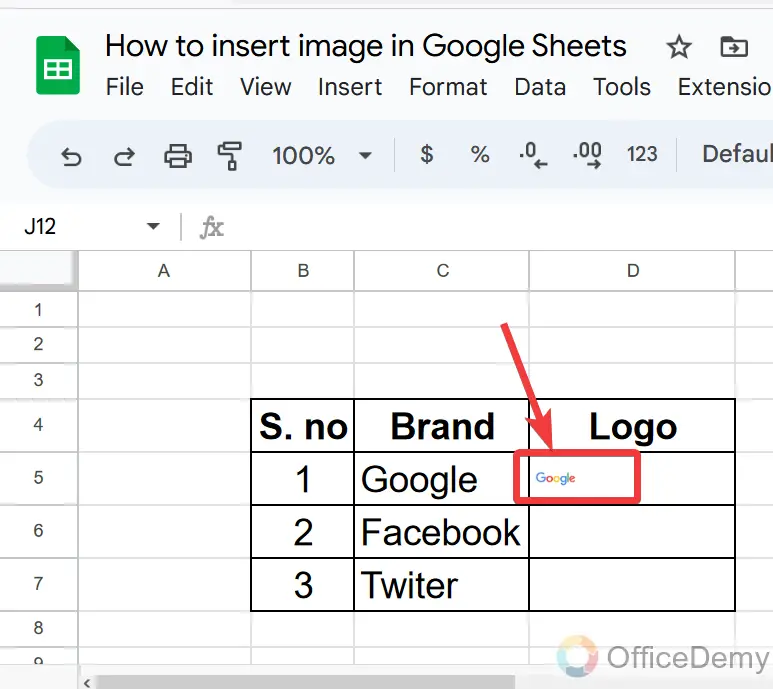
As you see the result in the following picture, the image has been inserted into the cell.
But this image is very small and cannot be resized or edited if needed. Let’s try inserting an image over the cell.
Insert Image in Google Sheets – Over a Cell by Insert Tab
Step 1
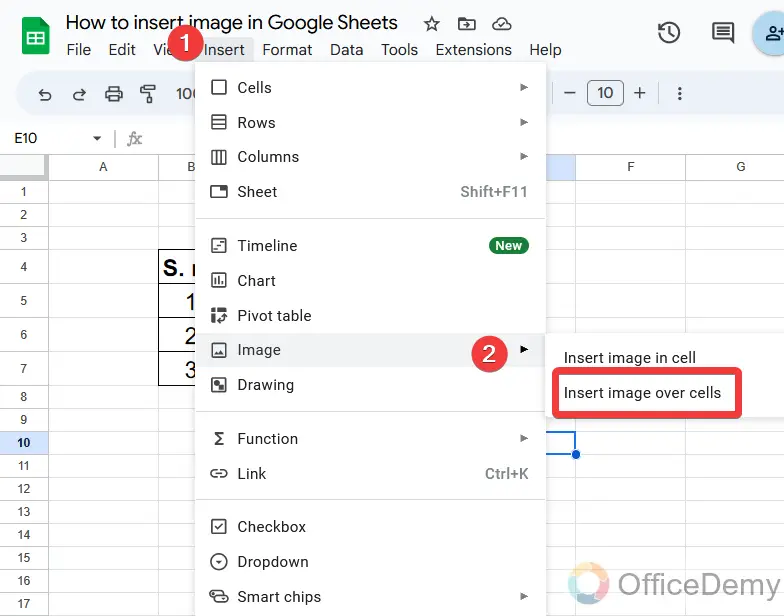
Again, go into the “Insert” tab of the menu bar where you will find the “Insert image over the cell” option from the drop-down menu as can be seen in the following picture.
Step 2
Now, our image has come over the cells of Google Sheets which can be increased or decreased in size as well but still can’t be edited.
The above method of inserting an image is almost useful in many cases but it will be useless If you need to crop your picture, border your picture, etc. Because you cannot edit images with this method.
Insert Image in Google Sheets – by Drawing Tool of Google Sheets
Step 1
Open the “Insert” tab of the menu bar to open a drop-down menu from where we will access the drawing tool of Google Sheets as you can see in the following picture.
Step 2
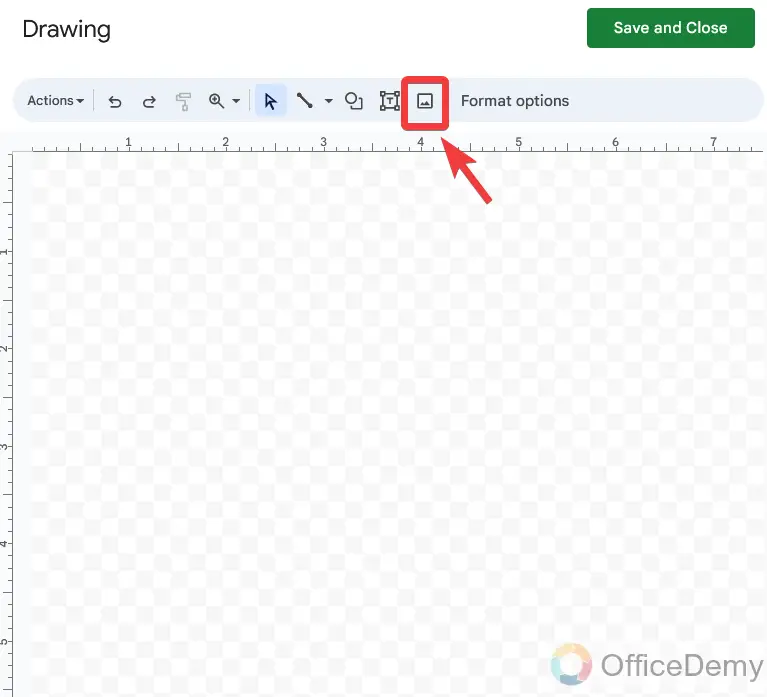
When you click on “Drawing“. A new separate window will open in front of you where you can make your drawings and then can insert them into the Sheets. This drawing tool also provides the feature of inserting images in Google Sheets. You can insert an image through the following image icon in the toolbar.
Step 3
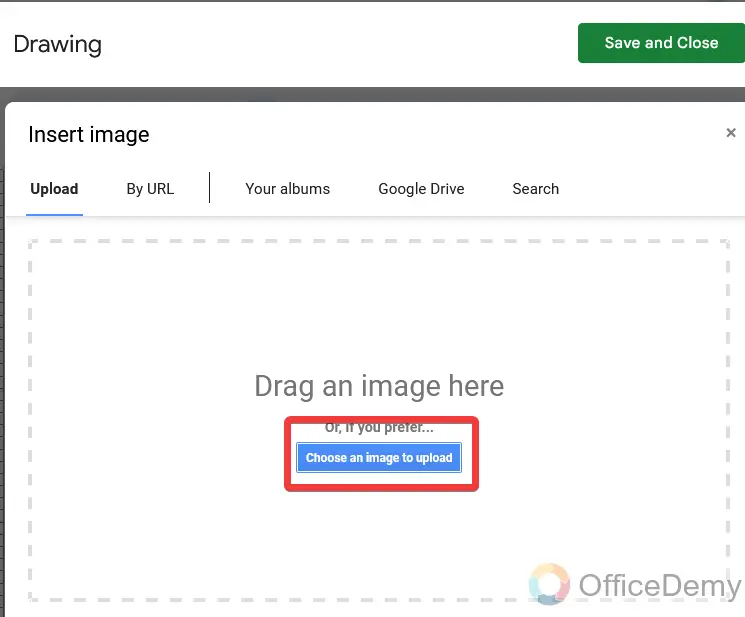
When you click on this image icon, it will promptly ask you to upload an image from the device. Click on the button which is highlighted in the following picture.
Step 4
Select the image from your device and insert it in the drawing tool window.
As you can see in the following picture, an image has been inserted.
Step 5
This image can be edited in the drawing tool of Google Sheets as well.
For example: If you want to crop the image you can crop it from the crop icon shown in the following picture.
Step 6
Once you are done with the image editing then simply just click on the “Save and close” button as mentioned in the following picture. Your image will be inserted into the Google Sheets.
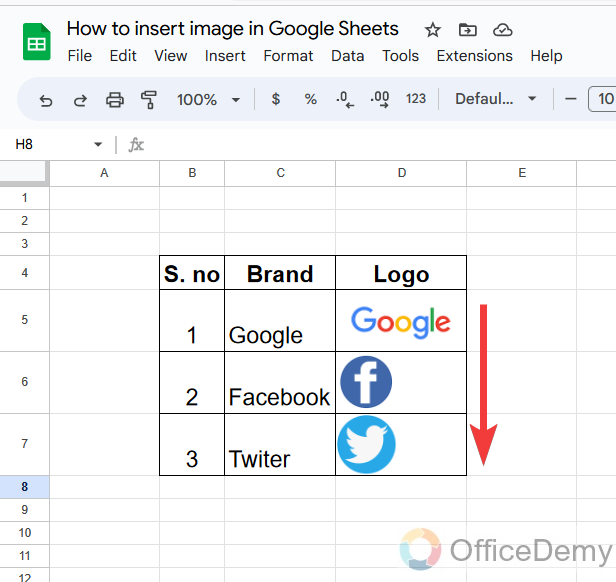
Step 7
As you can see from the result, how amazingly the image has been fit into the place by cropping and is visible.

Frequently Asked Questions
Are the Methods for Inserting an Image in Google Sheets Similar to Inserting an Arrow?
Inserting arrows in google sheets is a breeze, but the process differs from inserting an image. To add an arrow, go to the Insert menu, select Drawing, and choose the arrow shape you desire. On the other hand, to insert an image, navigate to Insert and click Image.
Q: Can we lock an image in Google Sheets?
A: If you want to make your images lock in a cell you can protect the cells by restricting it. The procedure for protecting cells is as follows:
Step 1
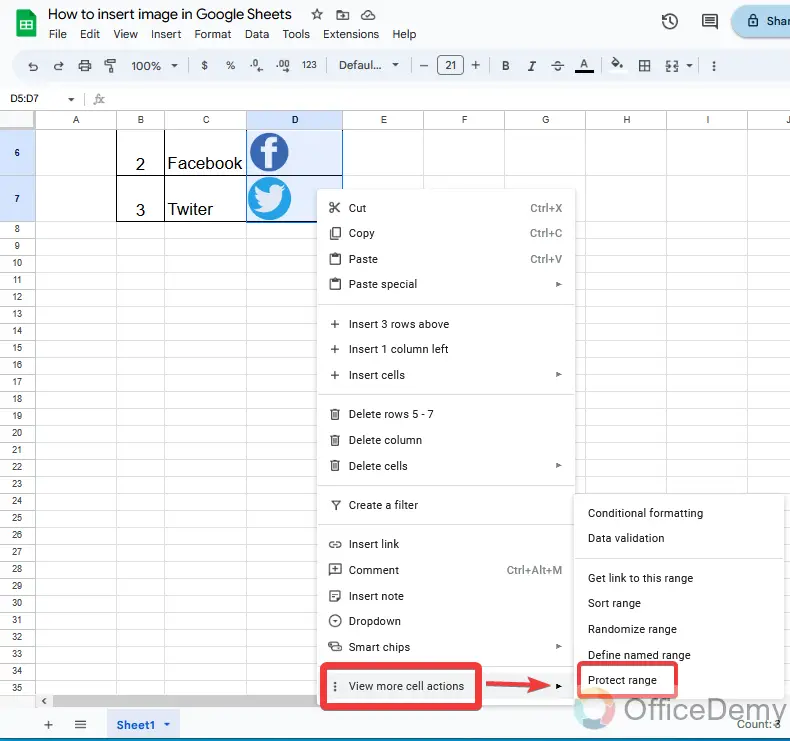
As you can see below, there are some images in the cells which you want to protect or lock from unwanted changes.
Step 2
First, select the cells that you want to lock in your spreadsheet.
Step 3
After selecting, press the right click of the mouse, and a drop-down menu will open, but you will not find your option in the following options so click on “View more Actions” Another menu box will expand in which you will find “Protect range“.
Step 4
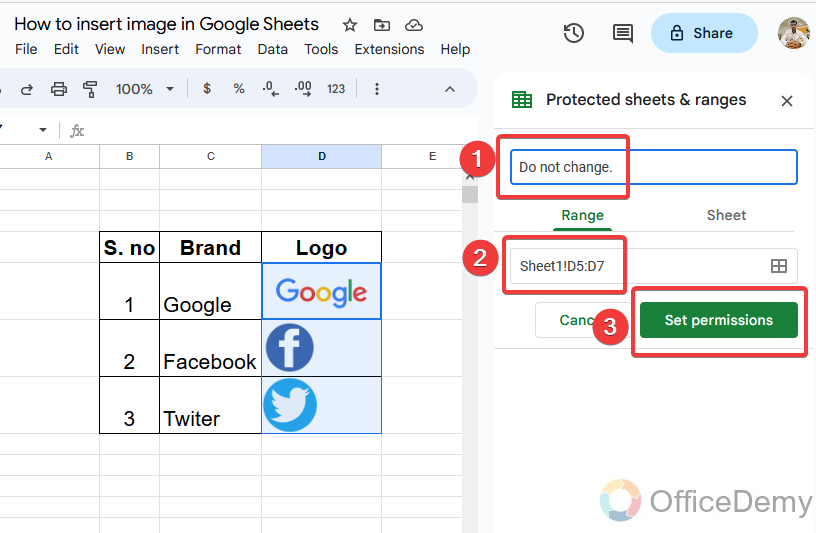
When you click on the Protect range, a side pane menu will open and it will ask for several options. If you want to give any message to these cells, write your message in the first text dialogue box. Then the range is already just click on the “Set Permissions” button.
Step 5
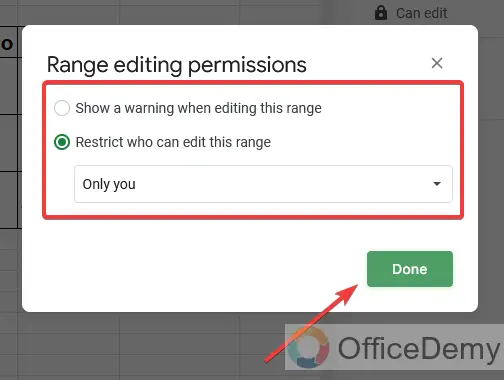
Here it will ask you to set the privacy for the selected cells. Then click on the “Done” button. Your cells will be restricted to editing and will remain locked.
Q: How to insert text in an image cell in Google Sheets?
A: Once you put an image in a cell in Google Sheets, you can’t add text to that cell. Although you can place a text box with the help of the drawing tool of Google Sheets
Q: Is it possible to put an image behind the cell in Google Sheets?
A: Unfortunately, there are only two options to insert images in Google Sheets; to insert the image in the cell or over the cell. You cannot put an image behind a cell in Google Sheets.
Q: How to insert two images in a cell in Google Sheets?
A: No! You cannot add multiple images in a cell, if you want to add another image you can use another cell for it otherwise insert both images over the cell and resize them onto half of a cell. In this way, you can insert two images in a cell.
Conclusion
That’s all from how to insert image in Google Sheets. With the help of all the above methods, you cannot only insert images in Google Sheets but also can place your image anywhere you want. Hope this tutorial will be helpful to you. For more interesting topics explore Office Demy.


