
To Move Images in Google Docs
- Click “Insert” > “Image” > Upload the image.
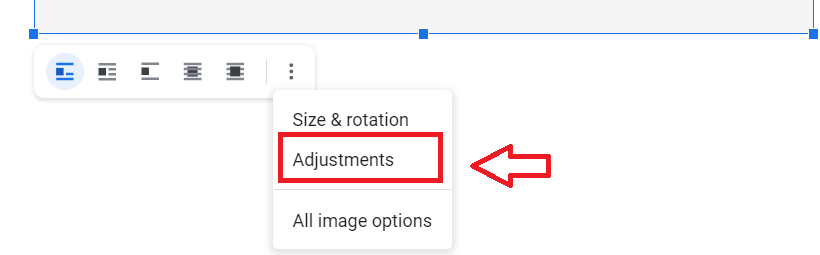
- Click “Adjustments” below the image.
- Select “Wrap text” or “Break text“.
- Choose “Inline” to control text alignment.
- Click and Drag the image, or use Arrow keys to move the image.
In this article, we are going to learn how to move images in Google Docs.
Google Docs is a free tool that offers you a variety of tools and features to design your presentation or document to make it look better for professional purposes. So, let’s start with the introduction.
Many official documents need some kind of attachment to make them look professional and presentable to the readers. However, when it comes to managing and arranging such attachments in the document, you need to follow a specific method and strategy to format your document accordingly. You have to put a specific attachment in its proper place to create a neat visual effect in the document.
Benefits of moving an image in Google docs
There are a large number of benefits of moving an image in a professional presentation or document in Google docs. Some of them are given below:
- You can use all the available space on the page of the document instead of stacking images on one side of the paper.
- The image will show up in the right place according to the requirements.
- You can move the image to any space at any time. For example, you can move a graph closer to the text that describes it.
- You can choose different layouts options to develop an interaction between the text and image.
How to Move Images in Google Docs
To understand how to move images in Google docs, follow these simple and easy steps given below:
Step 1: First of all open Google docs.
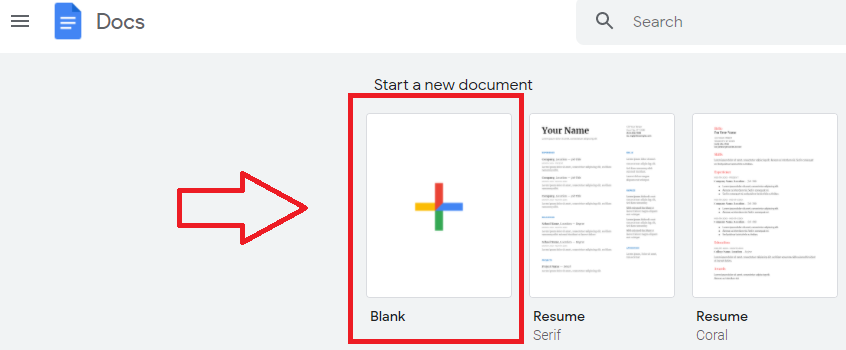
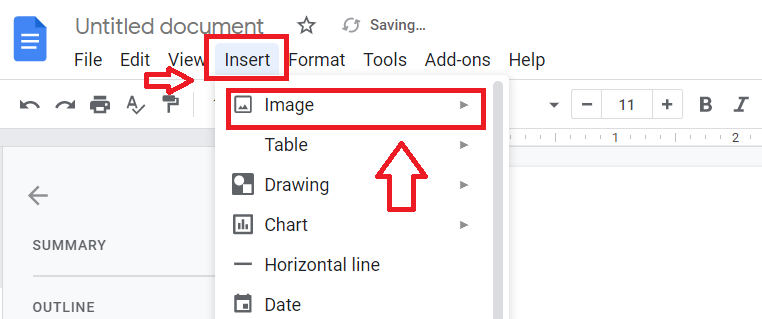
Step 2: Click on the “insert” option available at the top left corner and select the “image” option from the drop-down menu.
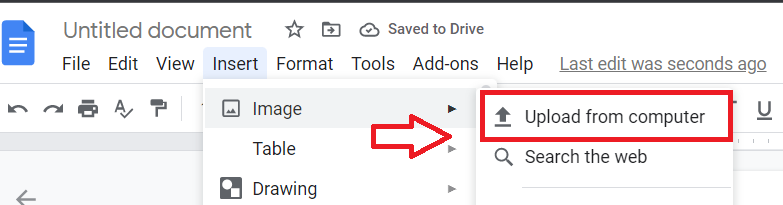
Step 3: Click on the “Upload from computer” option to upload the image.
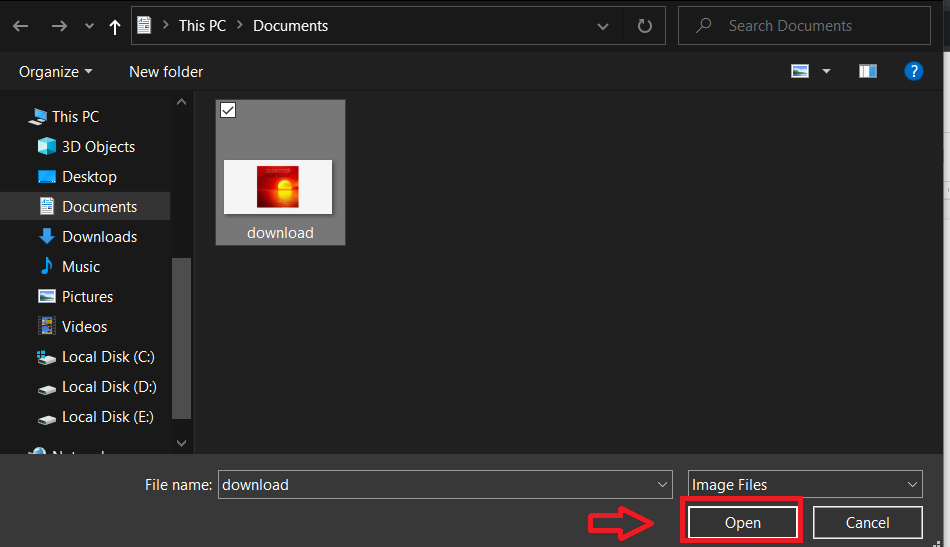
Step 4: Open the image from your documents.
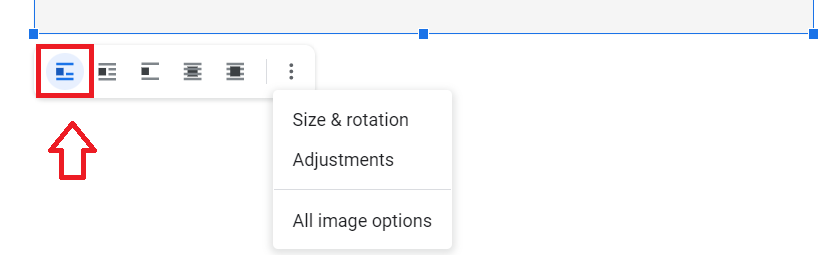
Step 5: Now click on the “Adjustments” option available just below the added image to make adjustments.
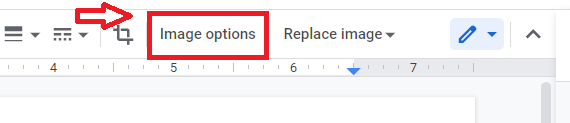
Step 6: Now the “Image options” option will appear on the right side of the screen.
Step 7: You can select the “Wrap text” option. It is used to put the image on the line you select.
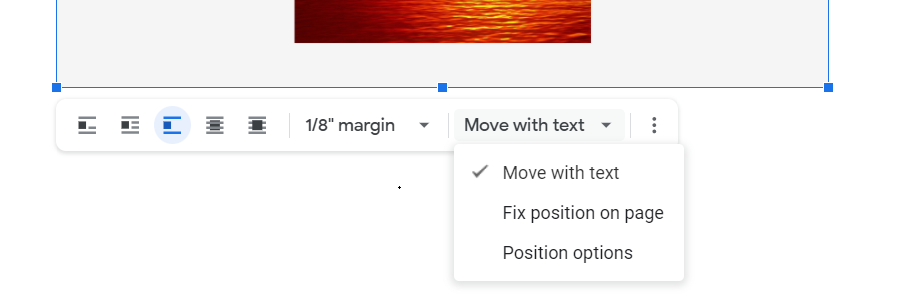
Step 8: Select the “Break text” option. It is used to provide more flexibility to the image by wrapping the text around it. You can move or drag it on the page in any required area. It is also used to make adjustments in the margin size around the image.
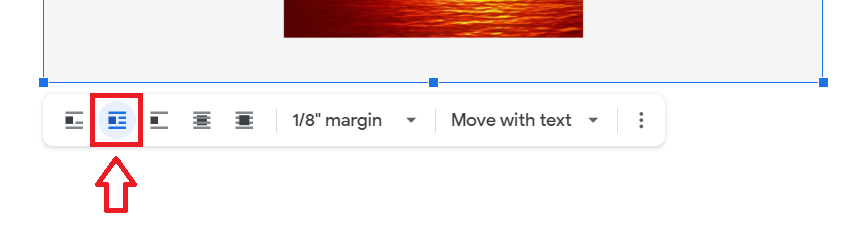
Step 9: Select the “inline” option. It is used to prevent the text from being on the left or right side. It is also used to make adjustments in the margin to choose the area of blank space between the image and the text.
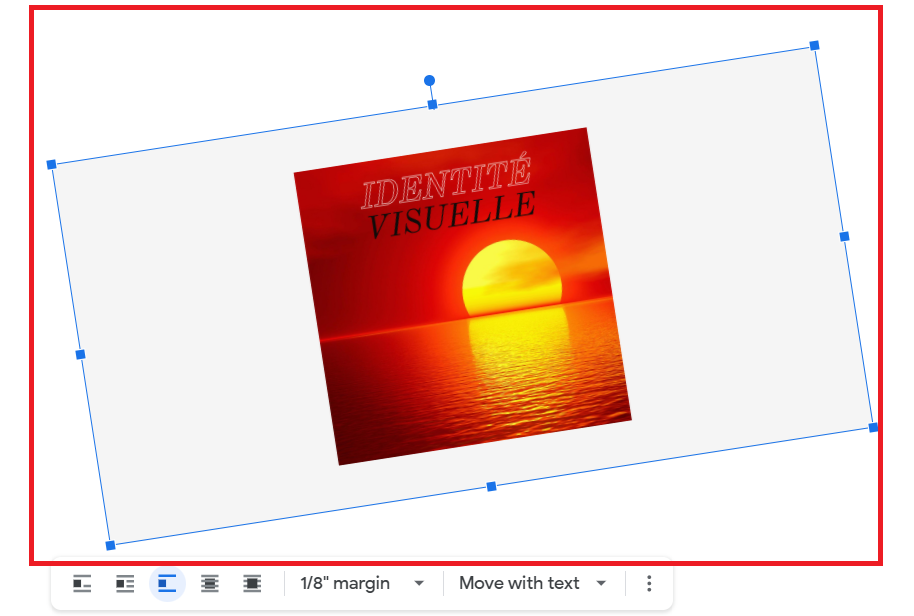
Step 10: You can change the size and color of the image as well as rotate it. To resize the image, select and move the corner box towards (to make the image smaller) or away from the photo.
Step 11: When all the changes have been made in the image save it on the computer.
Notes
- Always try to upload the image in Google docs individually instead of uploading it in a batch.
- Select the checkmark from the menu to save any changes made in the images.
- You can also use the scroll arrows of your keyboard to move the image in your document.
Conclusion
When you are designing a presentation or a professional document you need to add some attachments to this document to make it look better. But the right adjustment of these attachments is also very important. In this article, we have learned how to move an image in Google Docs.
So, now you can easily move the image in your document to fit in well with the text. Use all the given easy and simple steps to make adjustments in the image by moving, rotating, or resizing it to make it look neat and better.


