
To Flip Text in Google Docs
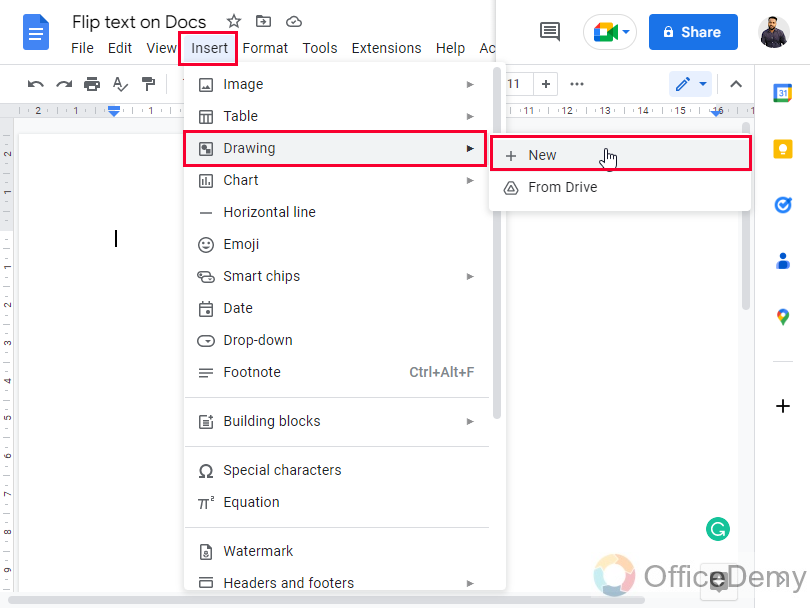
- Go to “Insert” > “Drawing” > “New“.
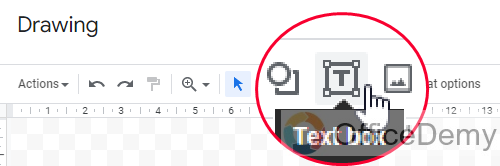
- Click the textbox icon.
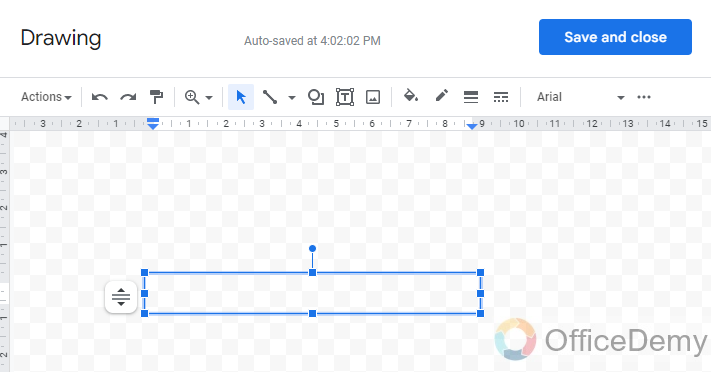
- Draw your textbox.
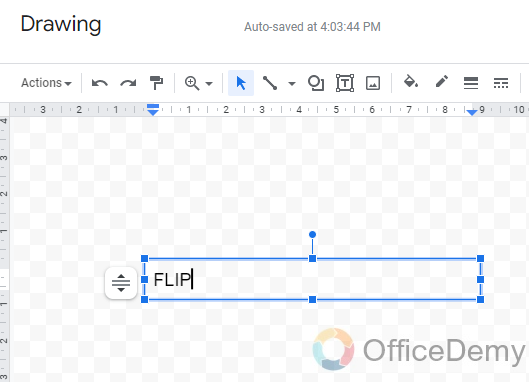
- Type your text.
- Right-click the textbox.
- Choose “Rotate” > Select a rotation or flipping option.
OR
- Go to “Insert” > “Drawing” > “New“.
- Click “Actions” and select “WordArt”.
- Enter your text, and customize it.
- Right-click the WordArt.
- Choose “Rotate“.
- Select a rotation or flipping option.
OR
- Go to “Insert” > “Table“.
- Insert a 1×5 table.
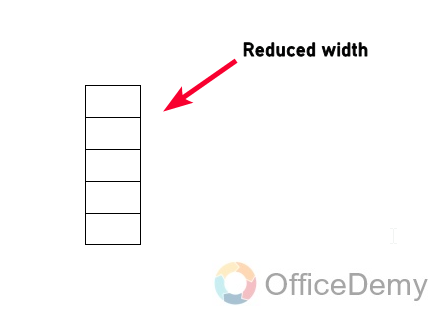
- Reduce the column width on the right.
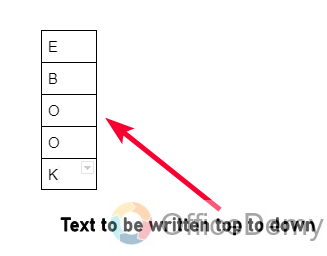
- Write one character per row.
- Select the table body.
- In the toolbar, set the table border to white or 0pt.
- Adjust row height and width for customization.
Hi guys. I am back with another tech tutorial, so today we are going to learn how to flip text in Google Docs. This tutorial also includes rotating, so you can follow this for both goals. Flipping text in a document can be useful for a variety of reasons, whether you’re creating a design element or trying to fit text into a certain space. Google Docs is a versatile and user-friendly word-processing program that allows you to flip text with just a few simple steps.
In this article, we will be walking you through the process of flipping text in Google Docs, including how to flip text horizontally and vertically. Whether you’re a beginner or a seasoned user, this guide will help you master the art of flipping text in Google Docs.
Why Flip Text in Google Docs is Important?
There can be many reasons and use cases for a beginner or intermediate user to flip or rotate text in Google Docs. Since there is no direct method for it, many users get confused and frustrated trying different methods. Learning how to flip text in Google Docs can be useful for a variety of reasons. First, the designing elements, flipping text can be used to create unique design elements in a document, such as headers or titles. Also, fitting text into a space; Sometimes, text may need to be flipped or rotated to fit into a certain space or layout.
For example, rotating text 90 degrees can be useful for creating vertical text for a banner or poster. There can be many more reasons and goals depending on your project and what you are going to do using the flip technique. This article covers everything that needs to be learned and understood when it comes to text flipping, rotation, mirroring, etc. So, let’s go to the step-by-step procedure to learn how to flip text in Google Docs.
How to Flip Text in Google Docs?
So today I will show you 3 methods that you can use within Google Docs to flip or rotate your text. One from it is just a workaround but it’s very useful you can use it for many cases. Note that there can be more ways to do it, but I have brought the most optimum ways you can learn within the scope of this tutorial. So, let’s get started with the first method.
Flip Text in Google Docs – Using Drawing Tool Textbox
In this first section, we will learn how to flip text in Google Docs using the Drawing tool, and then the Drawing tool’s textbox. We have worked with the Drawing tool many times in our Google Docs series, so I will emphasize only the textbox. So, let’s see the steps we need to learn this method.
Step 1
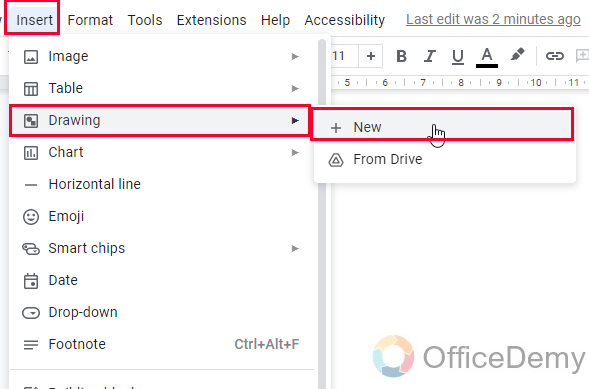
Open a Google Docs file Go to Insert menu > Drawing > New
Step 2
Now here you have a drawing tool’s toolbar on the top, you can see the textbox icon, click on it
Step 3
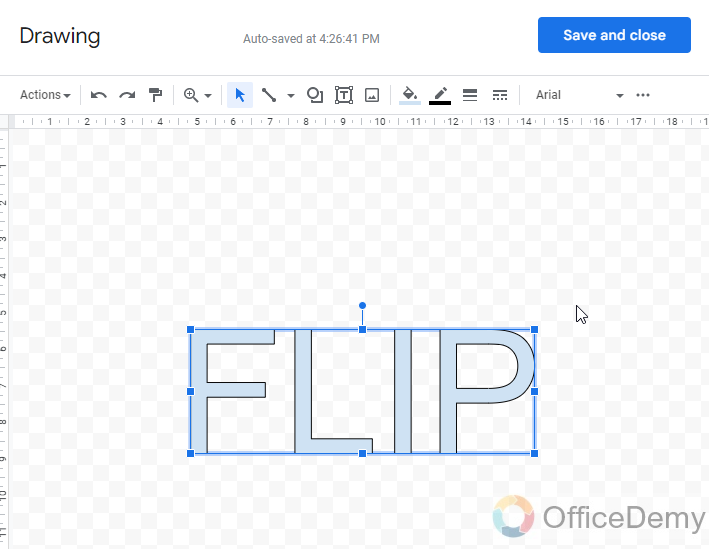
Drag it on your canvas to draw the desired size of the textbox
Step 4
Now you have a blinking cursor you can write your text to be flipped or rotated.
Step 5
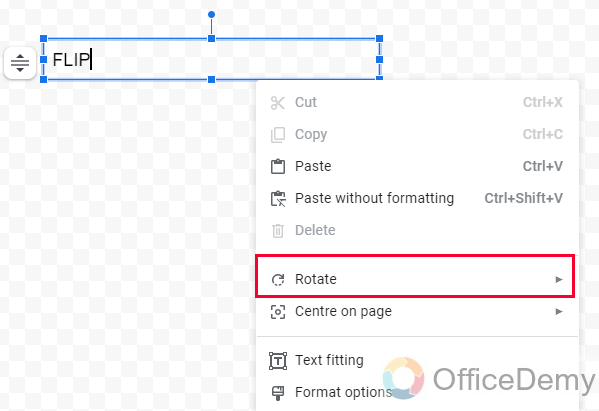
After writing your text, right-click on the textbox and you will see a Rotate option in the context menu
Step 6
Click on it and it will show you four options, two for rotation and two for flipping, you can use them as per your needs, and you can test them if you don’t understand the numbers like 90 degrees.

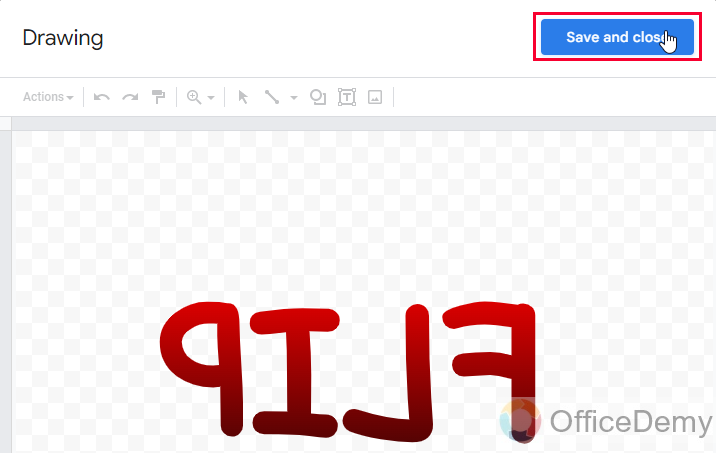
Step 7
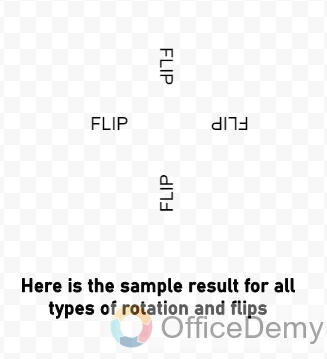
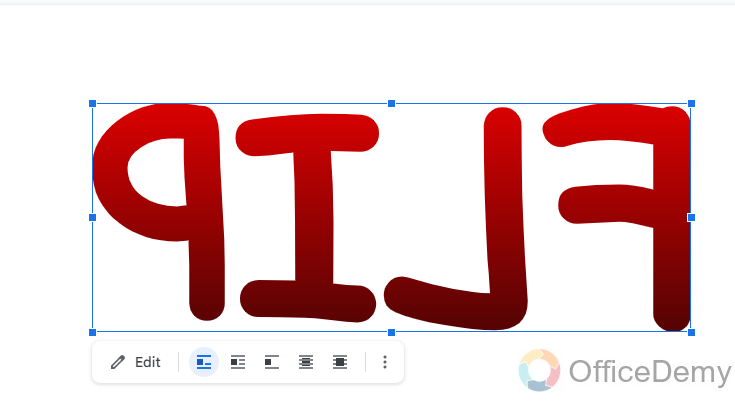
You can see how your text has been flipped now you can click on the Save and Close button and this text will be added to your document without any borders.
So, this was a pretty good method but it’s added as an image, not as a text and the does not look very unique. But it’s ok if you want to keep plain text, depending on your purpose you can follow the upcoming method which can help you make titles, book covers, brochures, and other designs.
Flip Text in Google Docs – Using Drawing Tool WordArt
This method also uses the Drawing tool, since it’s a big tool that has a lot of properties and functionalities. We have a classical tool called WordArt, very popular in Old and new Microsoft Word versions. In Google Docs, we get the WordArt tool inside the Drawing tool, unlike Google Slides. So, when you are looking to design anything, any cover page, product packaging, brochure, or book cover, you can easily use WordArt to create them. Sometimes, you must have seen a unique design that has a flipped text, they look unique with font styling colors, and text rotating, this method covers this entire process. Let’s get started.
Step 1
Go to Insert > Drawing > New
Step 2
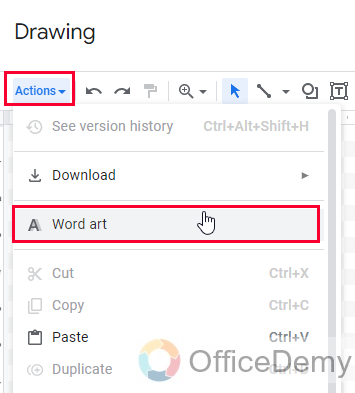
Click on the Actions dropdown and click on WordArt.
Step 3
Now Enter the text you want to flip or rotate as a title

Step 4
Press Enter key and it will be added as an element on your Drawing canvas, and now it’s ready to be flipped.
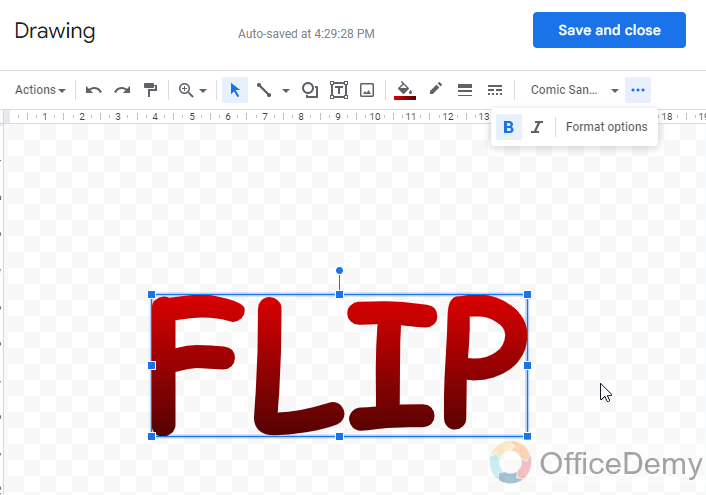
Step 5
First, you can customize it by size, font color, fill color, etc.
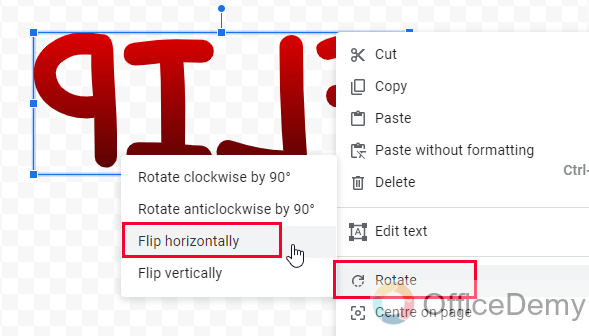
Step 6
Now right-click on the WordArt body, find the option Rotate then select any option for rotation or flipping like we did above.
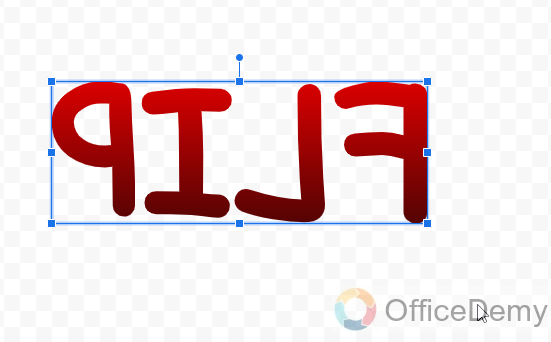
Step 7
Using WordArt, you can simply make titles, headers, and cover pages with flipped text in Google Docs.
We have learned how to flip or rotate text in Google Docs, but they are usable only in the image format, we cannot use them as text on Google Docs, so for having a top to bottom text we can use tables.
Flip Text in Google Docs – Using Helping Table
In this section, we will learn how to change the direction of our text using Tables. Sometimes, we don’t want the flip effect but we want a continuous direction change of our text on docs. Normally we write left to right, but sometimes our text is required to be written from top to bottom, so we can make this on our text even without using any WordArt or Drawing tool’s text box. We can do it in the textual form and can make changes to it staying on the Docs file.
Suppose you want to write a title of your page in the top to bottom direction.
The title is supposed as “Title” for the sake of the learning in this article.
Step 1
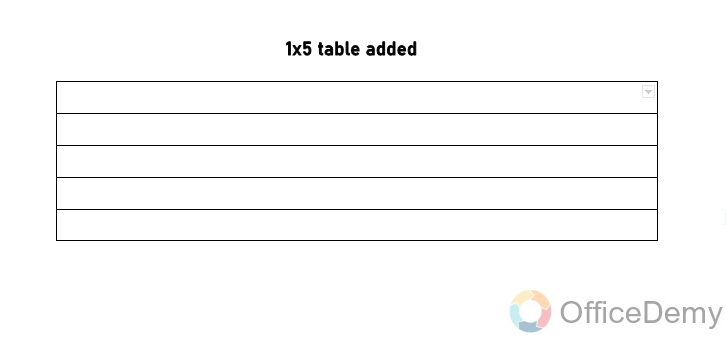
Here you need to go to Insert > Table > and insert a 1×5 table

Step 2
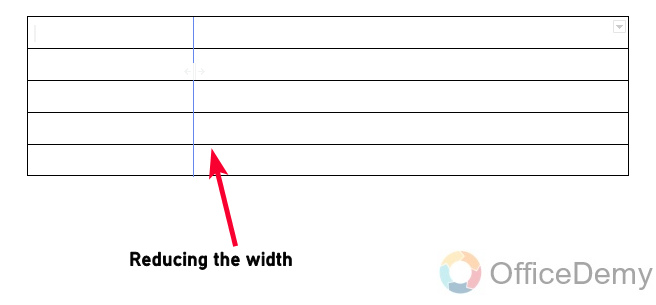
Now, select the right-side border of the table and start reducing the width of the column by dragging your mouse to the left side
Step 3
Now you have a table that looks like the below image
Step 4
Start writing your text in the table each alphabet in each row
Now you have a table that looks like the below image having your text written in it
Step 5
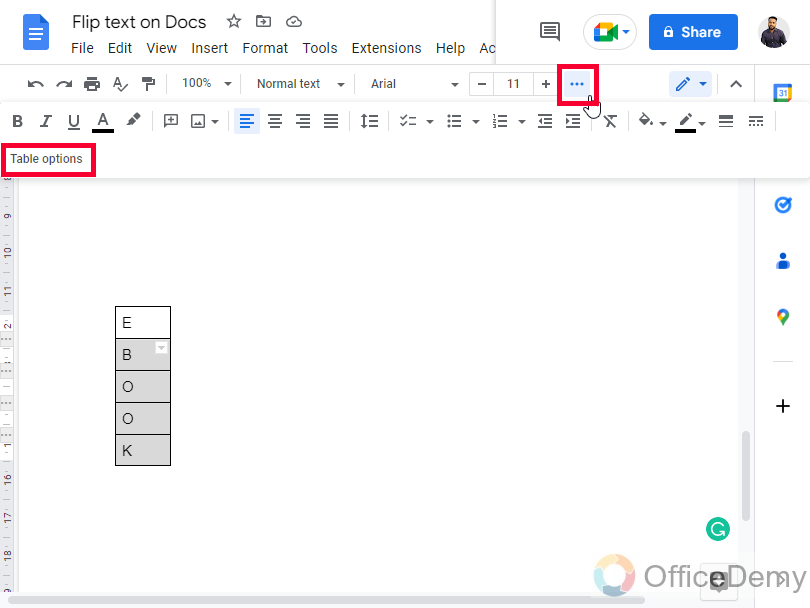
Select the table body, and go to the toolbar (click on the 3 dots to expand more items)
Step 6
Here you can see the table border color and the table border width
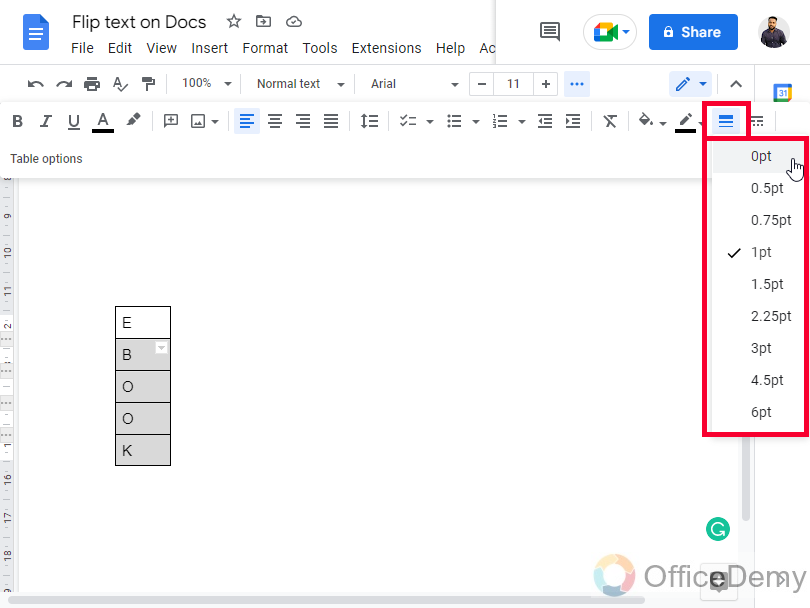
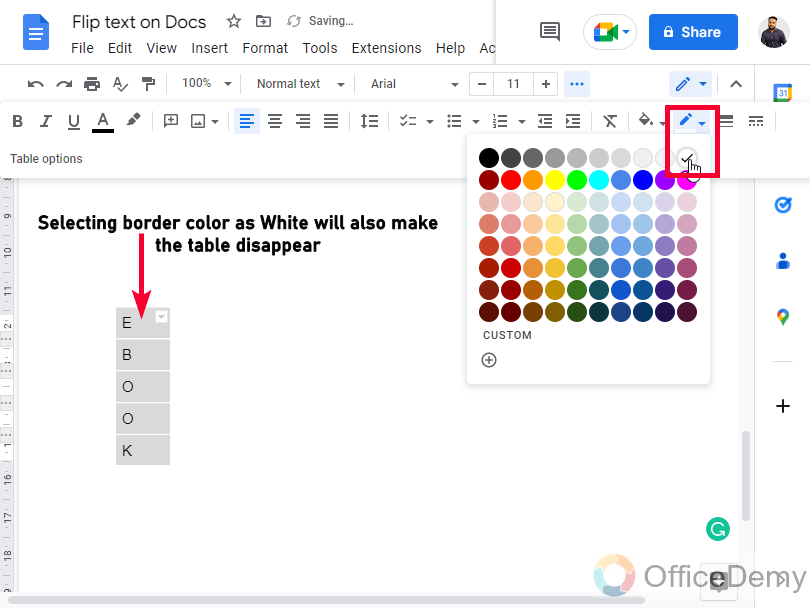
Our goal is to hide the table, so either you can select the border color to white, which will hide the table border, or you can select the border width to 0pt, which will also hide the border.
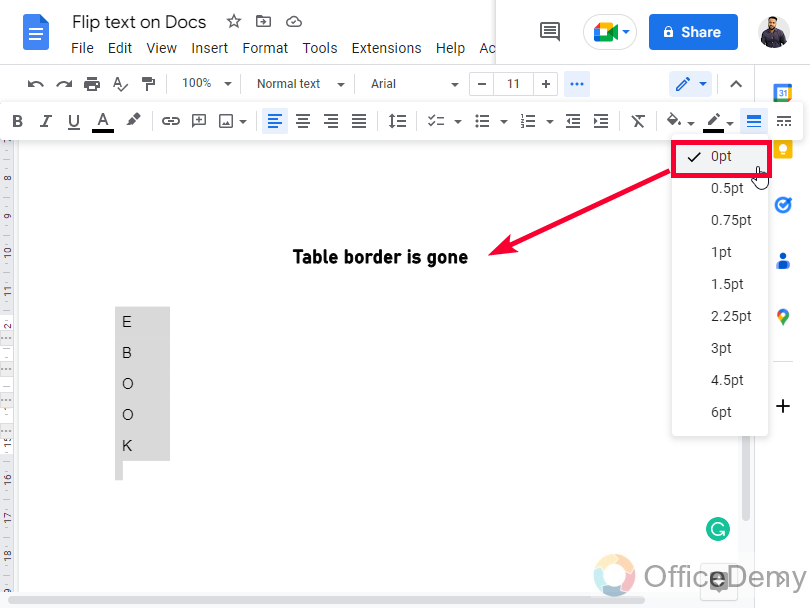
Step 7
After hiding the table borders, our text looks like this, you can control sizing, and customization by the table using table row height, width, etc.

If you have more alphabets or words to write in the same direction, you can start with a bigger table with more number rows, but the column will remain the same only 1.
So this is how to flip text in Google Docs and change its direction from top to down using a helping table. I hope you understand and like this tutorial.
Frequently Asked Questions
Can I Flip Text in Google Docs inside a Tables Side by Side?
Yes, you can flip text in Google Docs inside side by side tables. By selecting the text, right-clicking and choosing Table properties, you can adjust the rotation in the Text rotation option. This feature allows for arranging tables side by side while ensuring the text stays properly oriented within each table.
Can I flip a whole paragraph in Google Docs?
Yes. You can select the entire paragraph or document and copy it then go to drawing add a text box and paste the text in it, now rotate the textbox, or right-click on it and select any options from four rotating options which can be used for flipping or rotation of the textbox having the text in it will also take the same properties. Now you can click on the Save and Close button to add it back to your document.
How to save a flipped text in Google Docs?
Simply as you did in all the steps above, you can save these flipped texts in the form of the image inside your Google Docs file. They can be saved externally as an image, and they can also be saved in the document, If you want to save externally, open the image with the Drawing tool go to the actions dropdown and select the Download button, then select a file format to download this Drawing artwork externally into your PC.
Conclusion
In conclusion, flipping text in Google Docs is a simple process that can be done using the “Text Rotation” feature inside the drawing tool’s textbox and WordArt. This feature allows users to rotate text by 90, 180, or 270 degrees, giving the appearance of flipping the text horizontally or vertically. It’s a useful tool for creating unique designs or emphasizing certain parts of your document. We also learned how to change the text direction using a helping table. The flipped text can be saved, and it can be flipped back to normal easily. With this feature, you can give your documents a new look and make them stand out.
Thank you for reading our article, I will see you soon with another useful guide, keep learning with Office Demy.


