To Select Multiple Cells in Google Sheets
- Click and hold your mouse on a cell.
- Drag the mouse to select a range of cells.
- A blue transparent border will appear around the selected cells.
- Any operation you perform will apply to the entire selected range.
OR
- Place your cursor on the row header (where row numbers are displayed).
- Click to select the entire row.
- You can change the row height for all selected rows simultaneously.
OR
- Select any cell.
- Hold the Shift key and use the arrow keys (up, down, left, or right) to expand your selection in the respective direction.
- To select the entire usable area of the sheet, hold Ctrl along with Shift and the arrow key.
OR
To Select Multiple Non-Contiguous Cells
- Select the first cell.
- While pressing the Ctrl key, select additional cells by clicking on them.
- Keep Ctrl pressed to toggle selection on and off for individual cells.
- Any action or formatting will be applied to all the selected cells.
Hi, in this article we will learn how to select multiple cells in Google Sheets. When you work on any spreadsheet software it’s important to understand the selection of cells because most of the functions, operations, features, and options works after the selection of the cell or ranges. So, we must know how to select multiple cells in Google Sheets.
There are many ways to select cells but we need to understand when should we use those methods, and which methods are used for selecting contiguous and non-contiguous cells, rows, or columns.
First, we need to understand the difference between cells, cell headers, rows, and columns, then we will continue to learn how to select multiple cells in Google Sheets.
Why do we need to Select Multiple Cells in Google Sheets?
To perform certain actions on some cells what we often need to do is select cells. In Google Sheets we need to select cells before doing anything, it’s not possible in Google Sheets to unselect everything, you will have to select some cells so that all the features remain available.
Sometimes, we have header content in some non-contiguous cells, which means Column A and Column C and all alternative columns have some header text and now we need to select every alternative column to select some operation such as making font size bigger, changing font family, changing text to bold, etc. In such cases or even when we have contiguous cells, we need to select them first before doing anything, that’s why selection becomes very important.
So, here in this guide, you will learn many ways to select your cells/rows/columns/column and row headers in Google Sheets.
How to Select Multiple Cells in Google Sheets?
We have many ways to select multiple cells in Google Sheets. Some methods are mouse dragging and clicking methods, some keyboard methods, and some are combinations of both of these. So, let’s start with the methods, and one by one see all the methods to select multiple cells in Google Sheets.
Select Multiple Cells in Google Sheets – Selecting Contiguous Cells
In this section, we will learn how to select multiple cells in Google Sheets, and we will specifically learn how to select contiguous cells in Google Sheets. Contiguous cells are adjacent cells that can be selected in a single selection. This is very easy and we do it many times when working with Sheets files. See the below easy steps to learn this method.
Step 1
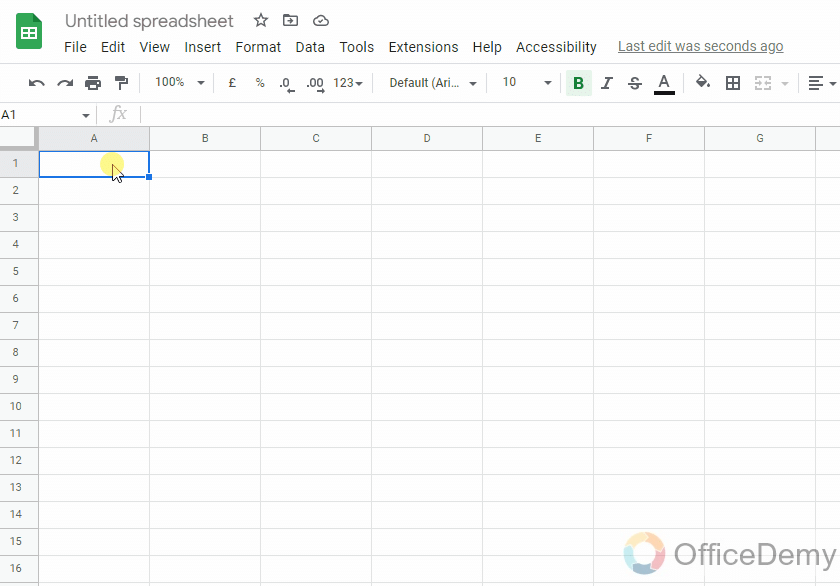
Click and hold your mouse’s click on a cell and then drag (while holding the mouse click), the point from where you want to select your cells.
Step 2
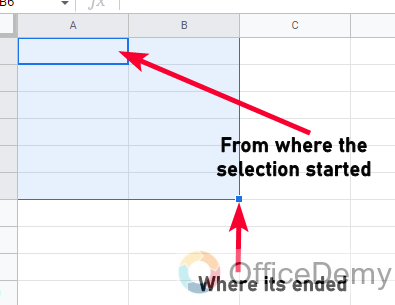
A blue transparent border will appear on your selection with four corners and a fill handle on the last corner where you completed your selection.
Step 3
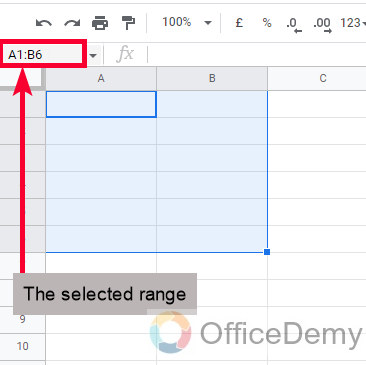
Now, you selected this range, you can see the range name in the Name box left to the formula bar on your Google Sheets page.
Step 4
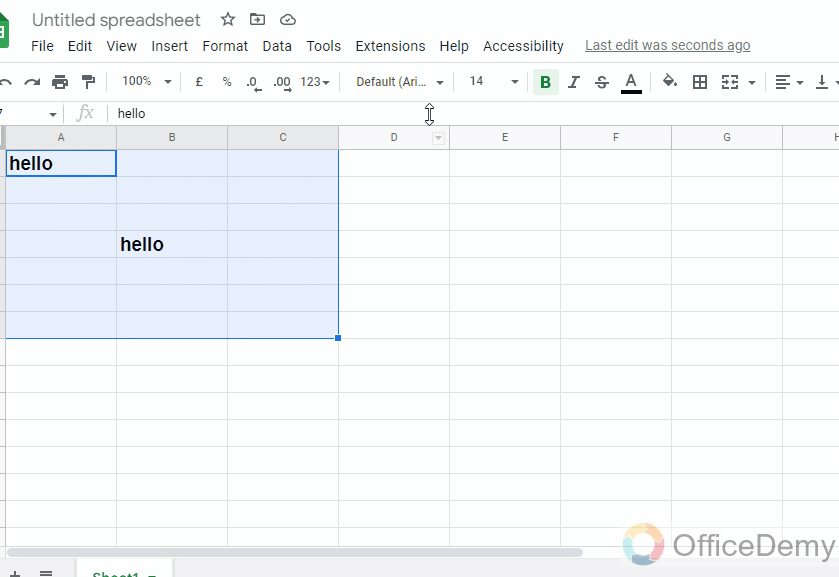
Any operation you will perform after the selection, will apply to this complete range. Let’s say I increase the font size after the above selection so it will apply to the content in this range, and in the future new content is written it will be bold because cells have got the formatting of bold.
Step 5
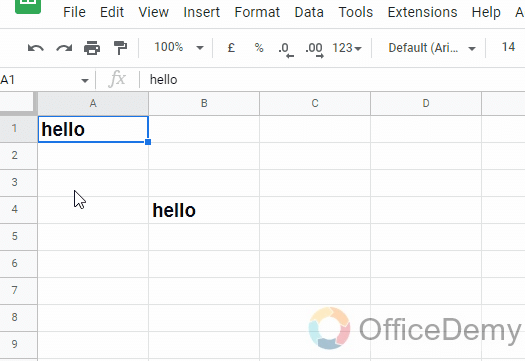
You can also select rows by placing your cursor on the row header (the origin point of rows where row numbers are written) and then select row headers and cells together.
Step 6
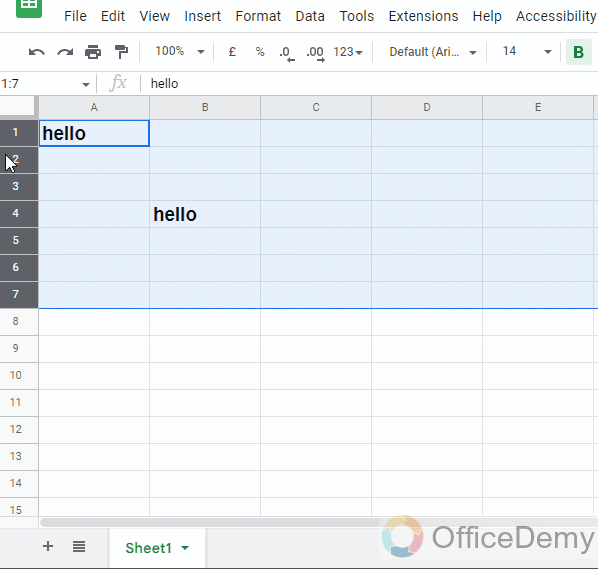
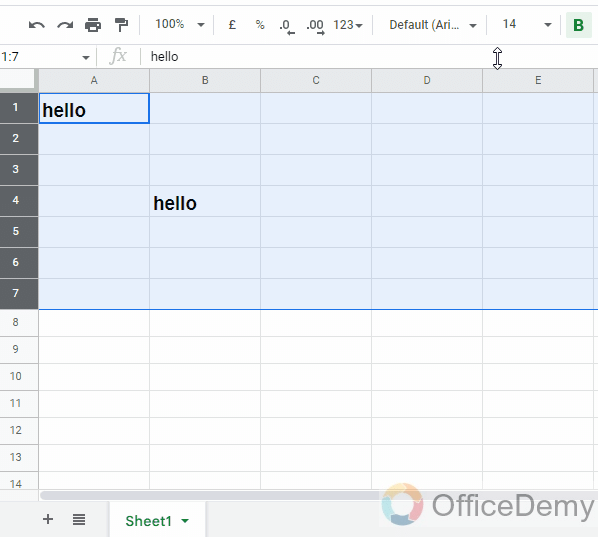
The benefit of this type of selection is you can perform all operations for the selected cells, and also you can resize your row height together, if you change the height of one row within the selection area, then all rest of the rows will also take the perfectly equal size.
Step 7
You can also select contiguous cells by using a keyboard shortcut.
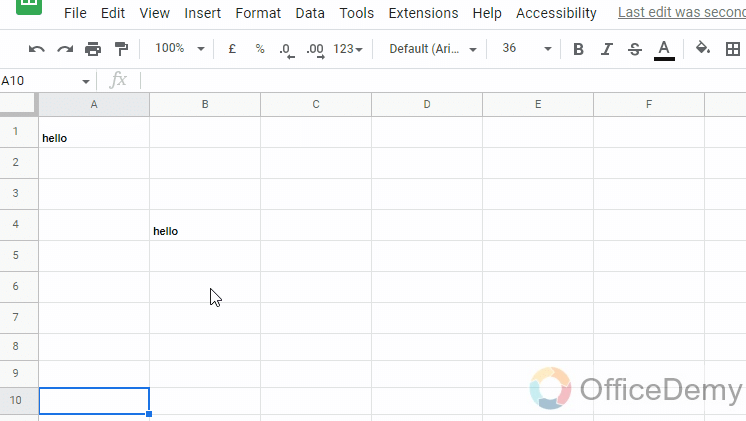
Select any cell to start your selection, and then press the Shift + Arrow keys (up, down, left, or right) to advance your selection in that direction.
Step 8
You can any direction to expand your selection area, but you can go only one direction from your initially selected cell, if you go left, now you can only move left, and if you go right, you will be only able to go right. Similar to the columns, either you go up or down.
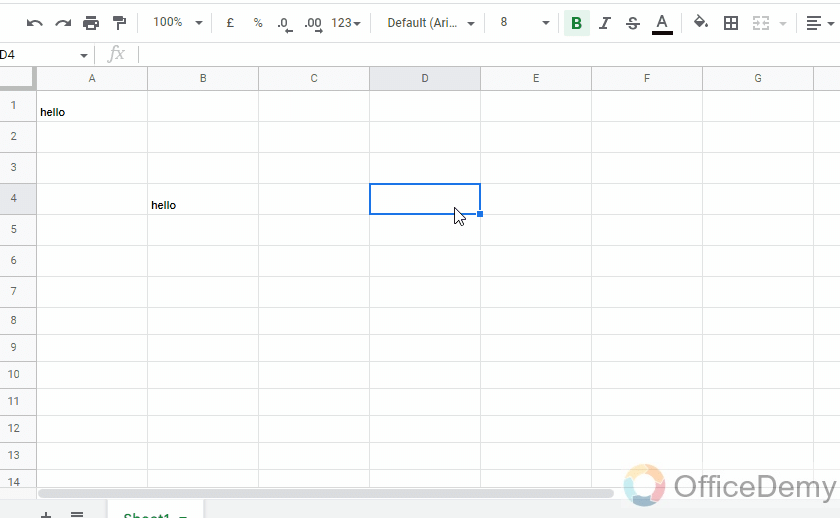
Note: If you also press the Ctrl key along with the Shift and arrow key, then it will select the entire usable area of the sheet, and then select the entire sheet in the second press of the arrow key. Using this method, we can quickly select the entire useable sheet or the entire sheet till the last row.
Step 9
Similarly, you can select cells from the column header, select any column from its header, then press the Shift and Arrow keys to advance your selection in any direction on the x-axis only. This also affects the content inside cells, and you will also be able to change the width of the columns with an average fixed size for all the columns.
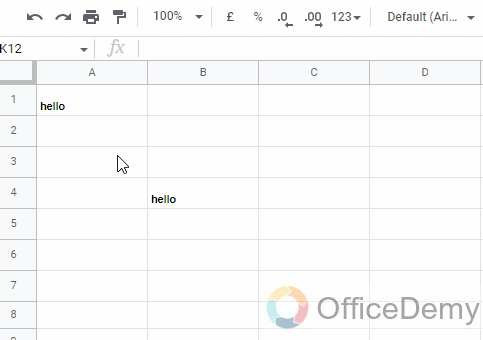
So, these are methods and ways of using a mouse and keyboards to select multiple cells in Google Sheets.
Select Multiple Cells in Google Sheets – Selecting Non-Contiguous Cells
In this section, we will learn how to select multiple cells in Google Sheets, and after adjacent cells now we will see how to select non-contiguous cells in Google Sheets. Non-contiguous cells are non-adjacent cells, which means a cell in column A then a cell in Column F, and then maybe in Row 121, and so on. Selecting non-adjacent cells is useful when we have big data and we are selecting only specific data points to change either formatting or values. So, let’s see how we can select them.
The most common and easy method to select non-contiguous cells is to use the Ctrl key on your keyboard.
Step 1
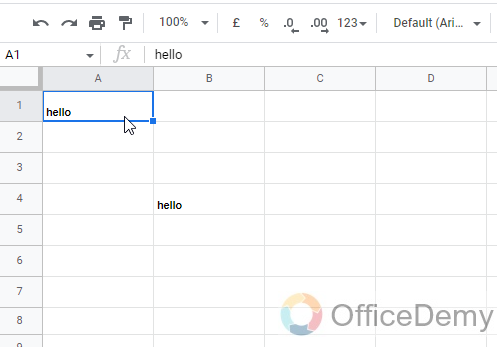
Select the first cell normally as you select in normal cases.
Step 2
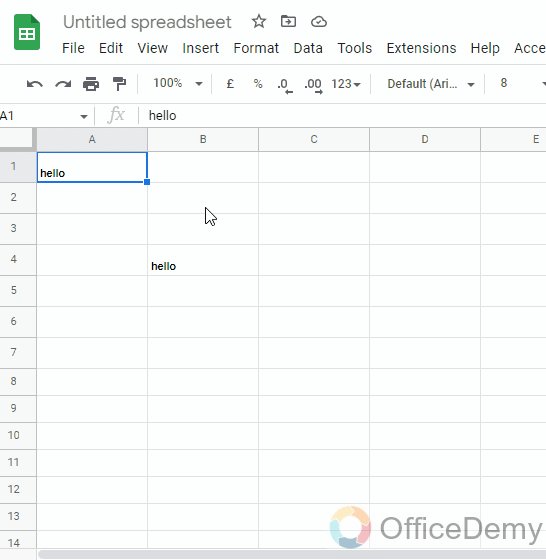
Now select the next cell while pressing the Ctrl key. If you don’t press the Ctrl key then Google Sheets will leave the previous selection and selects only the latest selected cell.
Step 3
Keep on selecting cells by clicking on them and keep the Ctrl key press at the time of selecting, and you will end up selecting so many cells in different positions on your sheets.
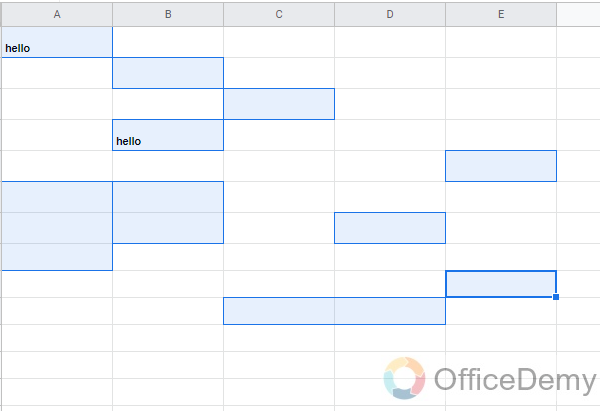
Step 4
Now, if you perform any action or formatting, then it will be applied to all the selected cells
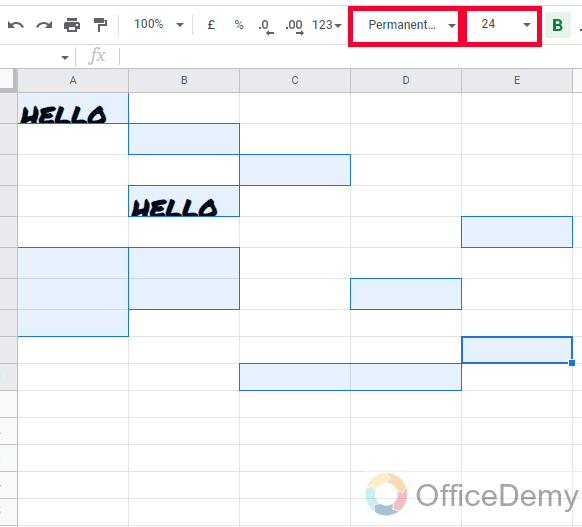
Step 5
If you have to select so many cells, then this method can be tedious, if you have a large data set and you want to select all cells and only want to skip a few cells, then it’s good to select all first and then unselect a few of them
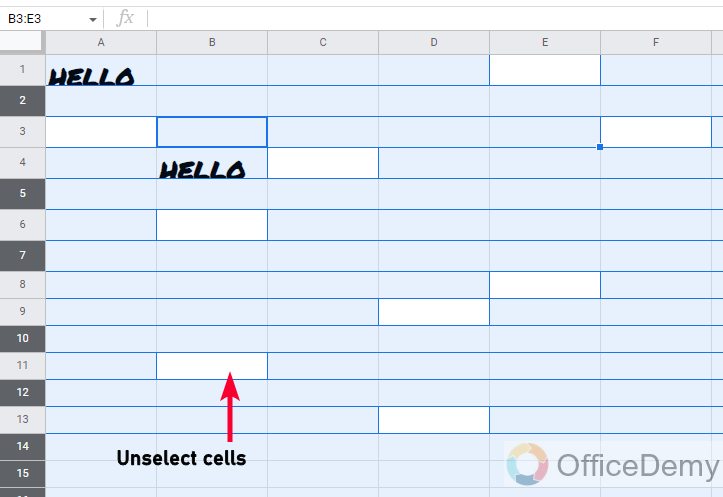
Step 6
To unselect cells from a big selection, you can click on them one-by-one by holding the Ctrl key.
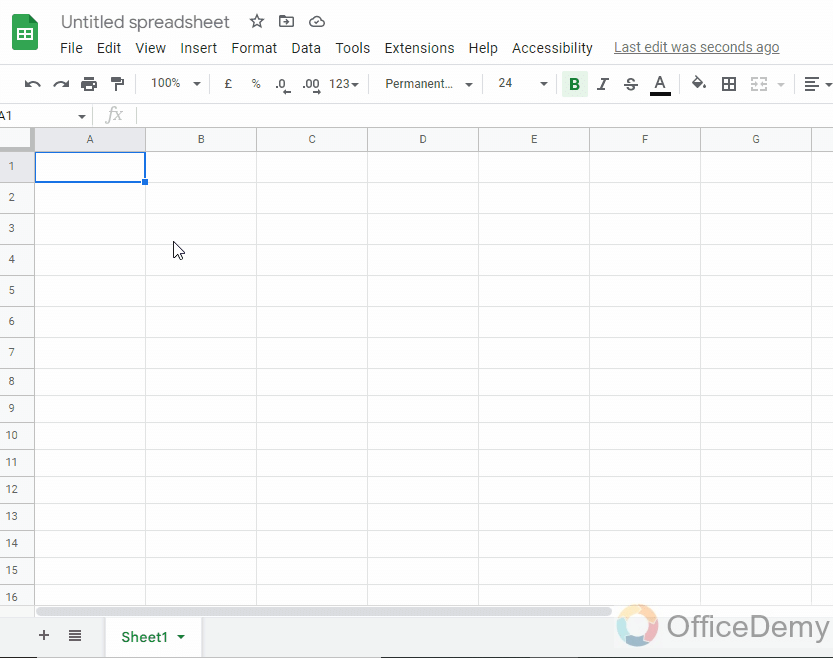
Yes! in the selection of cells the Ctrl key works like a toggle button, it selects the cell when unselected, and unselects the cell, when already selected.
There are cases when you need to increase or decrease the size of some specific columns or cells, for this purpose you can select row headers (for row height) or column headers (for column width), and then change the size for any one of these and it will change the size for all the selected rows or columns.
Step 7
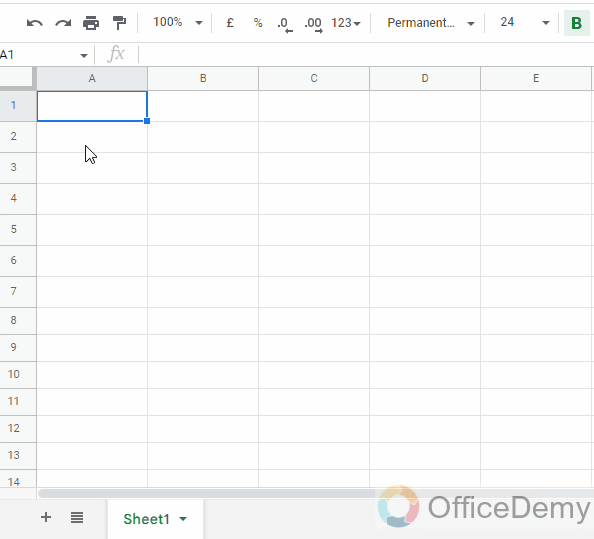
Select a row header
With the Ctrl key, select some more row headers with a simple mouse click
Now place your cursor on the edge of the row header, and drag it down to enhance its height, and you will see the change in the height will apply on all non-contiguous selected rows.
Step 8
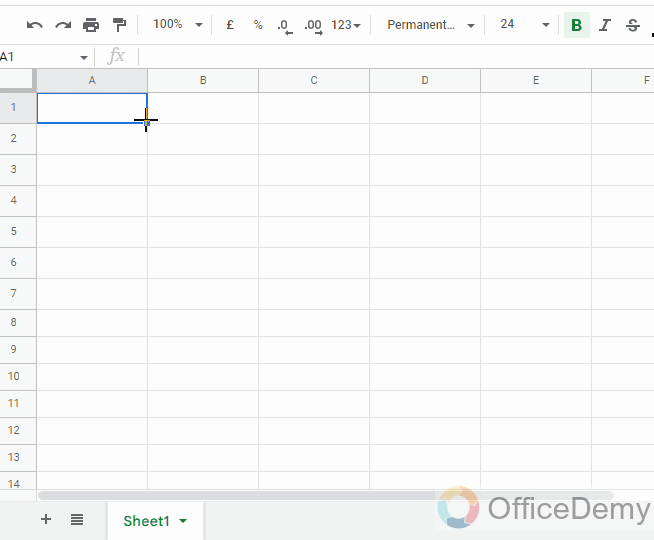
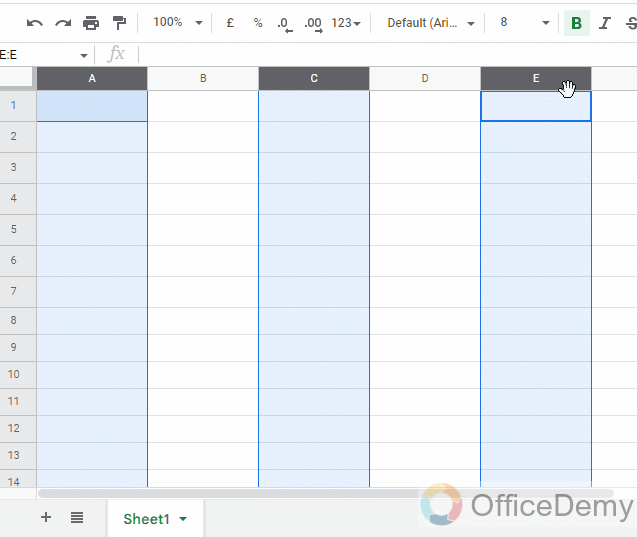
The same methods work for columns as well
Step 9
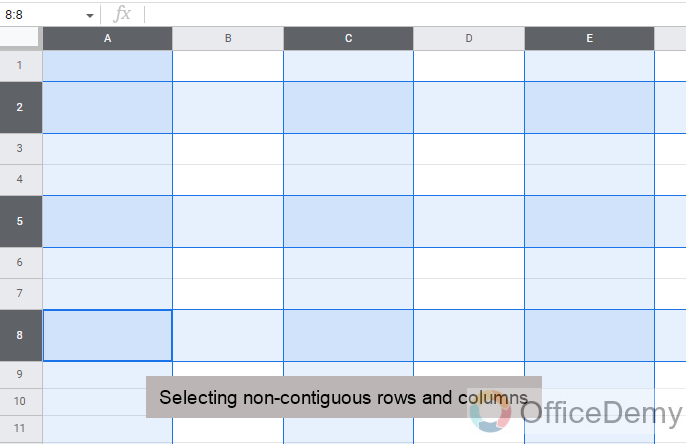
We can also select non-contiguous rows and columns to resize them together.
Important Notes
- Don’t drag a row or column header for changing its size with a hand cursor on it, it will change the position of your column or row swapping with another column or row where you will leave your mouse click.
- Always make sure to have a normal arrow cursor when selecting your cells from their row or column headers.
- Row or column size will not be changed for all rows or columns if you select them from cells and not from the headers. The “ALL” effect will only work when you select them from their headers or origin.
Frequently Asked Questions
How to select entire Sheets in Google Sheets?
If you have a small sheet then you can select the first cell and drag your mouse to select the entire sheet quickly, but if you have a large sheet then you can use the keyboard shortcut Ctrl + A to select the entire sheet, or you can press Ctrl + Shift + arrow keys to quickly select all columns, then all rows or vice versa.
How to select all rows and columns from headers?
Click on the Sheets origin, below the Name box. It will select your entire sheet from your column and row header, the purpose of this origin button is to select the entire sheet from headers, and now you can change all row’s heights and all columns’ widths in a single selection. But, the height for all rows will be the same, and the width of all columns will be the same, but both rows and columns size can be different.
Conclusion
Wrapping up how to select multiple cells in Google Sheets. I tried to cover all the methods easy and advanced ways to select multiple cells in Google Sheets. I tried to cover this tutorial for every type of user either beginner, intermediate, or expert. I taught you how to select multiple cells in Google Sheets using various mouse methods, some keyboard methods, some keyboard shortcuts, and some combo method that uses mouse and keyboard at once. We also discussed how to select non-contiguous cells, rows, or columns.
I hope you find the above explanation and examples helpful. Thank you & Keep learning with Office Demy.


