
To Track Changes in Microsoft Word
1. Enabling Track Changes
- Open Microsoft Word document.
- Navigate to the “Review” tab.
- Locate the “Tracking” or “Changes” section within the “Review” tab.
- Click on “Track Changes” to enable this feature.
- Save your document.
2. Tracking Changes
- Go to the “Review” tab.
- In the “Tracking” or “Changes” section, click on the dropdown menu next to “Track Changes“.
- Select “All Markup” to view all the changes made in the document.
- You’ll see changes highlighted in red, along with comments or suggestions if any.
3. Accepting or Rejecting Changes
- Go to the “Review” tab.
- Click on “Accept” or “Reject” in the “Changes” or “Tracking” section.
- Choose “Accept Change” or “Reject Change” to apply these actions individually.
- Select “Accept All Changes” or “Reject All Changes” for bulk action.
Today we will learn how to track changes in Microsoft Word. Microsoft Word is not only well known for its effective tools to make a plain text document but also is more useful due to its security purpose. Microsoft Word not only allows the user to create and format a document but also provides many features to make it more secure in which track changes are one of them.
Track Changes is a tool by which you can track changes made by other users. You can also secure your document with unwanted changes. When you just need to enable this tool, when track changes are on, changes will be formatted differently (usually highlighted in red color) to the rest of the document and will contain a mark in the margin to indicate the change has been made.
If you are not aware of these tremendous features of Microsoft Word, then you should read the following article on how to track changes in Microsoft Word.
Importance of using Track Changes in Microsoft Word
As we know, this is the era of digital communication in which you may need to share your documents with other colleagues who can also make changes to your document. Therefore, Microsoft has built in a tool namely “Track changes” in Microsoft Word to track these changes. This is particularly useful for documents with multiple authors or editors, who can review and accept/reject each other’s changes.
This tool allows the owner of the document to accept and reject these changes. In this way, you may know what edits have been made and can also reject unwanted changes.
How to Track Changes in Microsoft Word
The reason behind the most familiar application of Microsoft Word is that almost all tools in Microsoft Word are easy to access and track changes in Microsoft Word are also very easy to do. You need to enable the track changes option then you can automatically track the changes made to your document. Here is a complete detailed guide step by step in the next section of the article.
Step 1
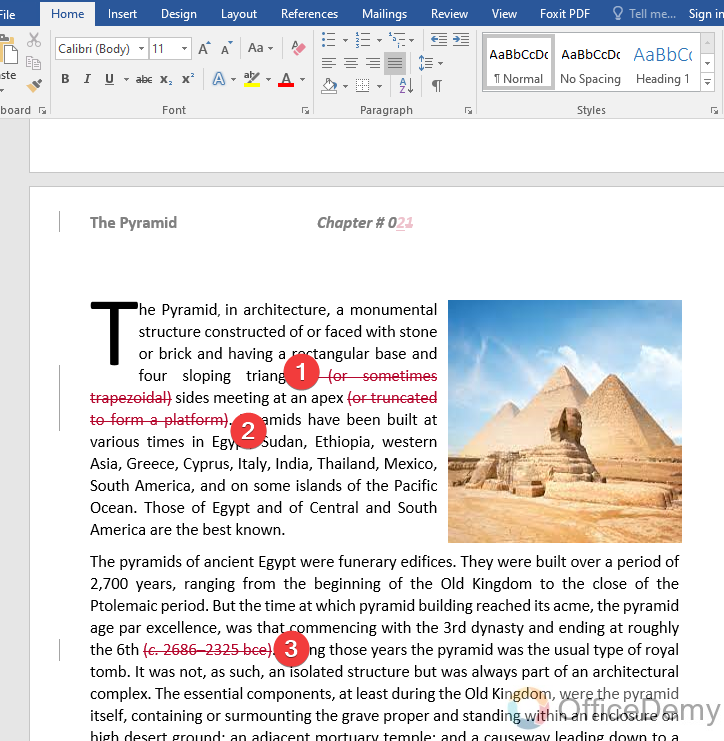
Let’s suppose this is a sample document in which you must track changes in Microsoft Word.
Step 2
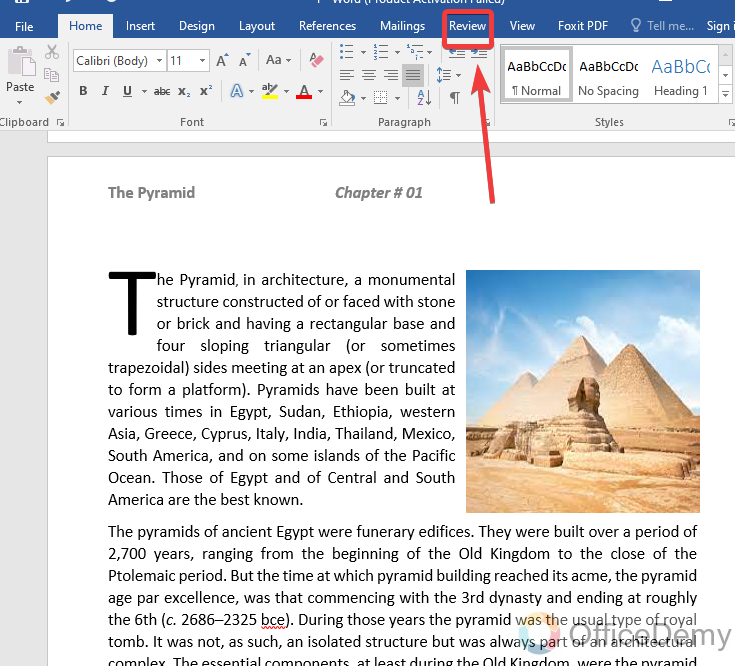
As we have discussed above, to track changes in Microsoft Word, first we have to enable it. To enable track changes in Microsoft Word, go into the “Review” tab of the menu bar.
Step 3
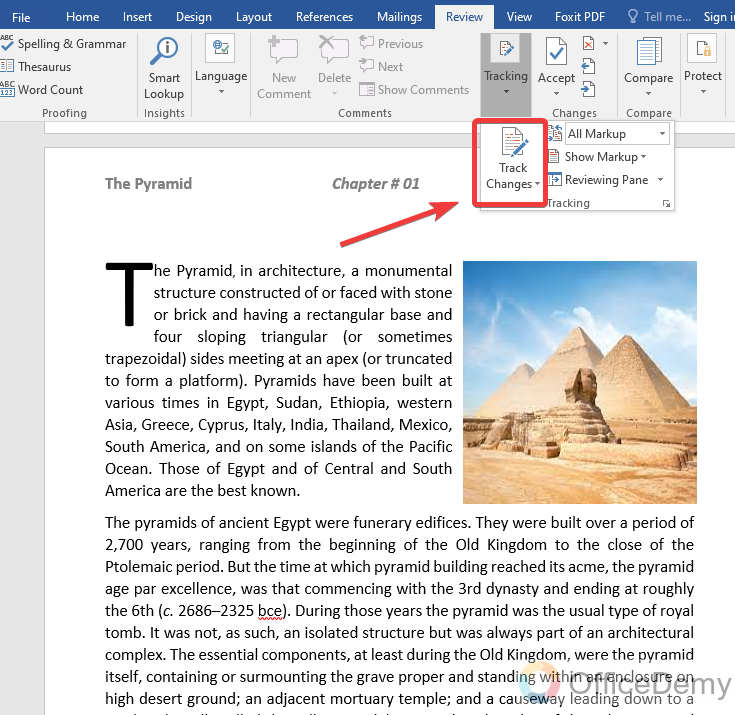
When you open the review tab of the menu bar, find the “Tracking” tab in the section of “Changes“. Click on it where you will find the “Track changes” option.
Step 4
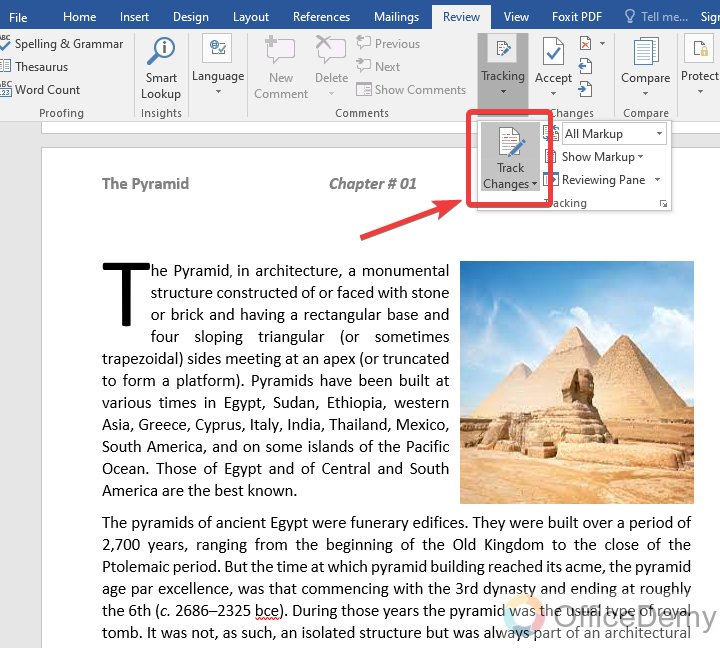
Enabling the “Track changes” option is not rocket science, just you need to press one click on it to enable it. You will observe on clicking the track changes option that it will turn dark, which means it has been enabled.
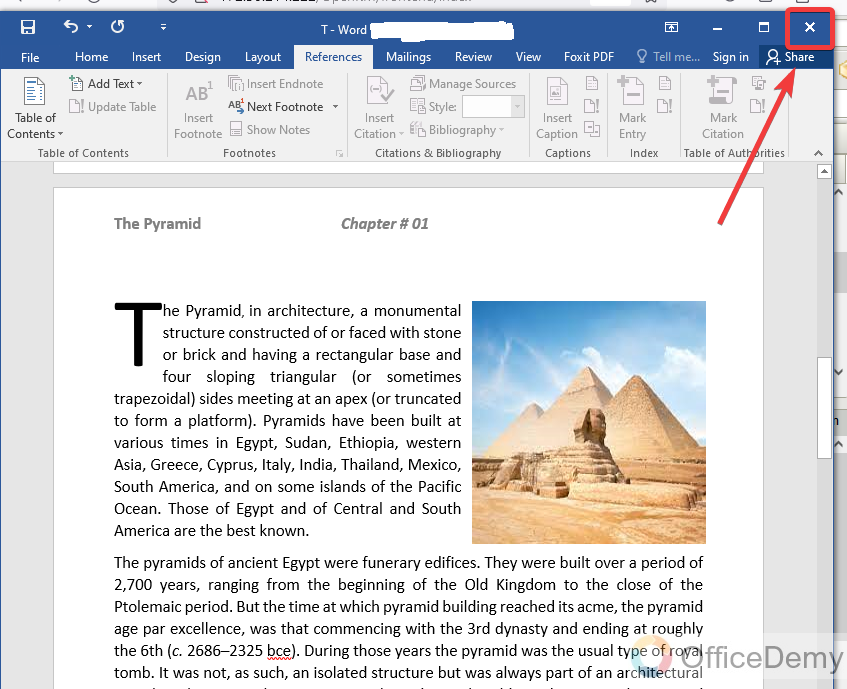
Step 5
Now, close the document and let the other users make changes. Then we will track changes to our document.
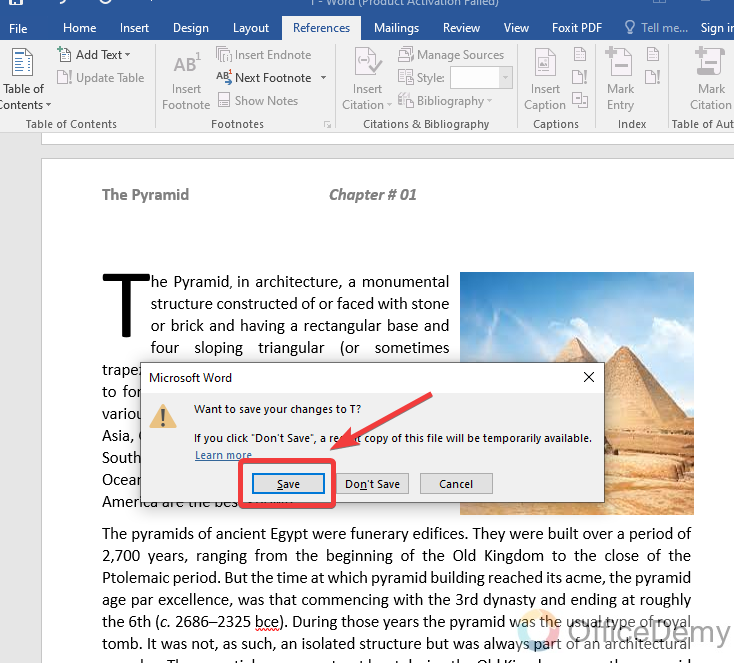
Step 6
While closing the document must save changes by clicking on the “Save” button.
In case of not enable the track changes option, you will not be able to track changes to your document.
Once you have enabled the track changes option, now anybody will make any changes to your document it will be highlighted and can easily track. Let’s see in the following steps how to track changes in Microsoft Word.
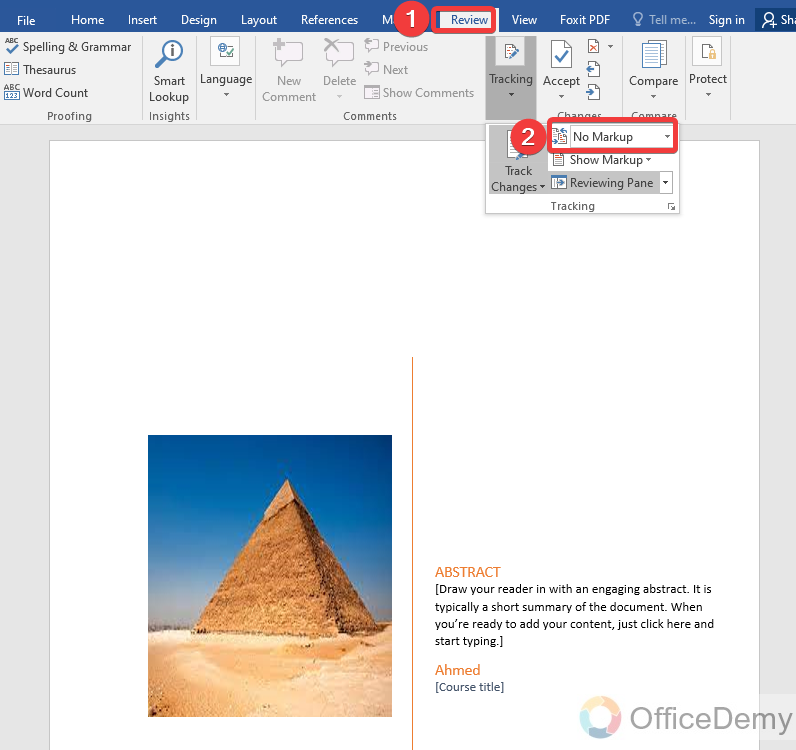
Step 7
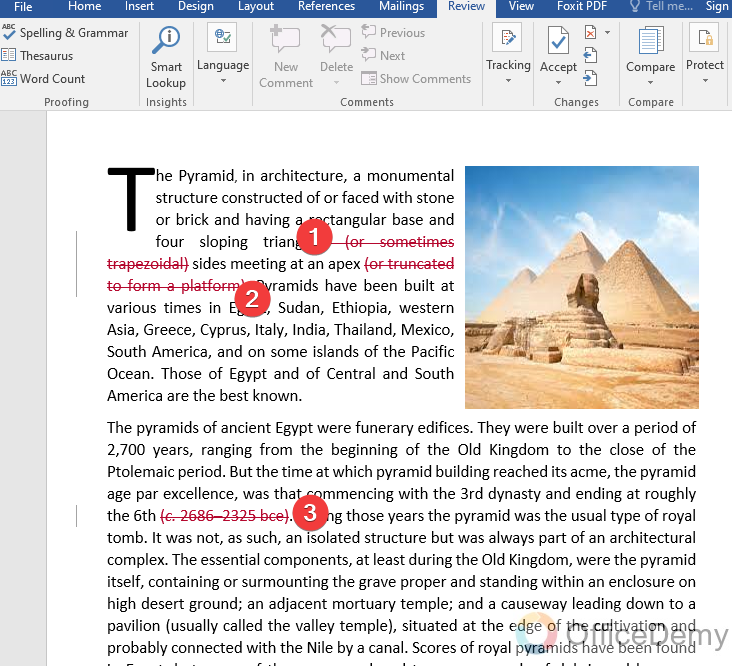
Open your document and go into the “Review” tab of the menu bar. In this tab open the “Tracking” section where you will find the track changes option and just next to the track changes option, you will find a dropdown option. Click on it to open it.
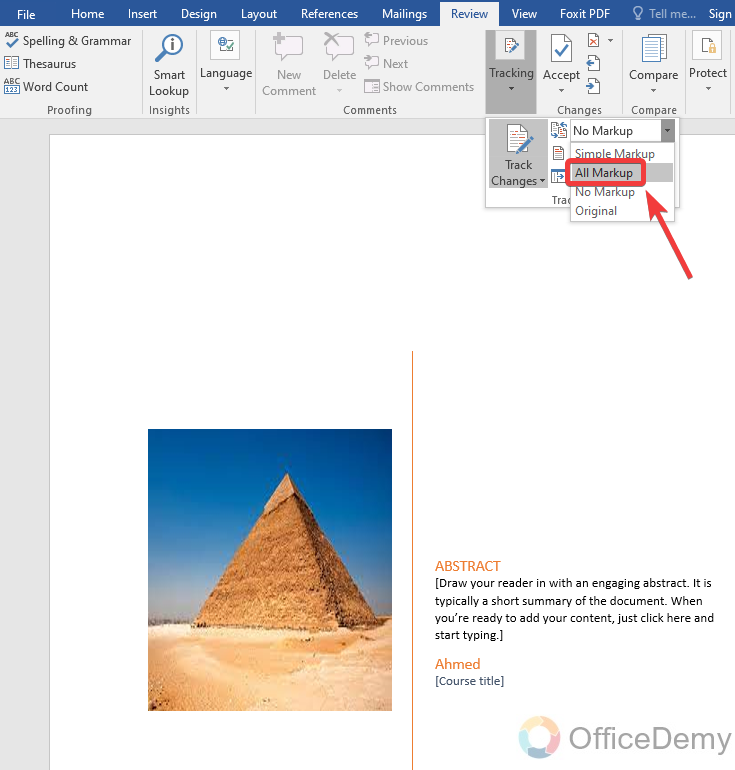
Step 8
When you open this dropdown menu, you will have some options in which to select the “All markup” option. This will show you all the changes that were made to your document.
Step 9
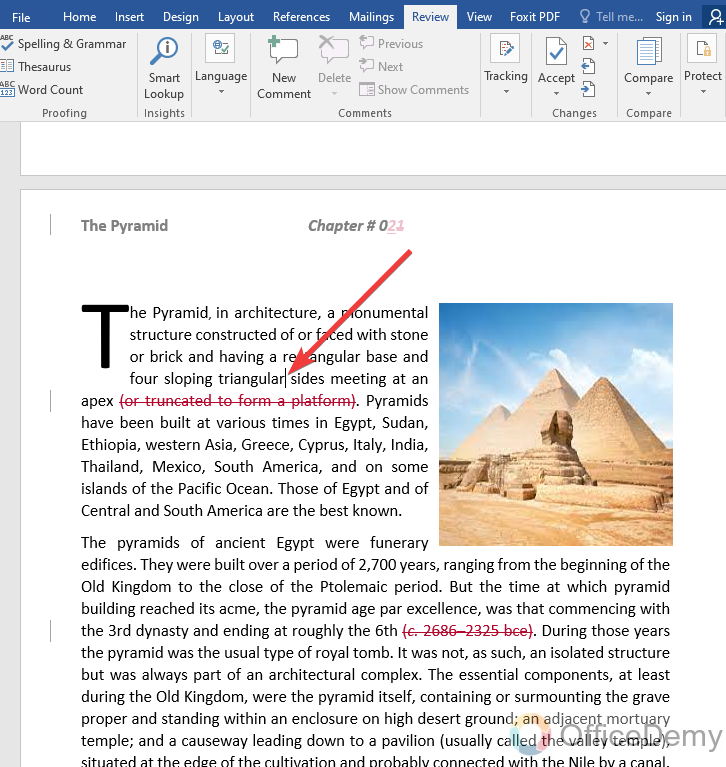
As you can see the result in the following picture is the red highlighted text that was changed which has been tracked from the track changes tool in Microsoft Word.
Frequently Asked Questions
Q: How to accept/reject changes in Microsoft Word?
A: When you enable Track changes in Microsoft Word, then all changes that have been made by other users are just suggested changes. To make them permanent, you should accept them, and on the other hand, if the author disagrees with the changes that were made, you can reject them with no change. Microsoft Word offers both options to accept/Reject changes to your document, usually, these options are used in reviewing documents. If you are not aware of, accept/Reject changes in Microsoft Word then follow the following steps to learn how to accept/Reject changes in Microsoft.
Step 1
Let’s suppose this is a sample document that has several changes which were made by the users. Let’s see how to accept/Reject these changes.
Step 2
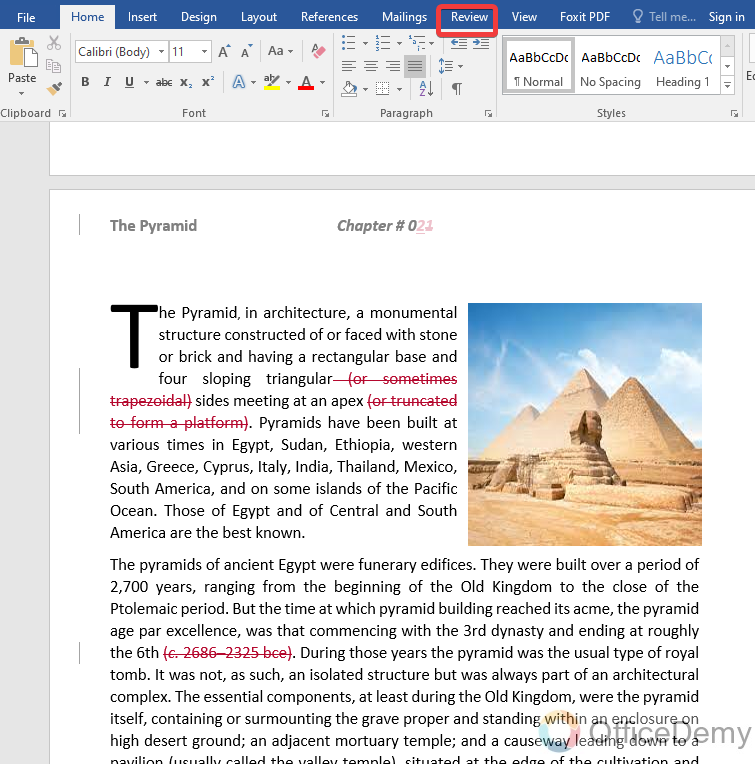
Open the “Review” tab from the menu bar of Microsoft Word.
Step 3
When you open the review tab of the menu bar, go into the “Accept” tab from the ribbon as marked in the following picture. Click on it to open a drop-down list. In this, you will find the “Accept the change” option. This option will accept the first change and so on.
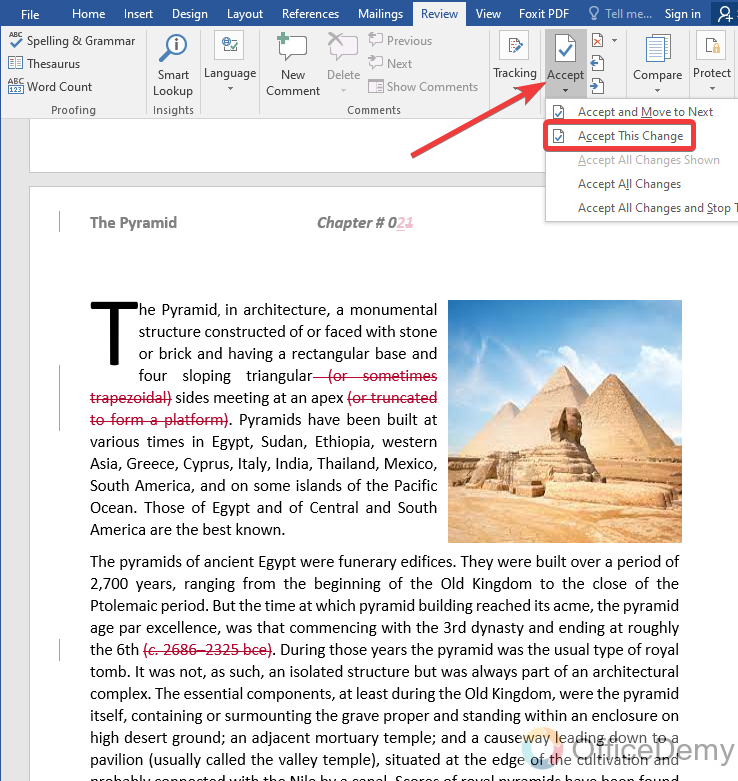
Step 4
As you can see in the following example, the changes that were made have been accepted and the red marking has been removed.
Step 5
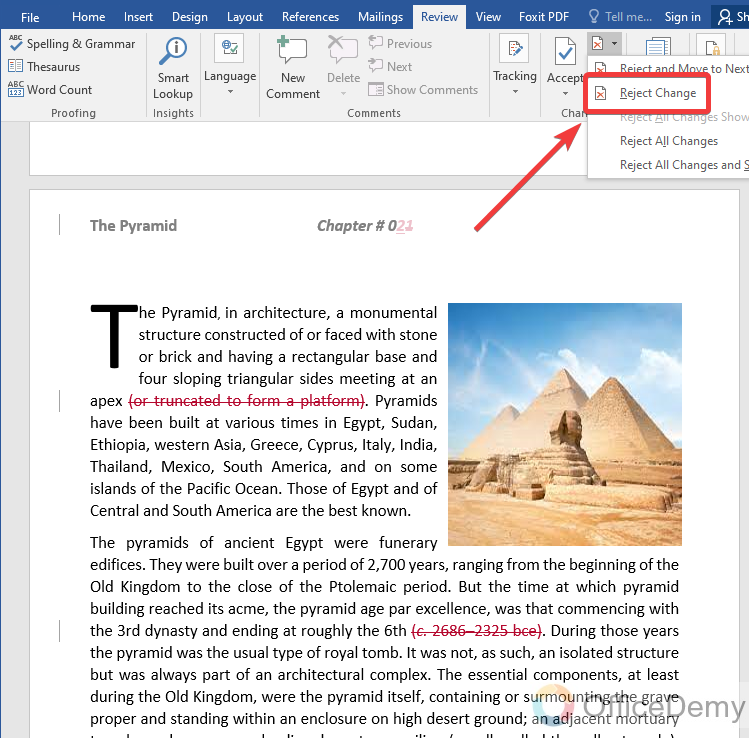
In the same way, you will find the “Reject” button just next to the Accept button. On clicking this reject button, you will find several options in the drop-down menu, select “Reject change“, it will reject the change and your document will remain in its previous form.
Step 6
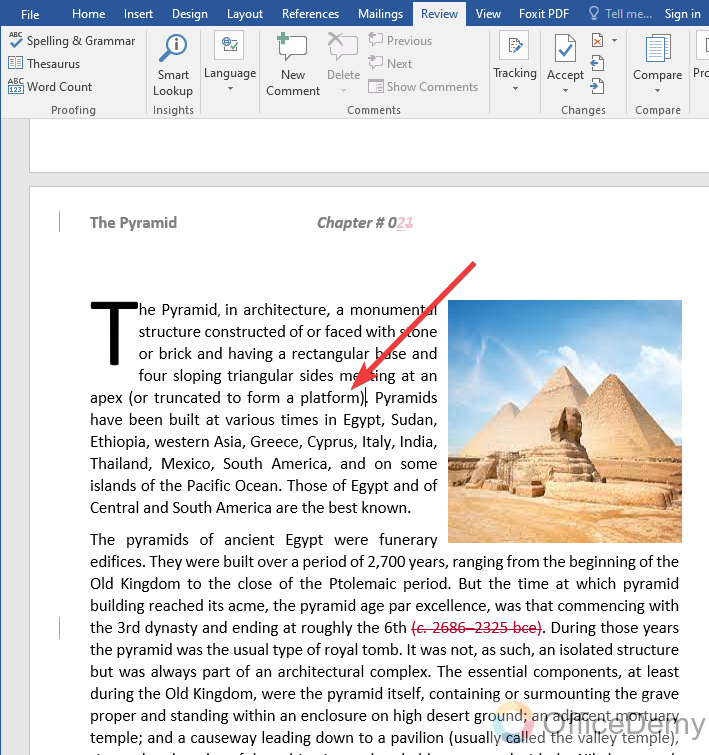
For example, if you notice in the following picture the change that was made by the user has been rejected and the text remains the same as it was created.
Step 7
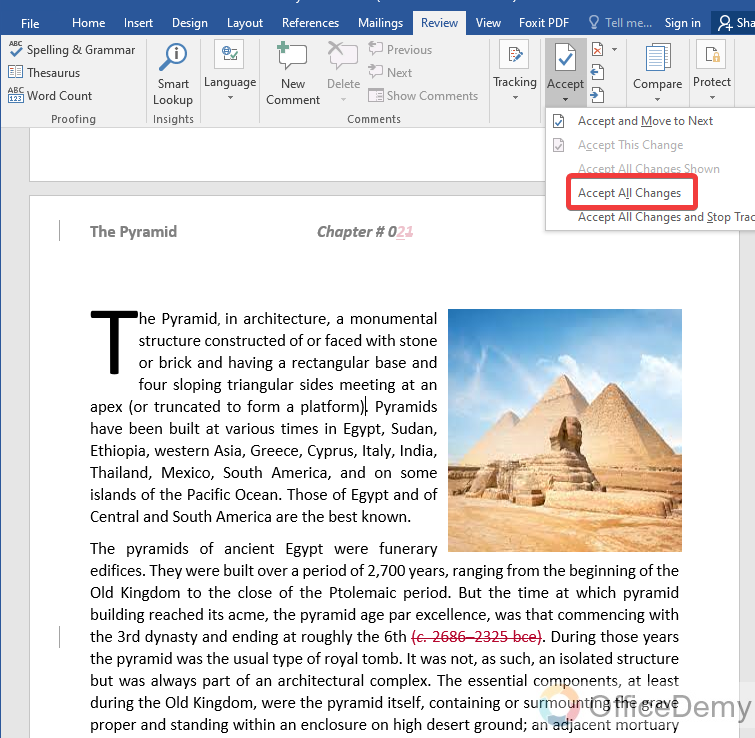
If you are checking your document and reviewing the changes made by the other user and want to accept/reject all changes simultaneously. Then you can select the following highlighted option “Accept all changes” or “Reject all changes” from the listed menu.
Q: How to add a comment on changes in Microsoft Word?
A: Let’s suppose you are reviewing the document changes made by the other user, and if you have any query regarding the changes or want to give your opinion then Microsoft Word provides the facility of communication as well through a comment. You can add a comment to your document in Microsoft Word. The procedure of adding a comment in Microsoft Word is described below with detailed examples.
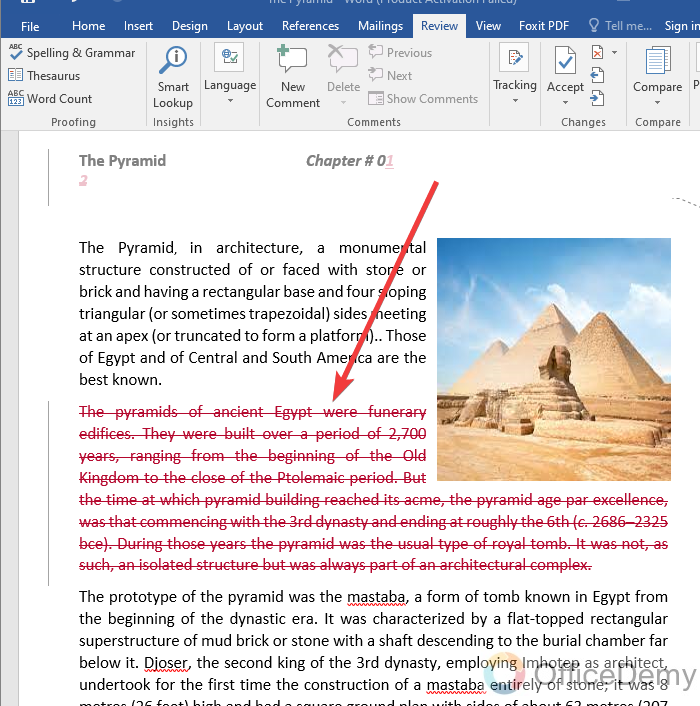
Step 1
In the following picture, you can see a document in which someone has deleted a paragraph on which I want to add a comment.
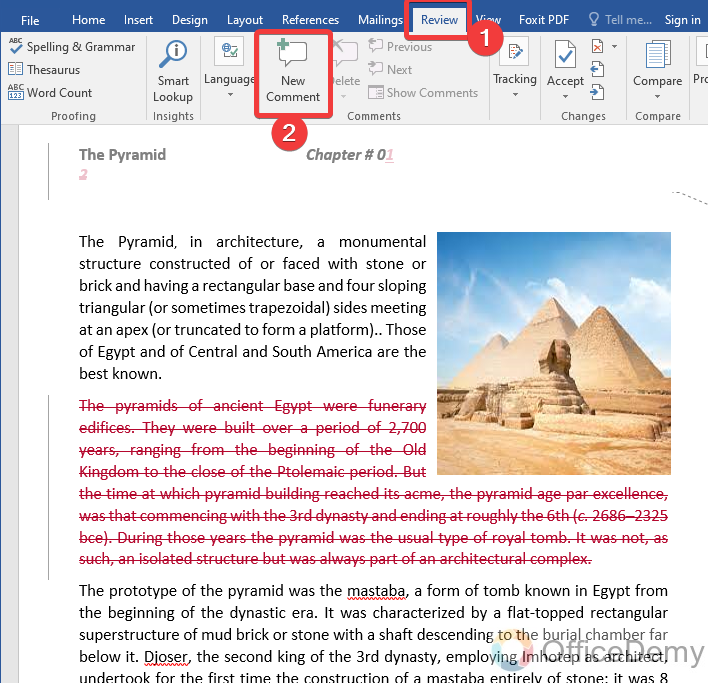
Step 2
Go into the “Review” tab of the menu bar in Microsoft Word, you will find the “New Comment” option at the front of you as highlighted in the following picture. Click on it to add a comment.
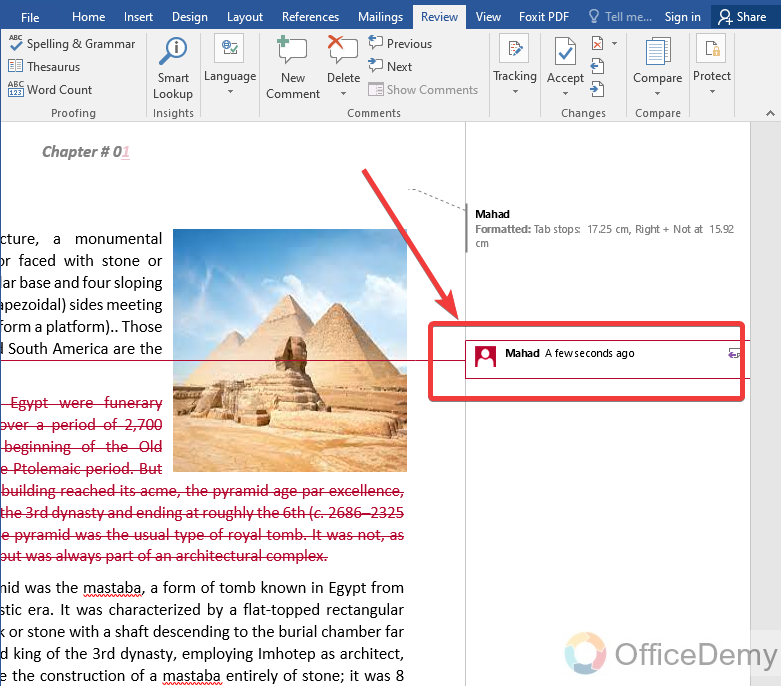
Step 3
When you click on this button, you will see a side pane menu will appear at the right side of the window, where you will have a text dialogue box in which you will have to write the text whatever you want to mention in a comment. Once you get done writing a comment click anywhere outside the comment box, and your comment will be added.
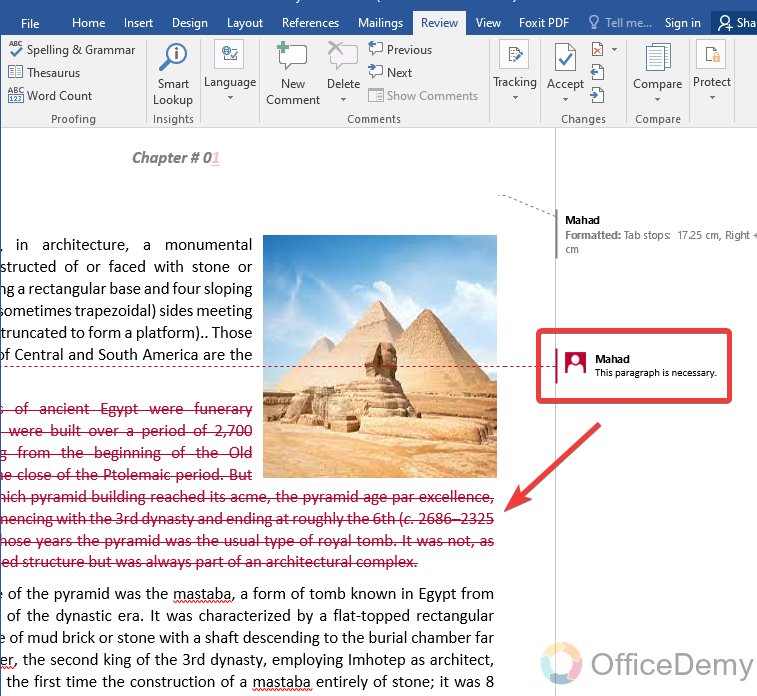
Step 4
This is the result you will get after adding a comment in Microsoft Word.
Conclusion
That’s all from how to track changes in Microsoft Word. If you don’t know your participants are making what changes with your document, and you are unable to track changes made to your document; then the above article is going to be very helpful to you in which we have covered how to track changes in Microsoft Word. We also discussed how to accept and reject the suggestions. For more information, keep visiting and learning with Office Demy guides.


