
To Move Rows & Columns in Google Sheets
- Select a column or row and drag it to a new position.
- It provides step-by-step instructions for moving both single columns/rows and multiple contiguous columns/rows using this method.
- A demonstration with images and GIFs is included for clarity.
OR
- Select the column or row headers.
- Copy.
- Paste in the new location.
- The article illustrates the process for both single and multiple columns/rows.
- The reader is reminded to select headers, not individual cells, and to use the Cut or Copy commands.
OR
- This method is used when you need to move a column by only one position to the left or right.
- It is accessed through the Edit menu and is suitable for minor adjustments.
Hi. In this article, we will learn how to move rows and columns in google sheets. Many times we have our data ready but we need to have some extra row or column within the data, so we simply insert a row or column within a table of data. Similarly, sometimes we need to move the column from a specific position to a new position.
Similarly for rows, we sometimes need to move them up or down, and column to right or left. there are many ways to do this, and most of them are very easy. When you try to move your columns or rows, after your data has been finalized, there is a small risk that can misplace the rows or columns. This article is meant to teach you all the methods for moving rows and columns.
Importance of moving Rows and Columns in Google Sheets
For every sheet, users must encounter situations where shifting rows above or below, and moving the column right or left are required. We mostly do it guessing it will be done by doing this. But don’t you think, we should know the best ways to do it without any mistakes or any chance of misplaced rows and columns? Yes, there are many ways to move rows and columns in google sheets. We need to learn them because they are very basic and very common things we will see when working with sheets in our daily life. So, let’s get into it.
How to Move Rows and Columns in Google Sheets
We have various methods. You can use any of these which you find ideal. Let’s see all of them one by one and move rows and columns like a pro.
Move Rows and Columns in Google Sheets – Simple Drag and Drop method
This is the easiest and most frequently used method to move rows and columns in google sheets.
To do this follow the below step-by-step procedure, and practice it once so you never forget it.
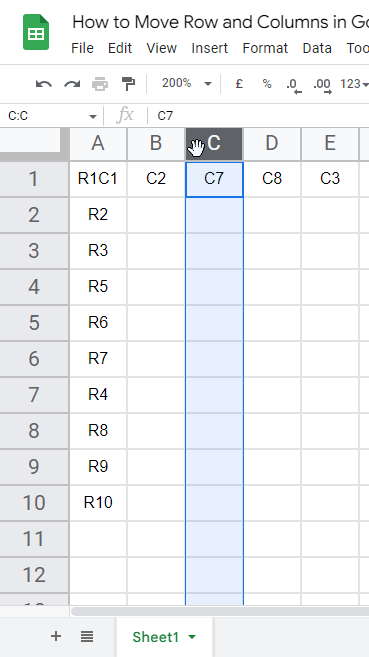
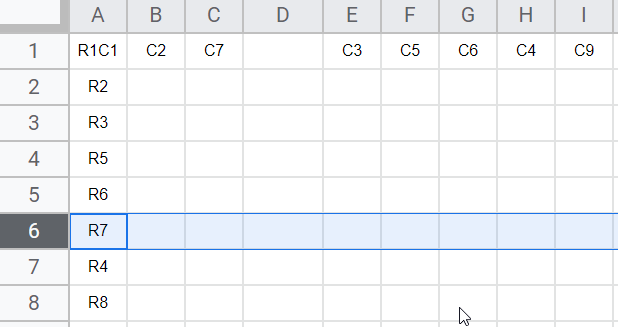
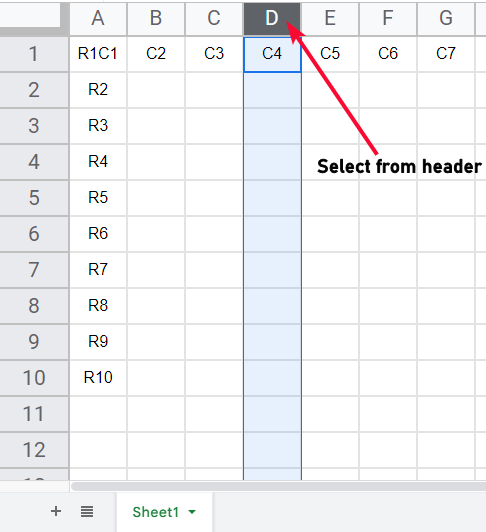
For this example, I have sample data, where I have written the column numbers and row numbers to see when they move.
Step 1
Click on the column header (where the alphabet is written such as A)
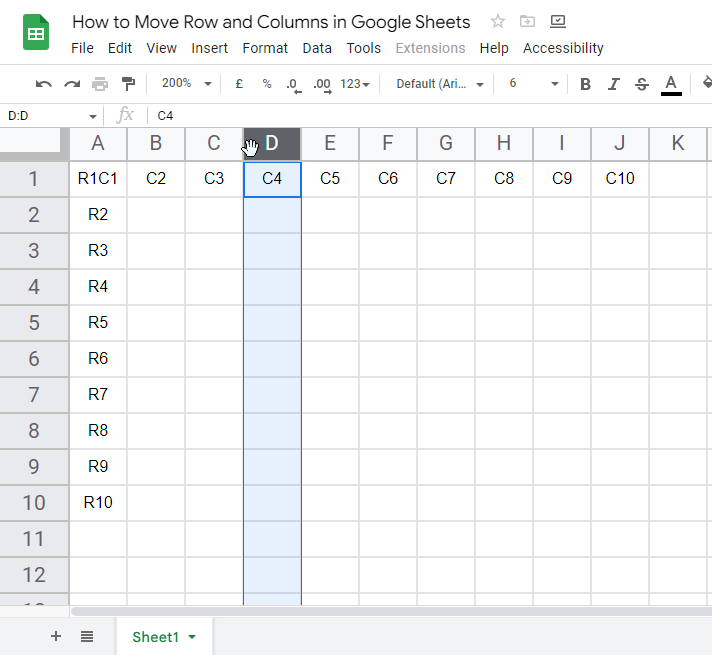
Step 2
The entire column will be selected by clicking on its header, a hand cursor will be there to move the column
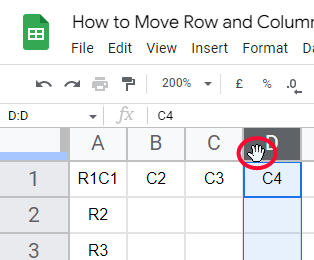
Step 3
Now simply hold the left click and drag your mouse towards the left or right
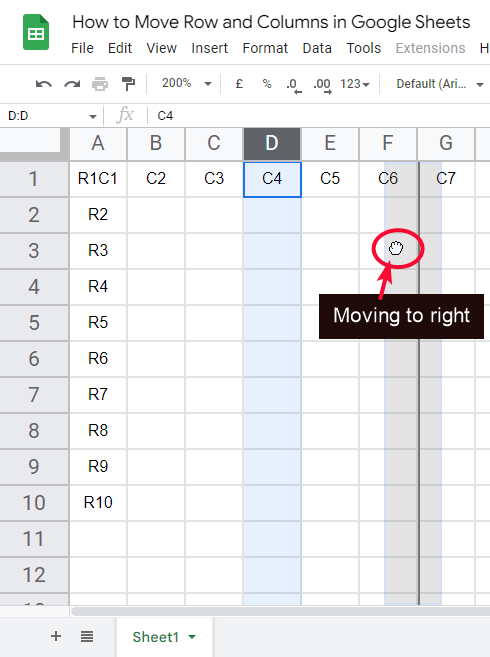
Step 4
A grey vertical line will show that leaving the click will shift your column here
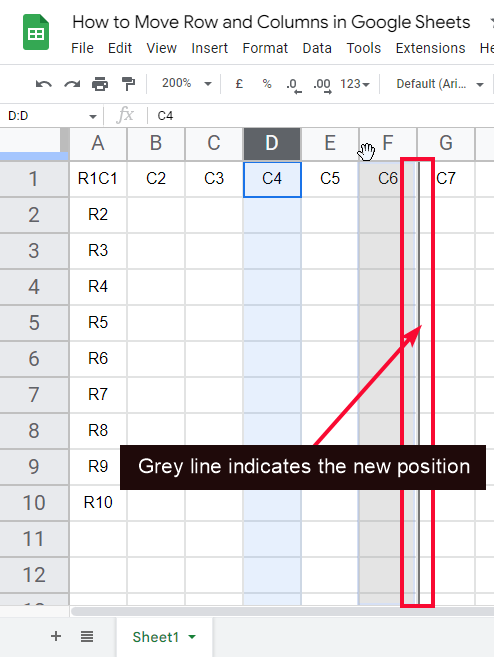
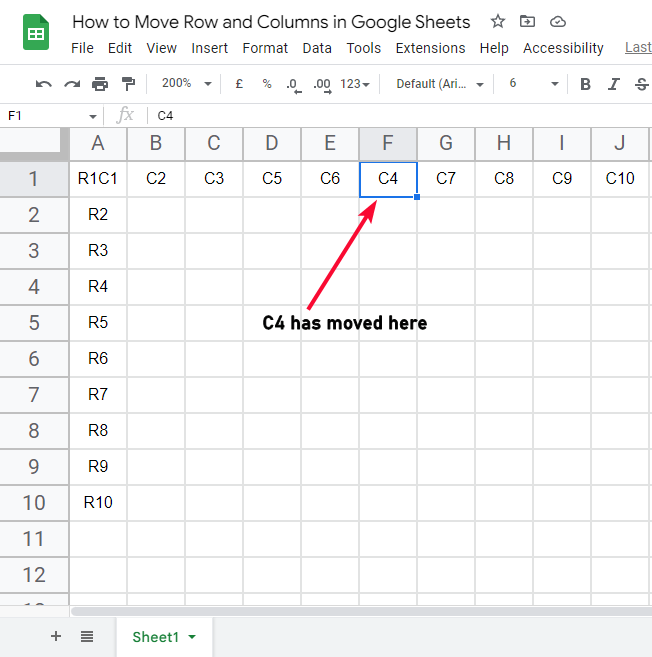
Step 5
The column has been moved
Now let’s try a similar thing with multiple columns
Step 6
Select multiple columns (select in the one-time selection, and not by selecting individually)
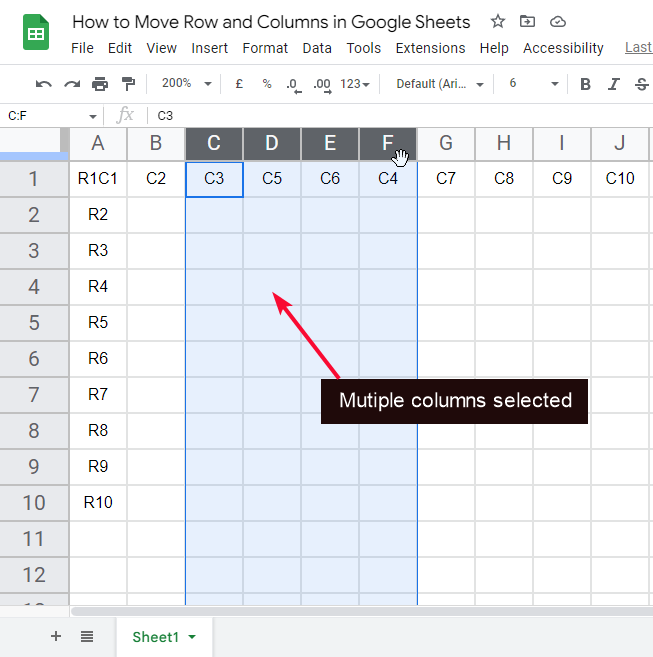
Note: You can select and move only contiguous columns
Step 7
Just like the single cell, hold the left click and drag the group of columns to the right or left
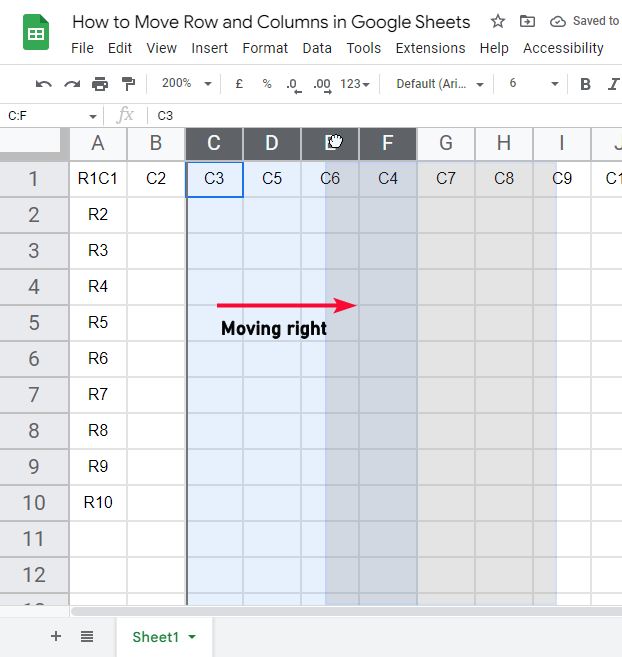
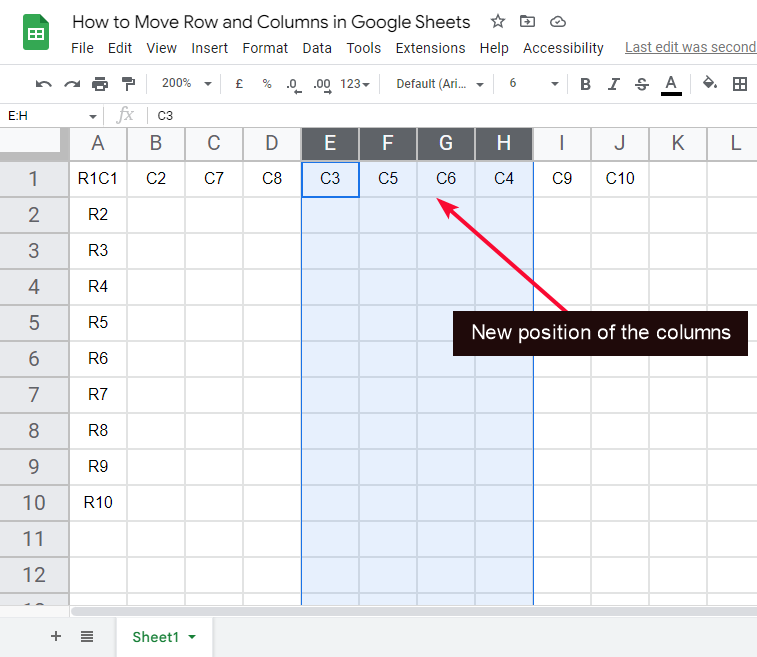
Step 8
The grey line will show the new potential position of the group of columns
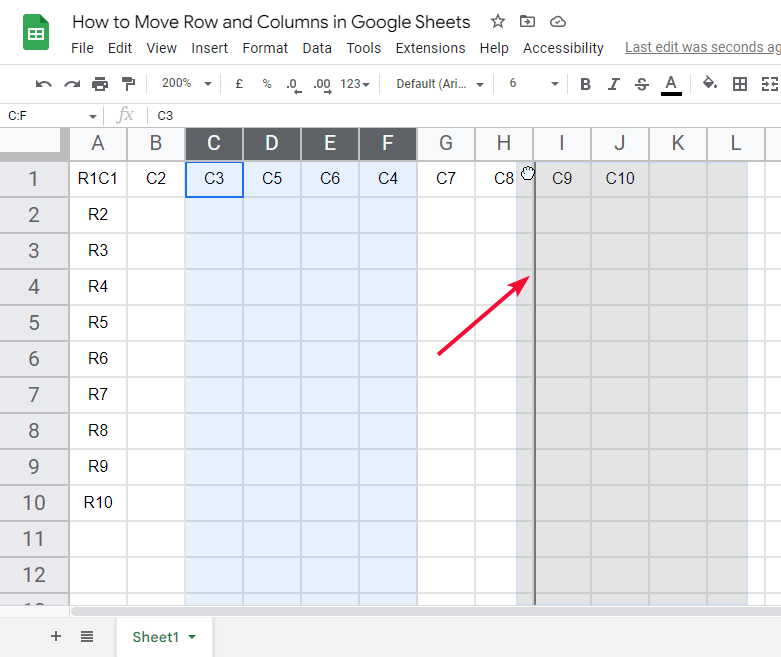
Step 9
Columns are now moved.
This is how you can use this method very easily. This is a mouse dragging method and applicable on both rows and columns
Step 10
Select a row header
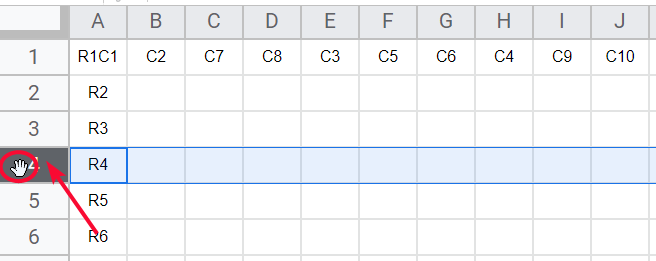
Step 11
Move the row up or down with your mouse holding the left click
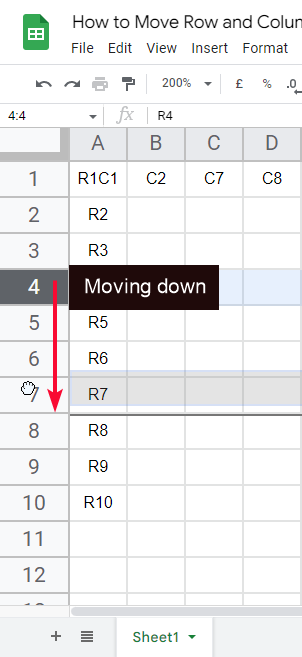
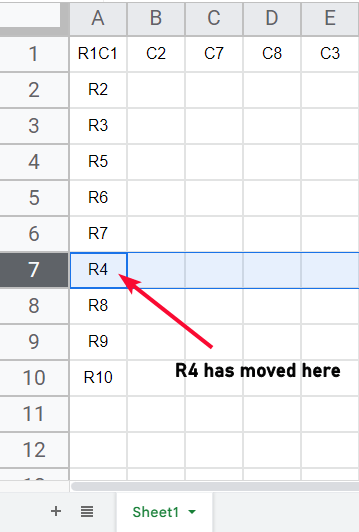
Step 12
Leave the click once you are reached the destination.
Step 13
See the below GIF
Move Rows and Columns in Google Sheets – Copy, Cut, Paste Method
This is another method to move rows and columns in google sheets. We can normally cut or copy the columns or rows selected from the header, and then we can simply paste them. It is like a normal cut/copy and pastes method, as we do for data like text, numbers, etc. So let’s see how to do it.
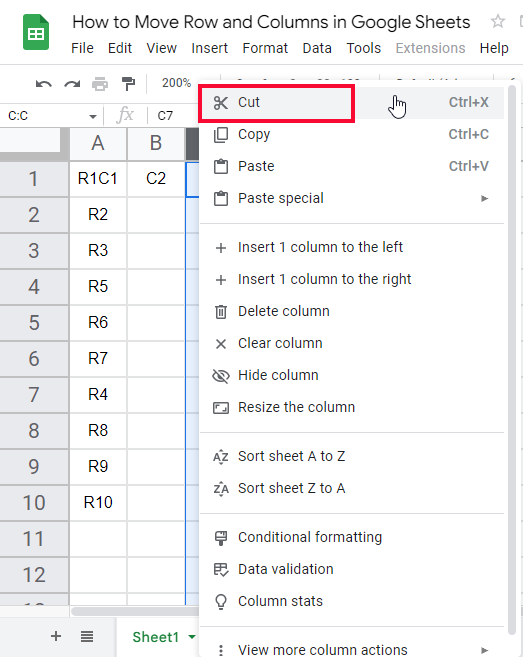
Step 1
Click on the column header
Step 2
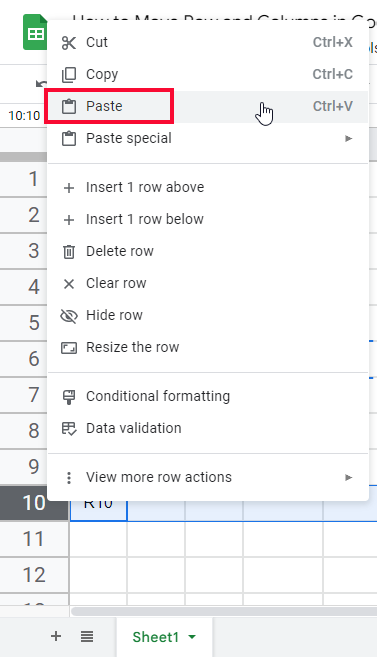
Right click and click on cut to cut this column, and copy to make a copy of it
Step 3
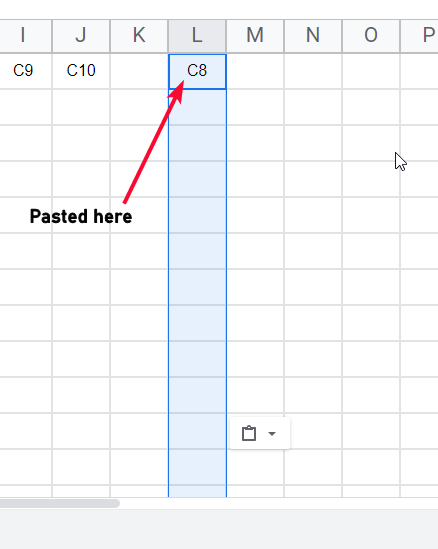
You don’t need to hold any mouse key, simply go to the destination position and click on the column header, now paste here using Ctrl + v
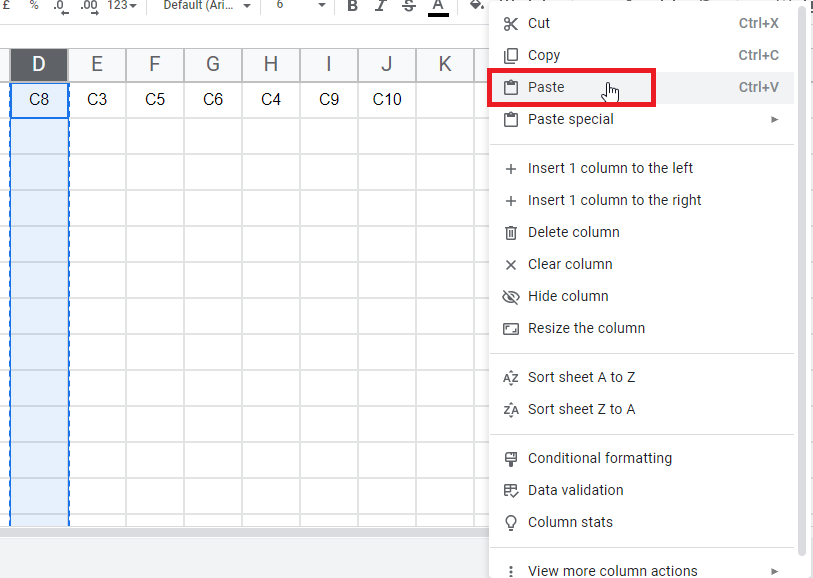
Step 4
Your column has been pasted here.
Similarly, for the multiple columns, you can do the same thing. Just remember that you need to select the column headers not the first row of the column.
Let’s see if it works accurately for rows
Step 5
Click on the row header
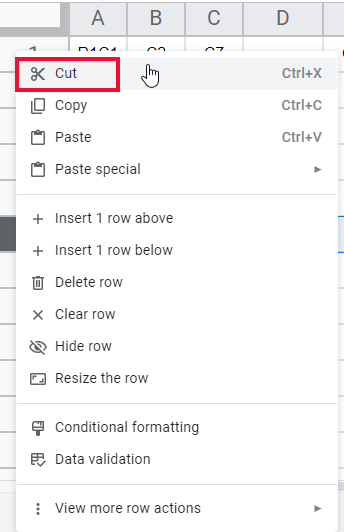
Step 6
Right-click and then click on cut to move the row
Step 7
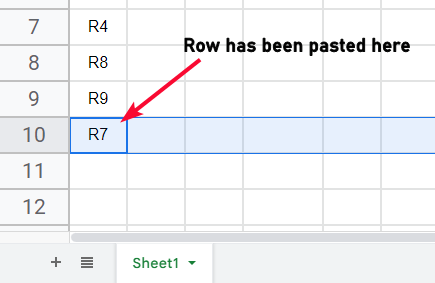
Now reach to the position and select the row header where you want to paste this row
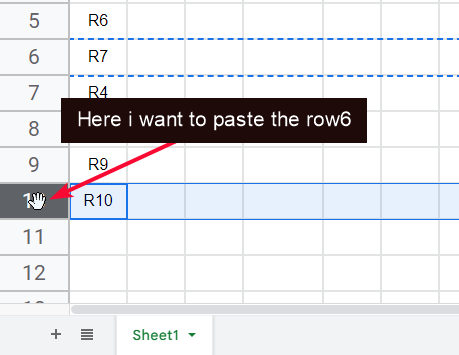
Step 8
right click and click on paste, and your row has been pasted here and removed from the previous position.
Step 9
See the below GIF
This is how you can simply cut, copy and paste the rows and columns just like any other data in google sheets.
Move Rows and Columns in Google Sheets – Edit Menu method
This is another handy method to move columns or rows in google sheets. In this section, we will learn how to move rows and columns in google sheets using the edit menu method. But here is a limitation, you can only move a column to its left or right, and no other position more than 1 left and 1 right. This method is used when we only need to move the column by 1 column. I have the same dataset, let’s see this example practically
Step 1
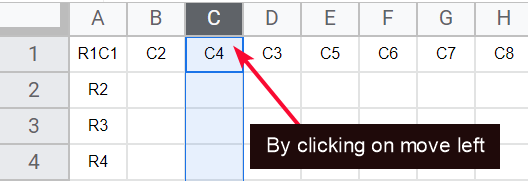
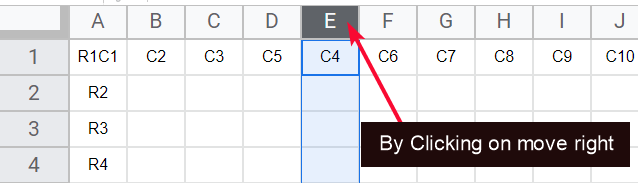
Select a column from its header
Step 2
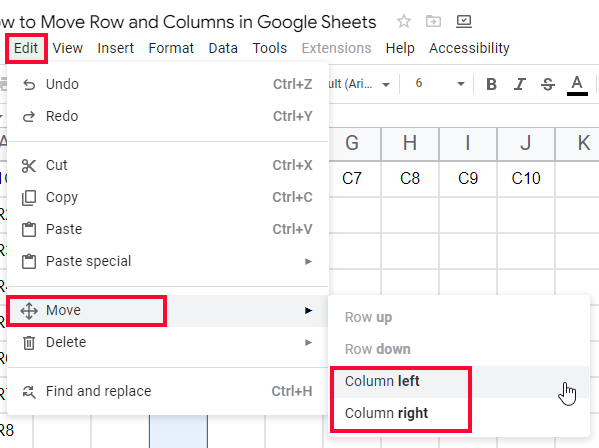
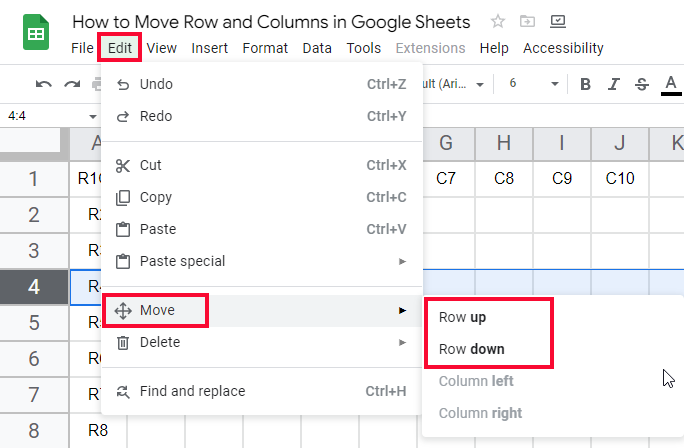
Go to Edit > Move > Select any option from “column left” and “column right”.
Note: You can’t move columns more than 1 column away
Step 3
Click on any option and it will move the column for you
The move option inside the Edit menu is disabled if you have not selected any row or column header. This option will only be available when a header is selected.
When you have selected a column, it will show 2 options, column right, and column, left
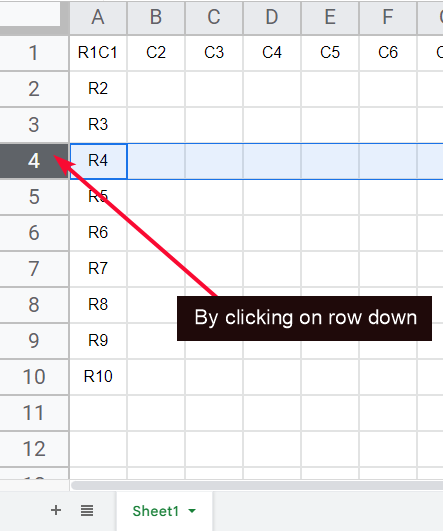
When you have selected a row, it will show 2 options, row up, row down
Step 4
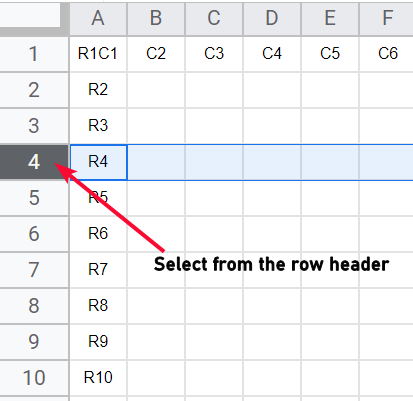
Select a row header
Step 5
Go to Edit > Move > row up / row down
Step 6
Your row has been moved by one position.

Step 7
See the below GIF
Keyboard Shortcuts to insert Rows and Columns
| Shortcut | Function | Windows | Mac |
| Insert Row Above | Insert a row above to selection | ALT + I + R | Ctrl + Option + I, then R |
| Insert Row Below | Insert a row below to a selection | ALT + I + W | Ctrl + Option + I, then W |
| Insert Column Right | Insert a column right to the selection | ALT + I + C | Ctrl + Option + I, then C |
| Insert Column Left | Insert a column left to selection | ALT + I + G | Ctrl + Option + I, then G |
Important Notes
- The best method is the simple drag and drop the columns and rows on the destination positions
- Always remember to select the columns or rows from their header, the header is before the first row or column which is not used for typing
- If a row or column is selected from any cell rather than the headers then in the Edit menu the move options will become disabled
- A delete button below the move button is for deleting an entire row/column, values written in the row or column, or the notes associated with selected rows or columns
Frequently Asked Questions
How to quickly move rows and columns in google sheets?
We have three most essential ways to move rows and columns from their initial position to a new position. Two of these methods can move a single or multiple row/columns at once, there is a limitation in the third method (edit menu method) is that you can only move towards 1 position, if a row is selected so you can only move one position below or above the actual positions, similarly, if a column is selected, then you can only move that column to one position left or right. Rest two methods are for moving single or multiple rows/columns.
Is It Necessary to Group Rows Before Moving Them in Google Sheets?
Grouping rows in sheets is a key feature that enables efficient organization and management of data. By grouping related rows together, you can easily collapse or expand them, optimizing the view and making it easier to navigate through extensive spreadsheets. Thus, grouping rows in Sheets is indeed necessary before moving them to enhance productivity and accessibility.
Why do we need to move rows and columns in google sheets?
We normally need to move rows and columns and google sheets for editing purposes, you may need to keep a specific row or column to an end, to start, to the middle. There can be many possible reasons for doing this, it can be sorting, can be organizing, can be the addition of a new row or column in the future, or it can also be done probably only for the layout or design purpose. Sometimes, it’s also done because of the formula or function dependency, so we need to have two rows or columns contiguous to fulfill the formula requirement.
Conclusion
So today we learned how to move rows and columns in google sheets. We have learned what it means by moving a row or column, then we saw why we need to move rows and columns in google sheets, and then we studied various methods with their functionalities and limitations, we saw the first method in which we can simply move rows or columns just by mouse drag-and-drop. It was a very simple and quick method. The second method was the cut/copy and paste method. This method can be very easy because it’s the same as we perform normal copy and paste for the day-to-day task, the only thing to focus on is the selection of rows or columns to cut/copy, we need to select in one drag not individually, and we need to select from the headers not from any row or column. The third method was the edit menu option which is only enabled when you have selected a row or column from its header.
That’s all from how to move rows and columns in google sheets. I will see you soon with another helpful tutorial, till then take care. Thank you so much for reading. Keep learning with Office Demy.


