
To Add a Header in Google Sheets
- Select the first row.
- Style it.
- Center-align it both horizontally and vertically.
- Go to “View,” choose “Freeze,” and select “1 row“.
OR
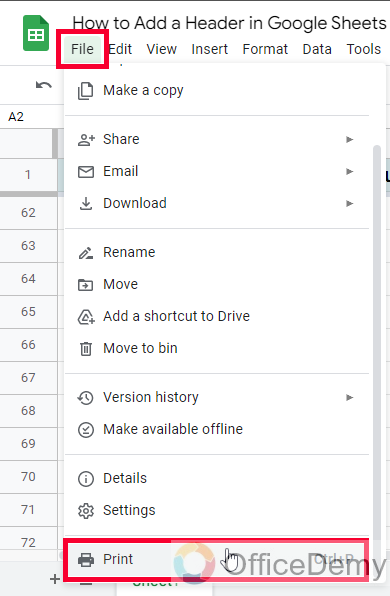
- Go to “File” > “Print“.
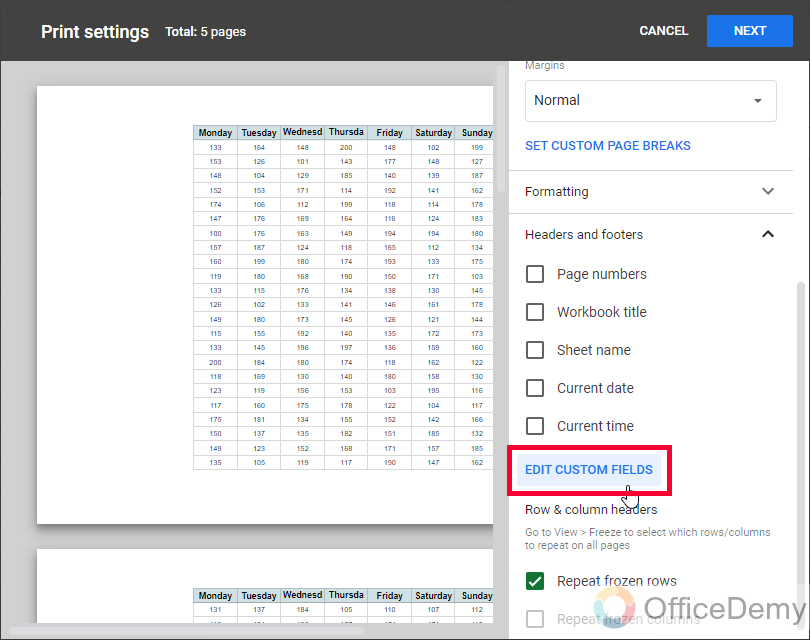
- Click on “Headers and footers,” then choose “Edit custom fields“.
- Customize your headers and footers with page numbers, titles, sheet names, dates, or times.
Note: These appear only in printed copies, not on-screen.
OR
- Go to “Insert” > “Drawing” in your Google Sheets file.
- Add a text box, style it, and insert your desired header content.
- Include fill-in-the-blank sections if needed.
- Save and position the drawing in your sheet.
Welcome to another tutorial in the Google Sheets articles list. And today we will learn how to add a header in Google Sheets. Well, if you have used Google Docs or MS Word, the header and footer are very easy, but in sheets, no header section comes with every sheet, and there is no such need as well. Saying, how to add a header in Google Sheets may have different meanings. So, today I will break the shell, and I will teach you three ways to add a header in Google Sheets. All these headers going to be different, but they all can be said as headers on different styles, and headers on different phases of a spreadsheet file.
Importance of Adding a Header in Google Sheets
We need headers to make our document look more attractive, headers have some information on the top so that a visitor can quickly glance at brief info and decide whether this document is for them or not. The header can also be used for marketing and branding, reports can have a top header with the company name: department name, and so on.
And similarly, have a footer area where they can keep the document’s about section, the name of the preparer and so many things depending on the context of the document. On-page headers in Google Sheets can be used for making a fixed first-row effect so that even when a user is on row 1000, they can still see the column name and they don’t have to navigate back to the top. So, these can be some very good reasons to learn how to add a header in Google Sheets.
How to Add a Header in Google Sheets?
Well today, I have summed up three types of headers, and I will teach you all these methods today, with suitable examples and appropriate explanations, we will see all these methods in separate sections. So, let’s get started with the first and most easy way to add a header in Google Sheets.
Add a Header in Google Sheets – First Row as Header
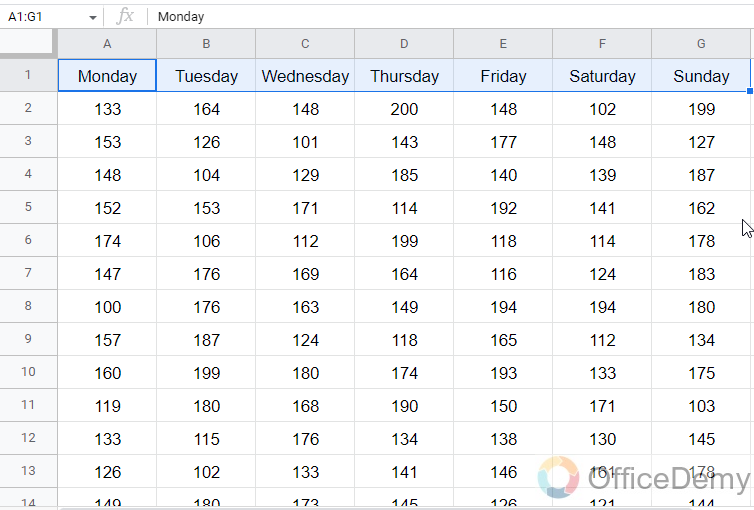
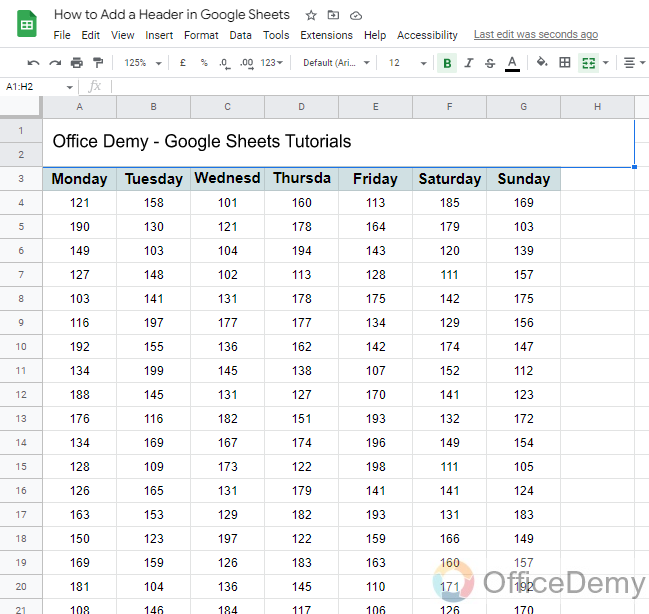
In this section, we will learn how to add a header in Google Sheets, and we will learn how to make your first row a header, and make it sticky throughout the maximum scroll of your sheet. Most commonly, people use this type of header for longer data sets and it makes it very easy for users to interact with these types of documents even if they are extraordinarily large sized.
Step 1
To make your first-row header of your spreadsheet, first, select the row
Step 2
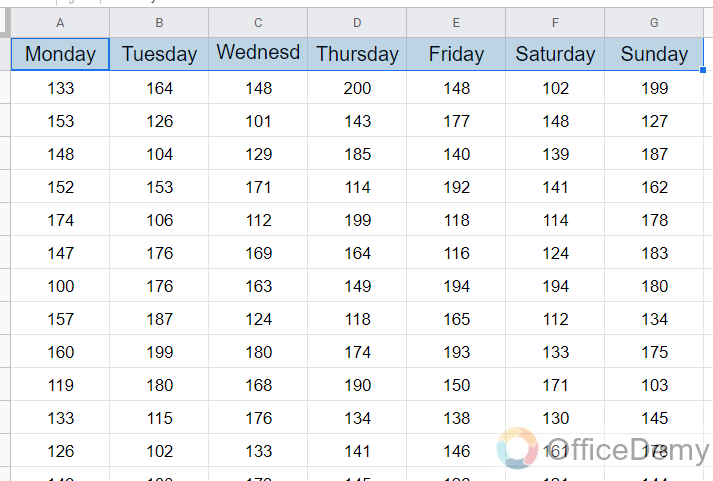
Increase the font size up to 2-3 points, and give a fill color to it.
Step 3
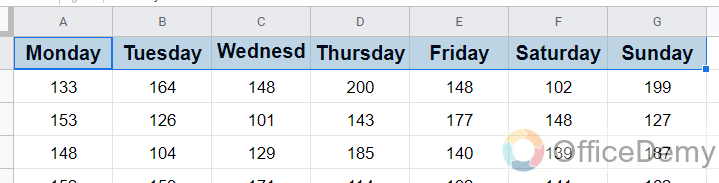
Bold the text in this row and center align from the horizontal alignment, and middle from the vertical alignment.
Step 4
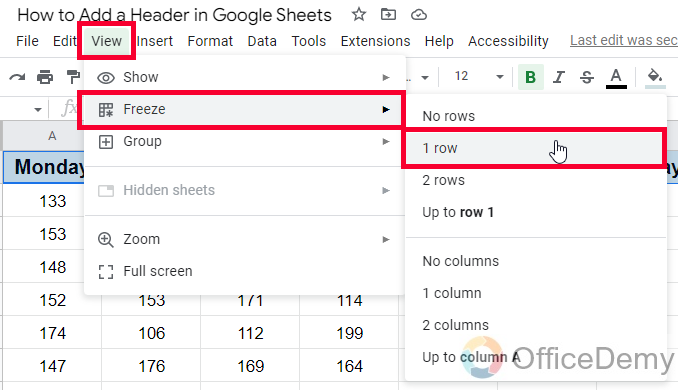
Go to View > Freeze > 1 row
Step 5
Now scroll down below until row 1000 and you will see your header will be visible anywhere you go. It’s now turned into a sticky header.
This was so simple, I agree. But, still, so many new users wonder Whooo how did you do that?
Well. Let’s move to another method.
Add a Header in Google Sheets – Header for Printed Sheets
In this section, we will learn how to add a header in Google Sheets while printing. Yes! For printing sheets, we have margins on all size sides of the spreadsheet, it’s not visible in working on a soft copy, but some margins can be used for adding some content and they work like headers and footers after printing. So, this type of header can be said to print headers in Google Sheets, and now let’s see how to add this type of header in a Google Sheets file.
Step 1
Open your Google Sheets file, Go to File > Print
Step 2
Open Headers and footers dropdown

Step 3
Click on Edit custom fields.
Step 4
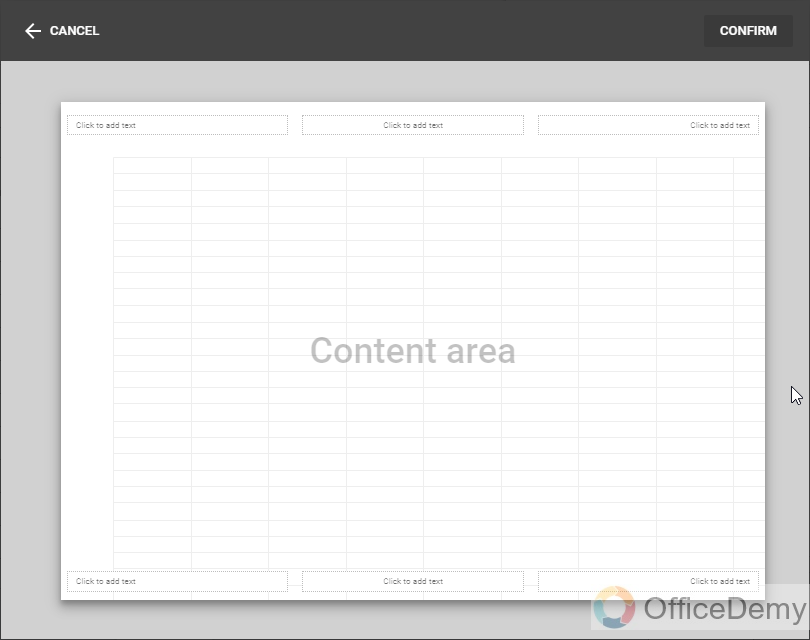
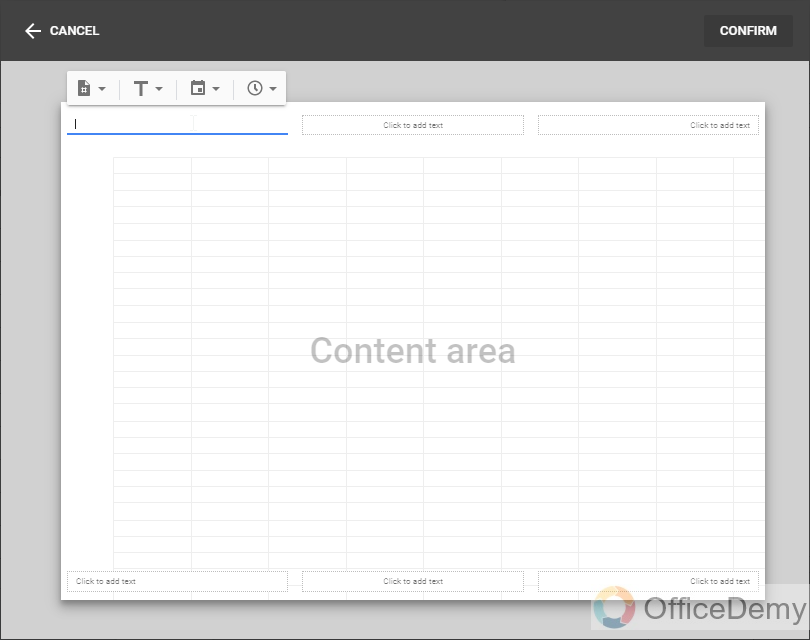
Now you have a page on the screen and it has six areas on the corners where you can add some piece of content 3 on headers and 3 on footers. And it will be only visible on paper (hard copy) and not on your computer (soft copy).
Step 5
Click on any of the given input boxes and now it gives you four options
Step 6
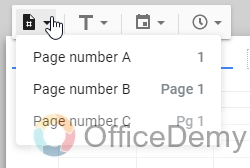
The first option is for the page numbers, you can add automatic page numbers on every sheet of your workbook. There are formats available for writing page numbers.
1
Page 1
Pg 1
You can choose any style from the above three.
Step 7
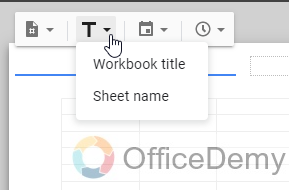
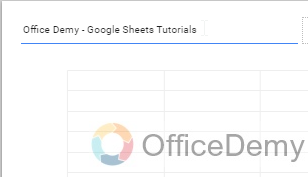
The next option is to add text, there are two further options in it. First is to add your Workbook title here, and the next is to add your Sheet name.
Step 8
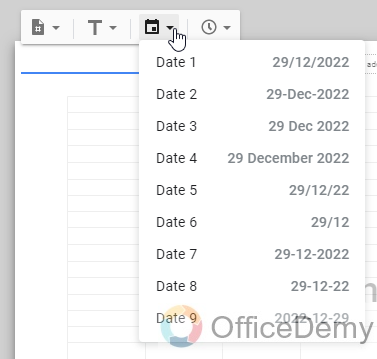
The third option is for adding a date, click on it and it will show many dates formats
You can select any of the above to attach today’s date on the header section of your file.
Step 9
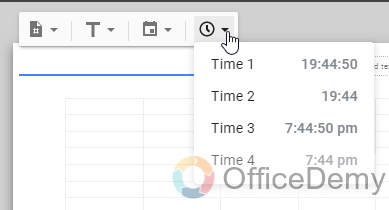
The next and last option is to add time, you may have seen in some reports that print accurate time stamps at the time of printing. This is the same option you have in Google Sheets; you can click on it and you will have many time formats then you pick any form of the given options.
Step 10
If you want to write some custom text in the Print header section, then you can start writing your text without selecting any given option. You can write your company name: department name: The name of the person who created this file, and so on.
So, this is all about how to add a header in Google Sheets for printing purposes, here header and footer both can be used but only will show on the paper and not on your computer.
Add a Header in Google Sheets – Draw a Header
In this section, we will learn how to add a header in Google Sheets using the Drawing function. We will learn how we can create a header in the Drawing, and then we can place it on our sheets and it will work like a header, and to add content in the header section, one can go to the editing option of the header in the Drawing tool, and from there they can add text content to the header.
Let’s see how we can create a header using the Drawing tool.
Step 1
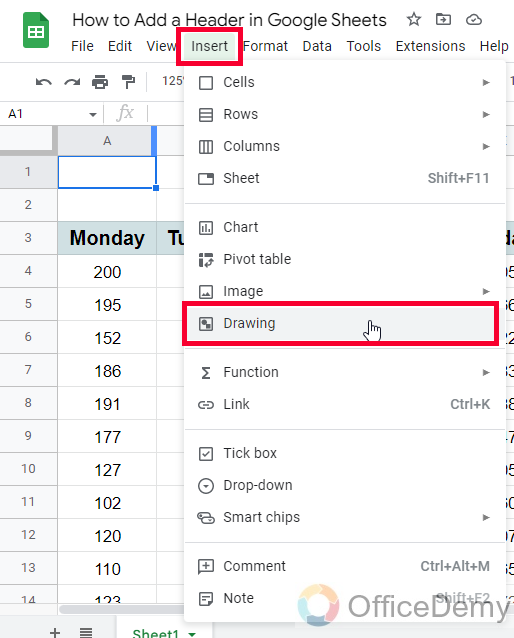
Open your Google Sheets file and then go to Insert > Drawing
Step 2
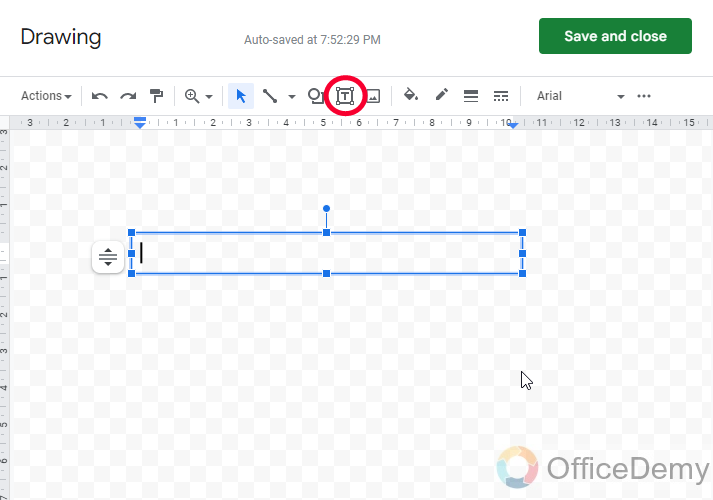
In the Drawing window, select a textbox from the toolbar, and draw a textbox with full width on your canvas
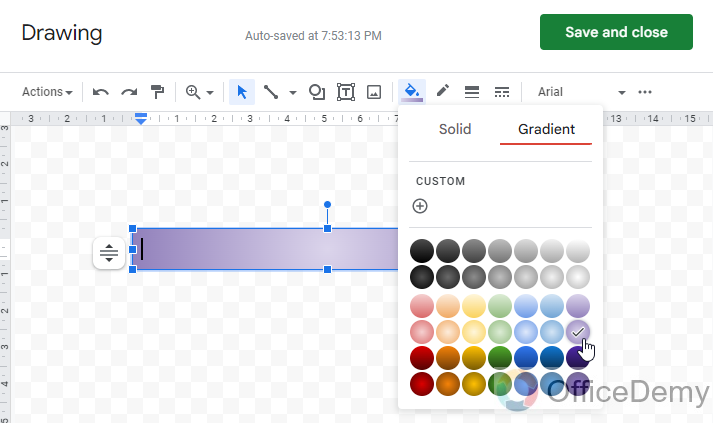
Step 3
Set the background or fill color with the textbox, you can also choose a gradient if you want.
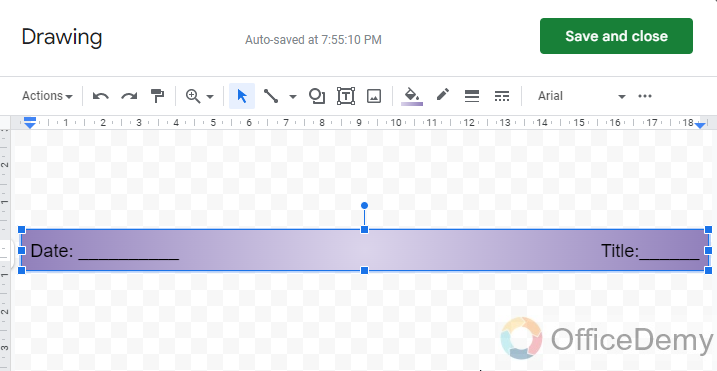
Step 4
Now you can write anything inside this textbox, and also you can give users a blank line where they can write something, as you can provide below like fill in the blanks to your users
Date: _______
Prepared by: _________
Approved by: _________
and so on…
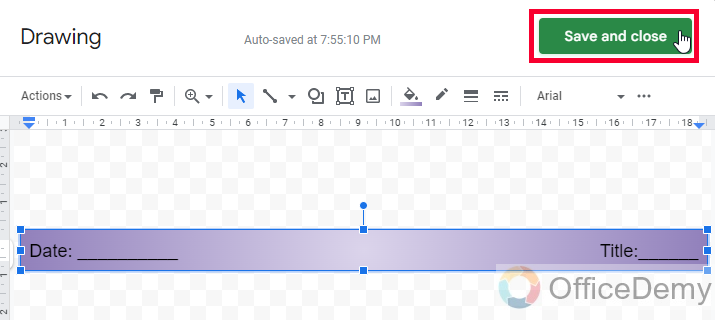
Step 5
Now Click on the Save and Close button, and this drawing will be added to your Google Sheets file.
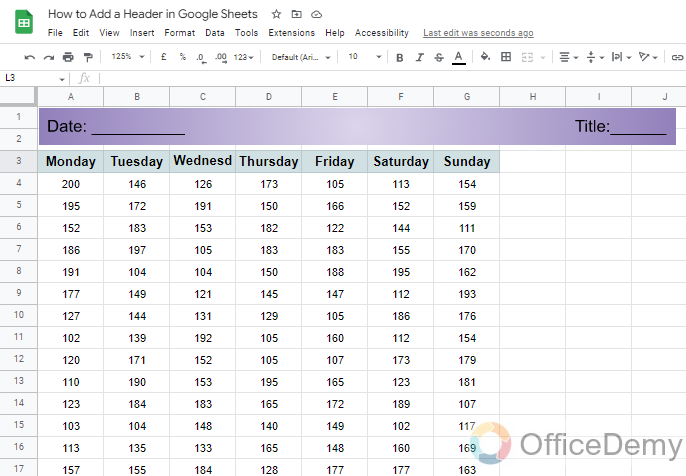
Step 6
You can adjust this drawing component on the top or bottom, or anywhere you find it good.
If you don’t want to make fill-in-the-blanks like a header, you can make different headers using the same method.
Step 7
If you want to keep a simple message on your sheets like today’s date, your company name, and the topic title name, you can simply write the information in the textbox inside the drawing tool and without any background color, you can use this textbox in your Google Sheets. It will look more natural and real.
So, this is how you can add a header in Google Sheets using the Drawing tool
Important Notes
- There are no Google Docs-like headers in Google Sheets.
- Since we don’t have pages in Google Sheets (we have sheets instead), we normally don’t use headers in soft copy
- Google Sheets (printing) headers display the current date, time, and the same name as your workbooks and sheets.
- You cannot add images to your print headers or footers.
- You can design a header in photoshop or Canva and then import them into Drawing or directly in Google Sheets, there are no limits to creativity in Google Sheets.
- You can also assign a script to your drawing work and can make an animation, or conditionals, or you can do other unique things with it.
Frequently Asked Questions
Is Adding a Header in Google Sheets Similar to Viewing the Toolbar in Google Sheets?
Adding a header in Google Sheets is a distinct function compared to viewing the google sheets toolbar. While the toolbar provides various options for formatting and editing, adding a header allows users to insert text or images at the top of each page in a document. Both the toolbar and header serve different purposes in Google Sheets.
Can I Use the Same Methods to Add a Header in Google Docs as in Google Sheets?
No, you can not use the same methods to add headers on the first page in both Google Docs and Google Sheets. In Google Docs, simply go to the Insert tab, select Header, and choose headers on first page from the drop-down menu. This will apply the header only to the first page, leaving subsequent pages without a header.
How to add a Title page header in Google Sheets?
You can only add a header to your Google Sheets printing versions, not to the soft copy. I mean you can add in soft copies but they ultimately only be visible in hard copies. Unlike Google Docs, where we add customized headers and footers and they remain visible in both hard and soft forms.
Can I add the current time on my Google Sheets footer automatically?
Yes, Google Sheets allow you to add the exact time and date on your sheets header and footer which is only visible when the file is printed. The time accuracy depends on the time of printing, if you add time at 9:10 and due to any reason, the document printed at 9:20 then the second time (9:20) will be shown on your printed document.
Conclusion
I am happy you reached here. Firstly, thanks for reading out the article. I hope you have liked it, and I believe now you have the answers to all your questions and confusion about how to add a header in Google Sheets. I will see you soon with another useful guide. You can subscribe to our blog for cool tricks and tips about Google Sheets and much more. Take care and keep learning with Office Demy.


