
To Add a Signature on Outlook
- Open Outlook.
- File menu > Options > Mail.
- Click the “Signature” button.
- Create a new signature by clicking New.
- Name it > Add text, images, and formatting.
- Choose your default signature settings.
- Click OK to save your signature.
In today’s article, we are going to learn another quick hand lesson for Outlook. It’s going to be about how to add a signature on Outlook.
Well, it’s a traditional concept to add a signature below our message but technology and communication have changed it. In the digital age, email communication has become a fundamental part of our personal and professional lives. When sending emails, adding a signature at the end of the message is a great way to provide recipients with essential information about yourself, your position, and your contact details. A signature also adds a professional touch to your emails, making them appear more polished and credible.
Microsoft Outlook is one of the most popular email clients, and in this guide, we will learn the process of adding a signature to your Outlook emails. I will show you an easy method for adding signatures using the Outlook App. So, whether you are a business owner, a student, or anyone who uses Outlook to send emails, you will learn how to add a signature that will help you stand out from the crowd.
Importance of Adding a Signature on Outlook
Well in important and worth learning how to add a signature on Outlook, it can provide numerous advantages to individuals and businesses alike. First and foremost, a signature adds a professional touch to your emails and helps establish credibility with your recipients. It can include essential information about yourself, such as your name, job title, and contact details, making it easier for people to get in touch with you. Moreover, having a consistent signature across all your emails helps build your brand and creates a sense of professionalism that can leave a lasting impression on your contacts.
Another significant advantage of learning how to add a signature on Outlook is the time-saving factor. With a pre-made signature, you no longer have to manually type out your contact details, job title, or any other relevant information each time you send an email. This can be particularly helpful for businesses or individuals who send out a high volume of emails each day. By automating this process, you can save valuable time and focus on other essential tasks, ultimately increasing your productivity and efficiency. So these are reasons we should learn how to add a signature on Outlook, let’s move ahead.
How to Add a Signature on Outlook
In Outlook, we have a simple and quick way to set up our signature and then use it with all or selected emails. This signature body can have text, links, logos, images, etc. We have so many standard editing options as well. So, it becomes very easy to make a branded, and personalized signature for the email. I will show you the Desktop App method, the web version is also very same to this, and you can try it out. So, let’s get started.
Add a Signature on Outlook – Using Desktop App
In this section, I will show you how to add a signature on Outlook from the desktop app of Microsoft Outlook. So we have an “Options” menu where most of the settings and feature are located, but I would suggest you use the “Search” function and find out any settings, and personalization feature directly. Let’s get started with the Outlook App method now.
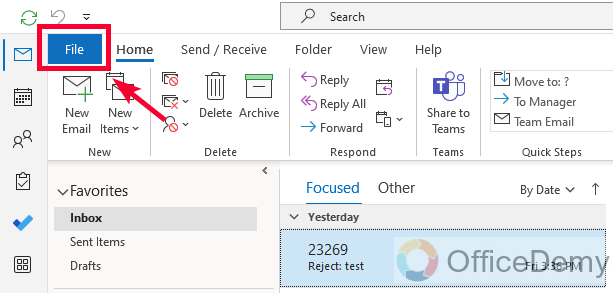
Step 1
Open the Microsoft Outlook App, and click on the File menu
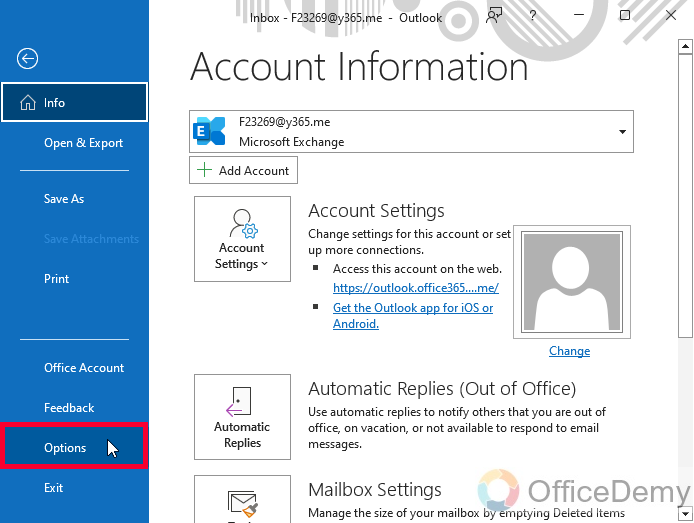
Step 2
In the left-hand sidebar, click on the Options menu
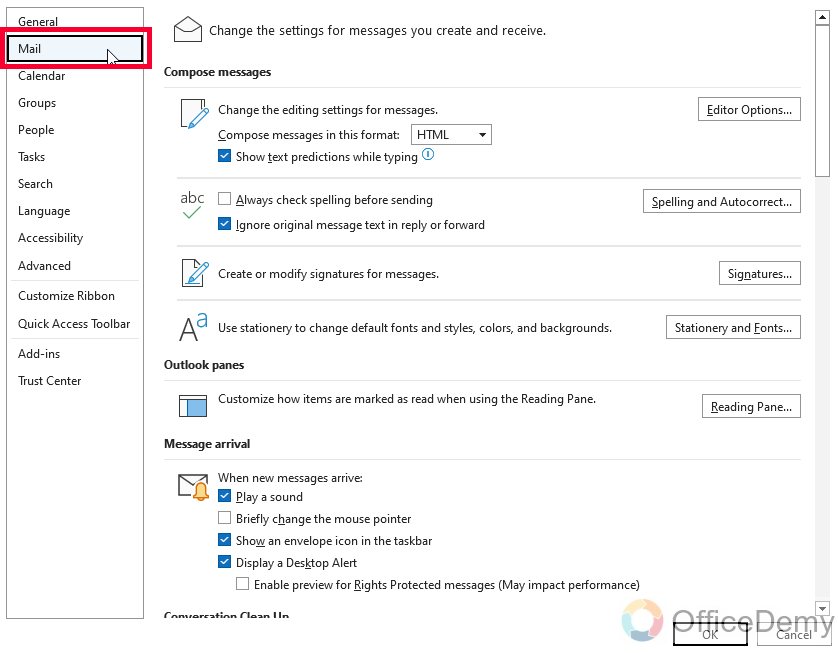
Step 3
Now, in the pop-up window, click on “Mail” in the left-hand sidebar
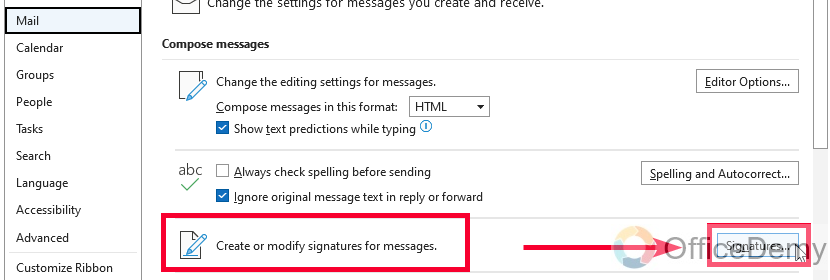
Step 4
You will see a Signature section right on your screen without scrolling, and a button on the right side “Signature”, click on this button
Step 5
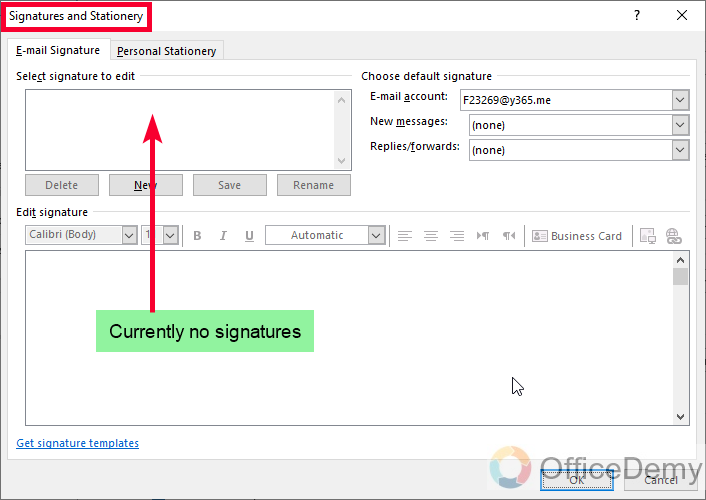
Now you have another pop-up window “Signature and Stationary” for adding a new signature.
Pro Tip: Instead of all the above steps, just go to the Search bar on the top, write Signature, and search, you will be directly landed in the “Signature and Stationary” pop-up window.
Step 6
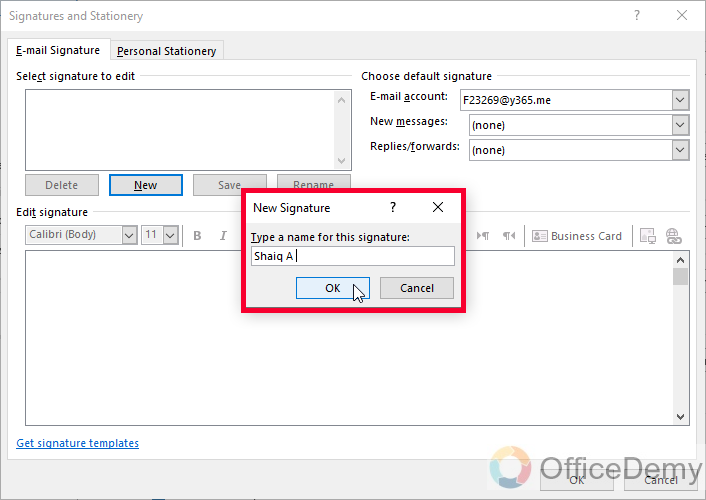
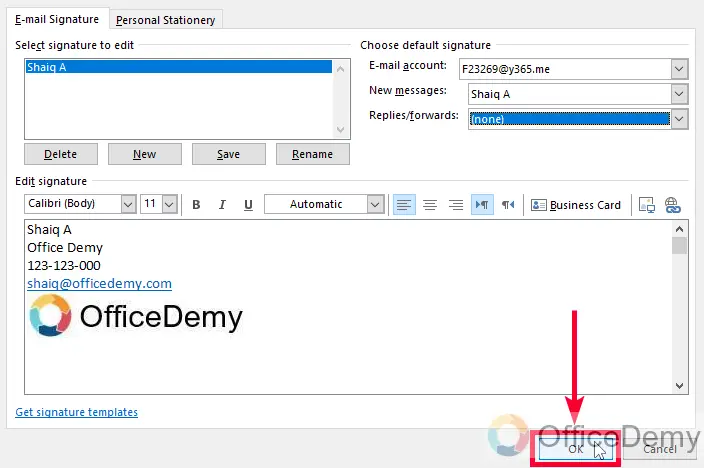
First, click on the “New” button to add a new signature

Step 7
Now you will be asked to type a name for this signature, type your name here and click on click Ok button
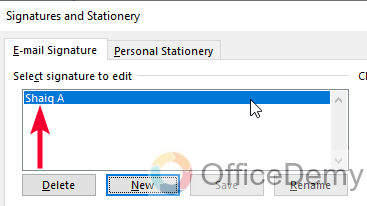
Step 8
Your signature name is added, and now you can make the signature body and add many types of content like images, text, links, numbers, etc.
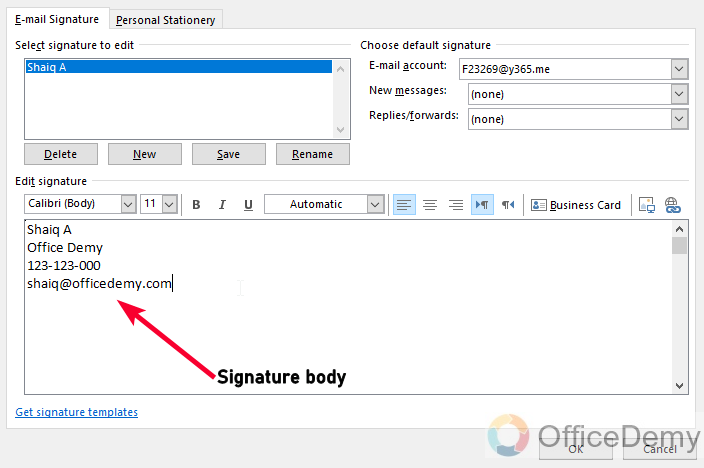
Step 9
Write all your information in the editing box
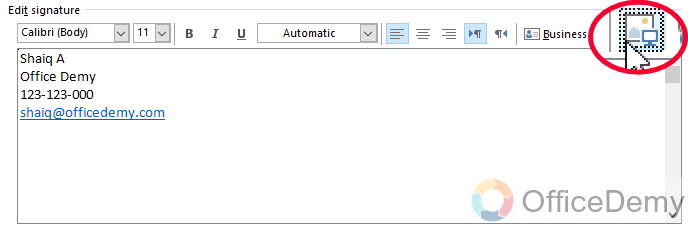
Step 10
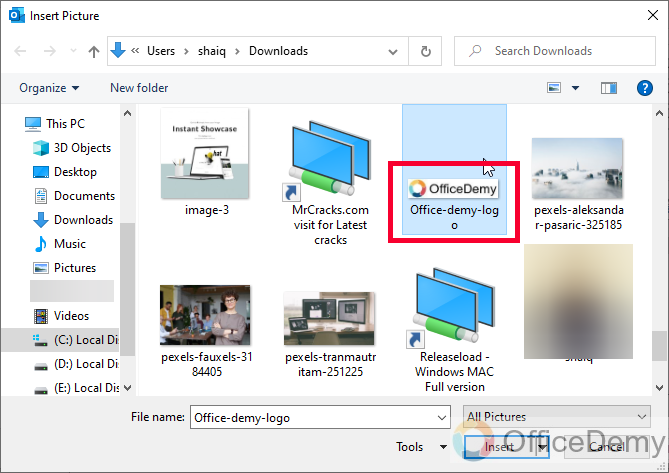
Now to add a logo, you can click on the image button on the right side of the editing menu, and choose a photo from your directory
Step 11
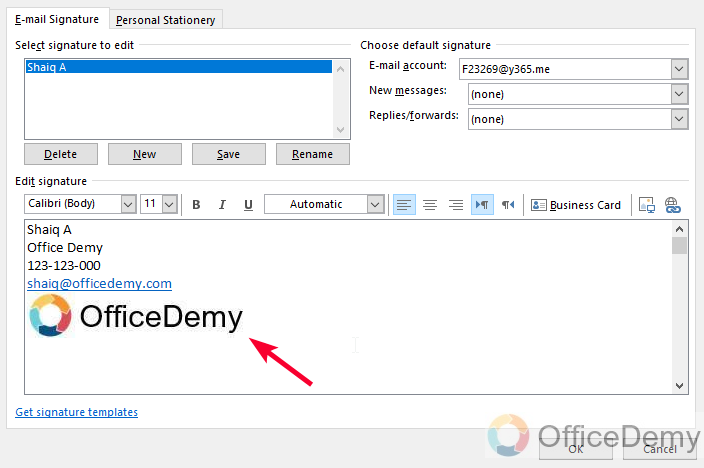
The logo is added
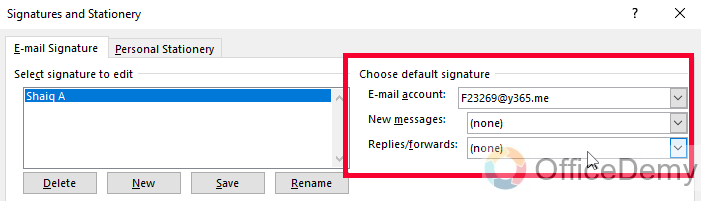
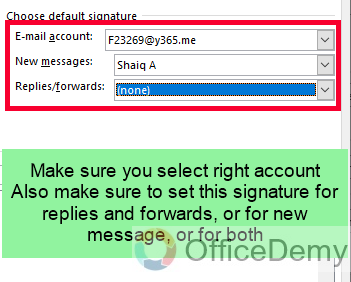
Step 12
Now to set the default signature settings, go to the top section and choose your settings, here I am keeping my signature for every new message but not on replies and forwards, you can keep whatever settings you prefer.
Step 13
Once you are done. Click on the Ok button and your signature will be saved with the default settings.
Step 14
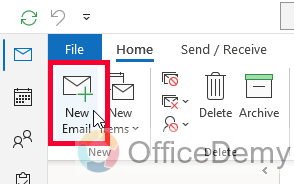
Close the pop-ups and go to “New Email”
Step 15
Here you can see the signature attested with the new message I just started.
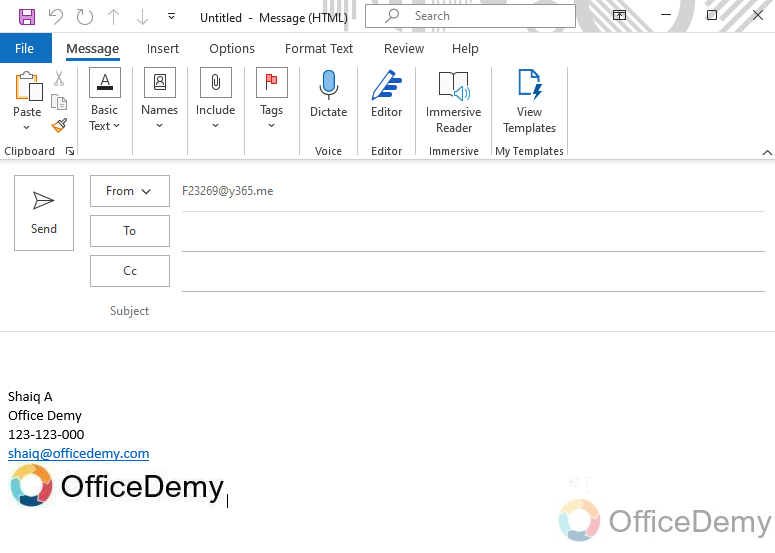
Tip: Test it for the forward and reply, and it will not be visible in that cases.
So this was how to add a signature on Outlook using Outlook Desktop App. I hope I have cleared all the confusion and taught you very closely considering every major and minor step involved in this entire procedure.
For the web version. I will bring another article very soon.
Important Notes
- Keep the signature simple and easy to read.
- Include essential information such as name, job title, and contact details.
- Use a professional email address, along with your company logo
- Use mobile-friendly formatting, don’t try to overdo it
- Keep your signature updated, and never use unreached contact or email.
Frequently Asked Questions
Q: How to add a signature on Outlook quickly?
To add a signature on Outlook, go to File > Options > Mail > Signatures. From there, you can create a new signature by clicking New and filling out the necessary information.
Q: Can I add an image to my signature in Outlook?
Yes, you can add an image to your signature in Outlook. When creating a new signature, click the “Insert Picture” icon to add an image from your computer or a web address.
Q: Can I have multiple signatures in Outlook?
Yes, you can have multiple signatures in Outlook. When creating a new signature, you can choose to assign it to a specific email account or set it as the default for all accounts.
Q: How to change my signature in Outlook?
To change your signature in Outlook, go to File > Options > Mail > Signatures. From there, select the signature you want to modify and make the necessary changes to transform or change your signature.
Q: How to delete a signature in Outlook?
To delete a signature in Outlook, go to the “Signature and Stationary” window. From there, select the signature you want to delete and click “Delete.” You can also edit or rename signatures from this menu.
Conclusion
This was all about how to add a signature on Outlook. I showed you how to add a signature on Outlook using a simple step-by-step procedure. Following this guide, I believe even a kid can add a good signature. I tried to cover all the smaller steps to let you understand and practice the process smoothly without any trouble. If you like our content, please give us a Like, and subscribe for more. Thank you.


