
To Make a Table in Google Slides
- Open a Google Slides file or create a new presentation.
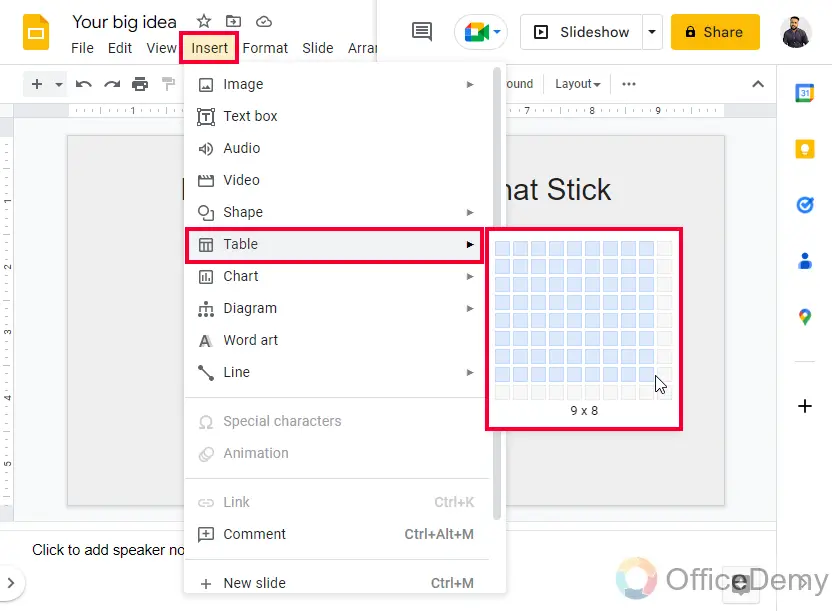
- Go to “Insert” > “Table“.
- Select the desired table size, e.g., 2×2.
To Customize a Table
- Add rows or columns as needed.
- Change the table border color.
- Modify the table fill color (cell color).
- Adjust the border thickness.
- Style a single cell’s border.
- Increase/decrease the overall table size.
- Change the size of individual rows and columns.
To Format a Table
- Select the table.
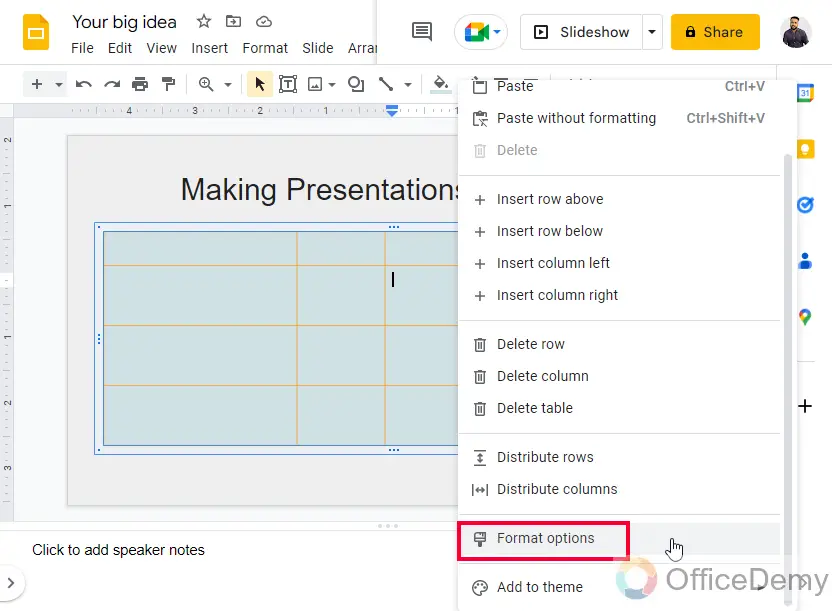
- Right-click and click on “Format options” or use the toolbar.
- In “Format options,” you can adjust the size, rotation, position, and text fitting.
- This allows for precise table formatting.
In this article, we will learn how to make a table in google slides. We all use Google Slides in our daily routine and are also very much aware of the tables, but most beginners are not properly using the tables and their complete features. Questions coming from our readers, and they want to see a complete tutorial on tables in Google Slides. The table is a very classical way to present and save the data into rows and columns, this is an approach to keep most of the data in limited space without being cluttered.
Tables can store a lot of data and that is a reason why all the databases follow tabular context to store the data digitally. Tables are very important in Google Slides as well as Docs and other apps. In sheets, we are already working on tables. So, today let’s Learn how to make a table in Google Slides and use their all features and capabilities within Google Slides.
Importance of using Table in Google Slides
Whenever we store connected data or data that has a hierarchy, or data that has multiple points at each variable then we use tables. Tables make it easy to keep a clear record of association with small data points to the primary node. This concept becomes 2 times interesting when you learn it in the database.
Suppose you have an online store and you want to make a presentation in which you want to keep your business data and some of your business states, to add images you will use images from various sources and for other elements, you will use the Insert tab, but now it comes to present some stats about your business so here you will need a table to put all the header values first and then their corresponding values to deliver the information rightly to the end user. You will see tables everywhere when multiple data points are involved or the dataset is too large. So, these are the reasons we need to learn how to make a table in Google Slides.
How to Make a Table in Google Slides?
First, we will see how to make a simple table, and then we will keep some data in it and will control the table to adjust it according to the size of the data values in it. Then we will see all the customization features and editing options for our table including the margins and their fitting on the page. So, let’s get started.
Make a Basic Table in Google Slides
In this section, we will learn how to make a table in Google Slides. It’s pretty easy and most of you must already know how to add it, but for the absolute beginners, I am starting this from the scratch.
Step 1
Open a Google Slides file, or launch a new presentation with a blank template
Step 2
Go to Insert > Table, then hover the mouse on the table size, and click when you got the desired size such as 2×2.
Step 3
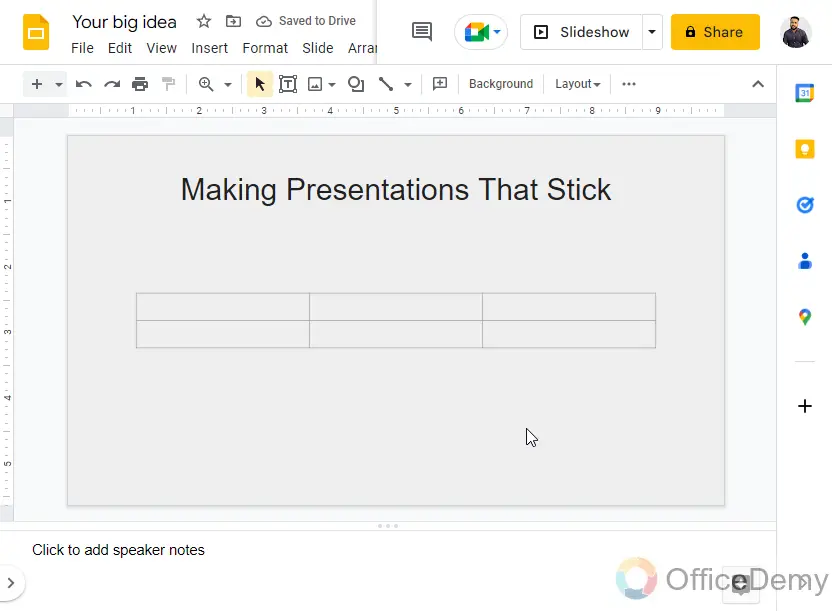
The table is added to your Slide in front of you.
So this is how to make a table in Google Slides. I know this was very easy. We will learn some deep concepts about tables in the upcoming sections.
How to Make a Table in Google Slides – Style the Table
In this section, we will learn how to make a table in Google Slides, and then how to style a table using only built-in methods. Normally table is black with a smooth outer border and no fill color inside the cells, the cell and column padding is different but all of these can be changed depending on the requirements.
Step 1
Adding rows or columns
Step 2
Changing the table border-color
Step 3
Changing the table fill color (cell color)
Step 4
Increasing/decreasing the border thickness
Step 5
Styling a single cell’s border
Step 6
Increasing/decreasing overall table size
Step 7
Changing the size of individual rows and columns
So, these are some very useful editing features that every Slides user must be aware of, now let’s move to the customization and formatting of the table in the next section
How to Make a Table in Google Slides – Format Table
In this section, we will learn how to make a table in Google Slides, and then how to customize it and use the format options for it. These features are very exciting and help to adjust tables very easily.
Step 1
Select the table, then right-click and click on the Format options in the context menu
OR
Select the table, go to the toolbar and click on the Format options

Step 2
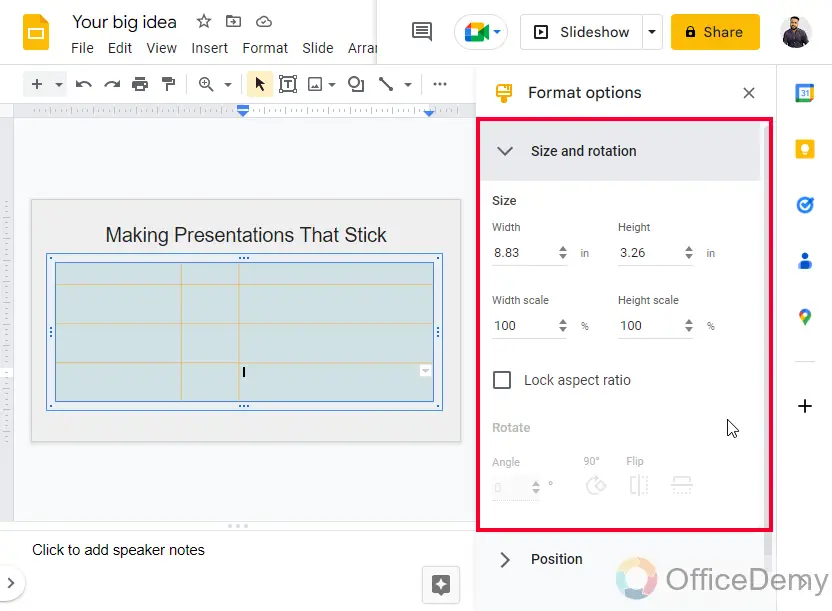
Here you have three dropdowns, the first is size and rotation.
You can adjust the size and the rotation of the table without mouse dragging, here the feature is available that move and resize tables without losing the proportion from all sides.
Step 3
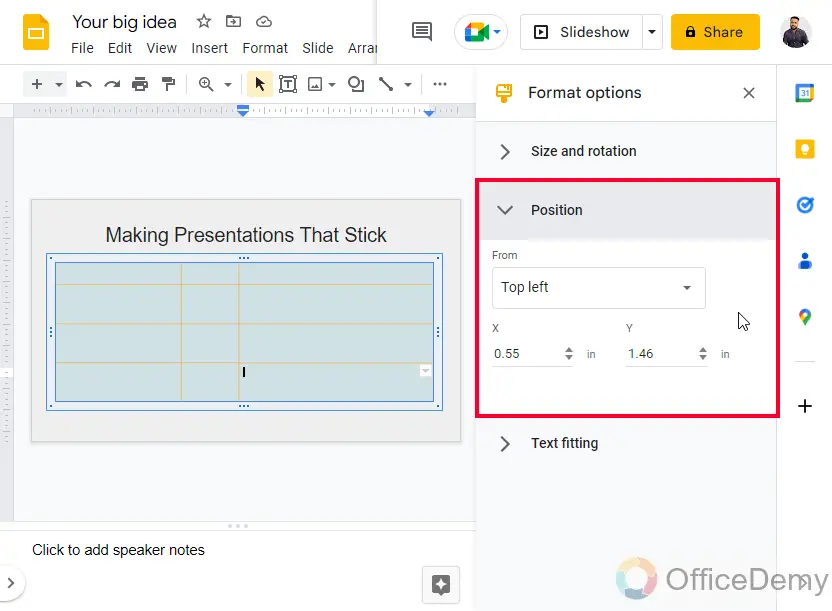
Below, you have the Position dropdown, here you can adjust the table position from the top or center, and can set the values for the x and y axes to place the table in a specific position on your slide.
Step 4
Lastly, in the text fitting dropdown, you can adjust the position of the content inside your table. There are primarily two sections, one is for indentation, and the second for cell padding
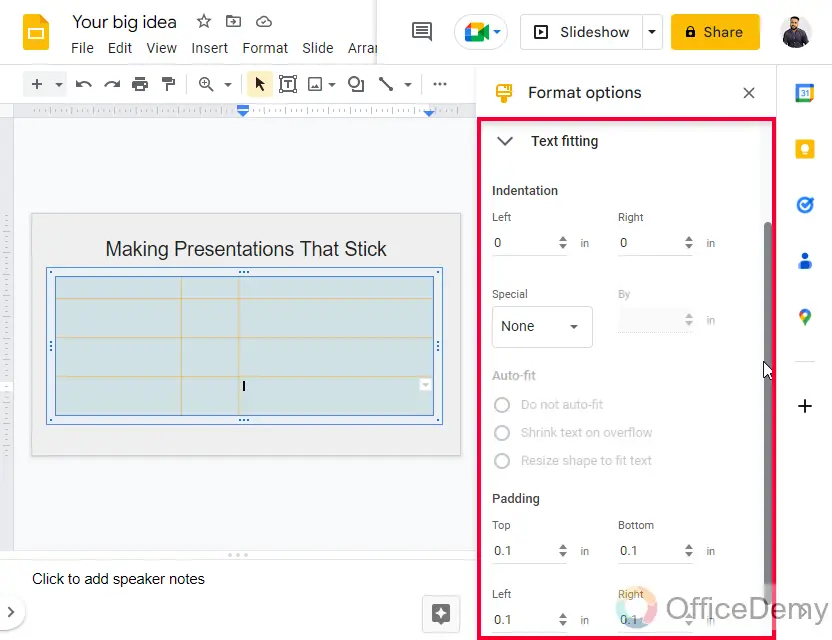
Indentation means from where your text starts when you start a new line.
Padding means how much area the text takes from the inside boundary of the cell
So, these were some key formatting features of the tables inside Google Slides. I hope you liked them; they help you not do tedious work by placing your table on the screen using mouse drag, from here you can use values and can set your table’s perfect position.
How to Make a Table in Google Slides – Add Content to Table
In this section, we will learn how to make a table in Google Slides and then how to add some content to it. By content, I mean all types of content such as text, images, shapes, audio files, and so on. So, let’s see how to do that.
Step 1
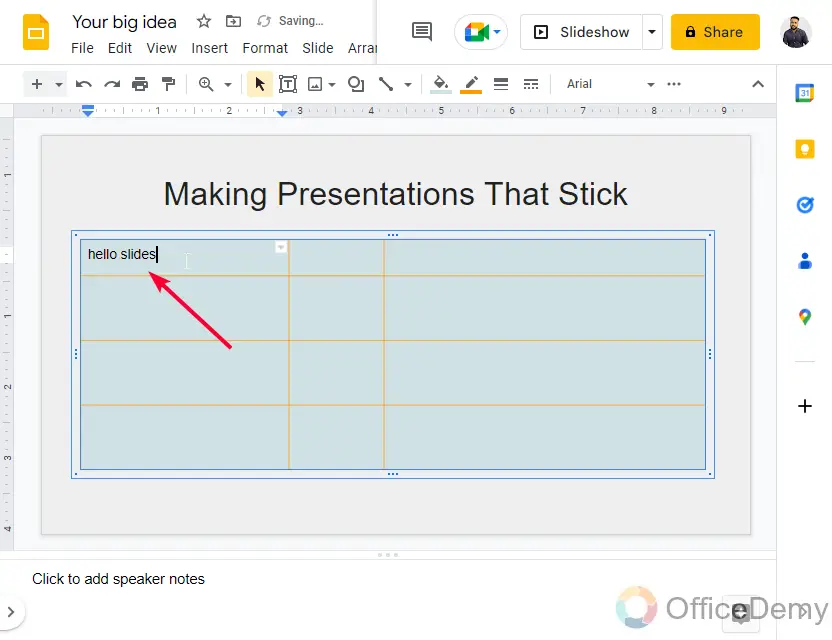
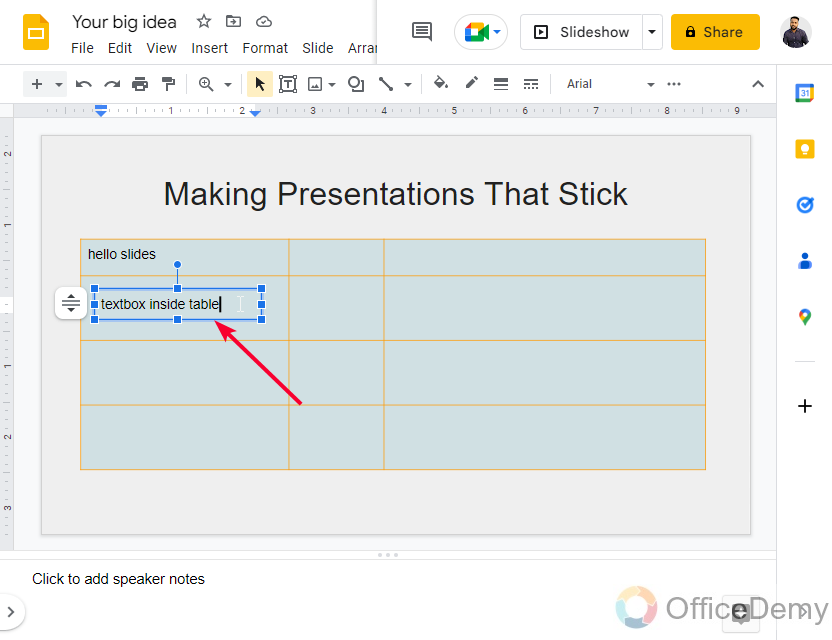
To add text, click on the cell and start writing
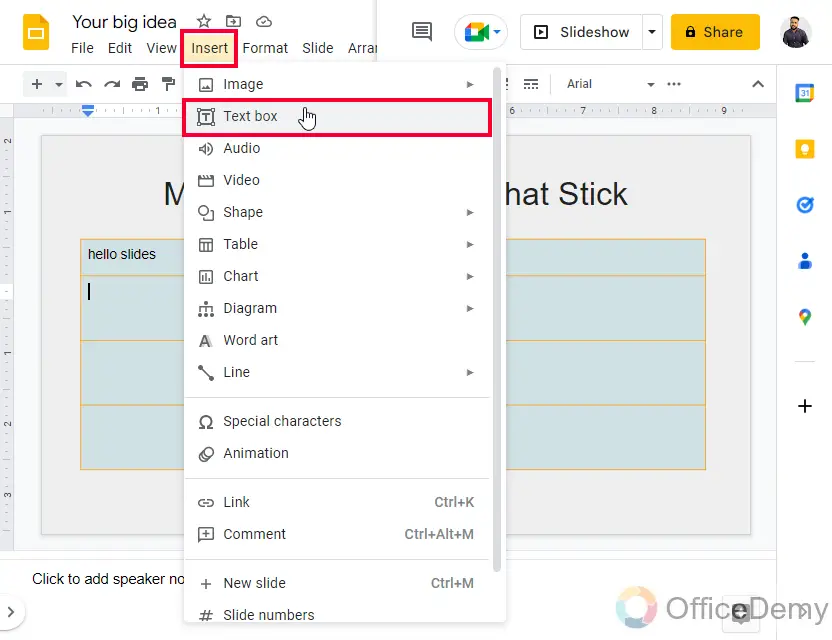
Step 2
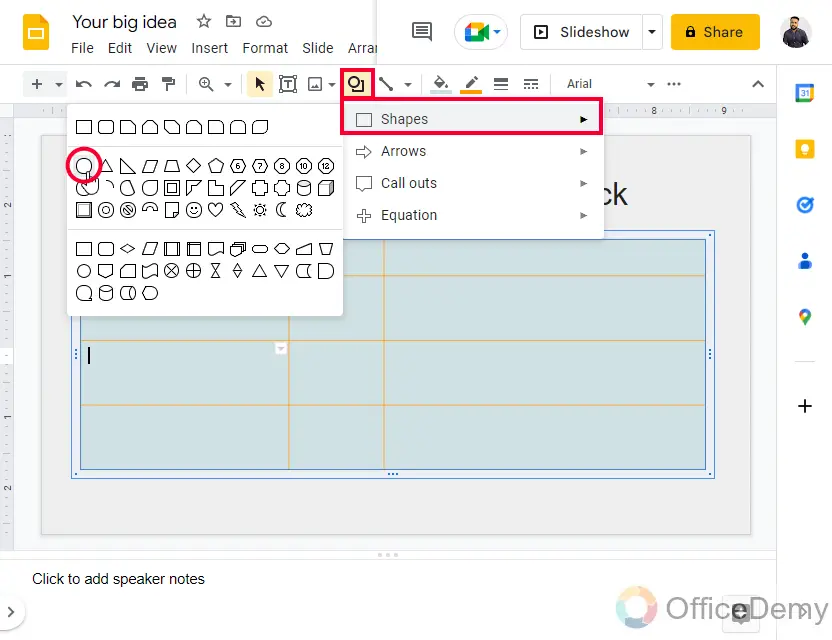
To insert any element such as an image, first, double click in the cell, then go to insert and add any element just like a normal insertion.
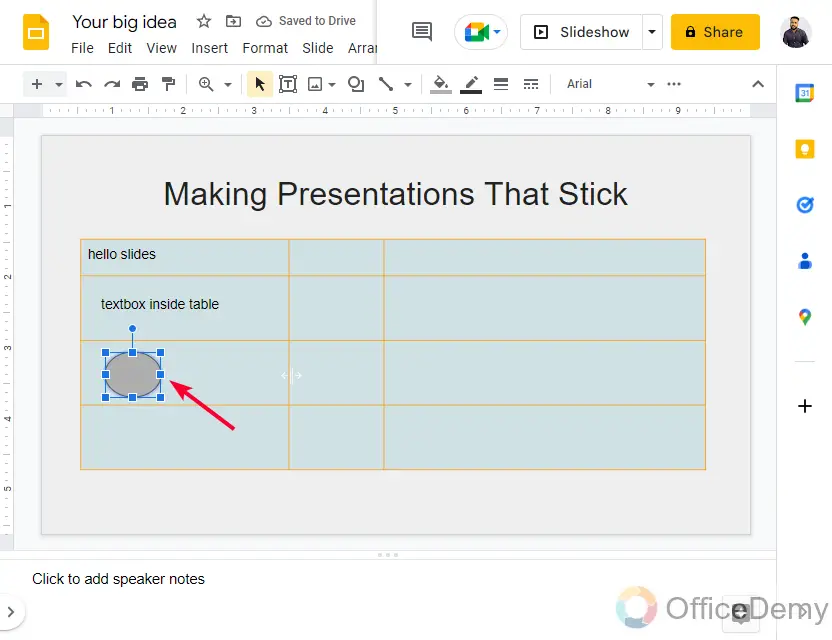
Tip: Differ your content with the headers, and apply some contrasting colors to make the table stand out.
This is how a well-formatted and well-colored table is made. I hope you understood all the methods and concepts I covered.
So, this was a quick guide regarding the content of the table. I hope you have got everything cleared in your mind, and now you have more knowledge about tables than you had before this article. I also hope that you guys got some interesting facts and that the importance of tables must get hype in your mind.
Frequently Asked Questions
Can I Use Columns Instead of a Table in Google Slides?
Creating columns in google slides can be a viable alternative to using a table. By utilizing the column feature, you can organize your content in a visually pleasing manner. Whether it’s for a presentation, infographic, or document creation, columns in Google Slides offer flexibility and customization options to present information effectively.
How to add a row to the already created Table in Google Slides?
Click anywhere in the rows and then right-click, and from the context menu, you can find two buttons for adding a row to an already created table. The first option is “Insert row above” which will insert a new row above your current row, and the second option is “Insert row below”, which will insert a new row below your current selected row.
This method works identically for columns, you can add do the same to add columns whether on the right side or to the left side.
What’s the maximum table size I can add in Google Slides?
The maximum table size in Google Slides is 20×20 means 20 cells and 20 columns. But, this size is only for adding a column from the hover effect of the table. Once you have added a table to the slide now you can add more rows and columns, and now there is no limit of 20 rows and 20 columns.
How do vertically align text inside the Table?
Simply use the vertical alignment button with the normal horizontal alignment buttons in the toolbar, you can select the top bottom, or middle to adjust the text vertically inside a table or cell
How to change only a single border of the cell?
You may want to change the color of the right-side border of your cell only, leaving the remaining three sides as default, so this is very easy. Click inside the cell, and you will see a small dropdown icon within your cell, click on it, and you will all types of borders, click on anyone as per its name and image and it will select the corresponding side of the cell for you. Now since the border side is selected you can go to the toolbar and from the border color drop-down, you can change the color of the 1 side of the border.
This can also be done manually by selecting any side of the cell directly from your mouse click when the cursor changes into an arrow after you hover it on the border.
Conclusion
So that was how to make a table in Google Slides. I tried to cover everything about tables in Google Slides. We started from the basics and then we explored so many things about tables. Lastly, we discussed some FAQs that are coming from so many beginners. So, I am closing today’s here, hoping that you just learned something new. I will see you soon with another helpful guide. Keep leaning with Office Demy. Thank you.


