
To Make Text & Shape Semi Transparent in Google Slides
Shape
- Click on the shape.
- Go to “Fill color” > “Custom” and adjust the transparency level in the new window.
- Click “OK” to finish.
Text
- Click “Insert” > “Word Art” and write your desired text.
- Click on the text.
- Go to “Fill color” > “Custom” and set the transparency level.
- Click “OK” to complete.
Google has made work easier for many people and businesses, allowing them to share their work online easily. It has tools like Google Sheets, Google Slides and Google Docs to do so. And when you’re creating slides or presentations with transparent shapes, you can use the “fill” option in Google Slides to make it happen.
To create transparent text and shapes in Google Slides, you need to set the opacity or transparency of your text or shape object. I have described step-by-step instructions on how to do it.
How to Make a Shape Semi Transparent in Google Slides
So, let’s start to learn how to make shapes and text transparent in Google Slides.
Step 1: First open your google slide.
Step 2: Insert a shape that you would like to make transparent. Click ok “Insert” > “Shape”. Select your desired shape. Example below,
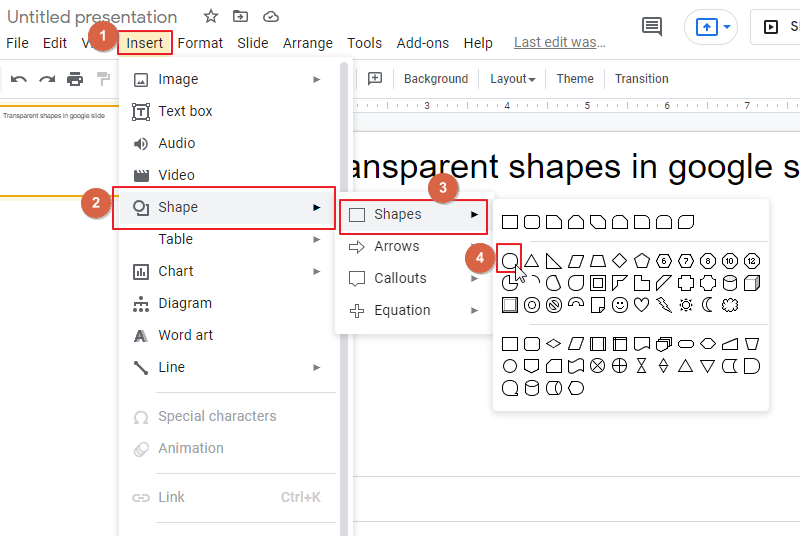
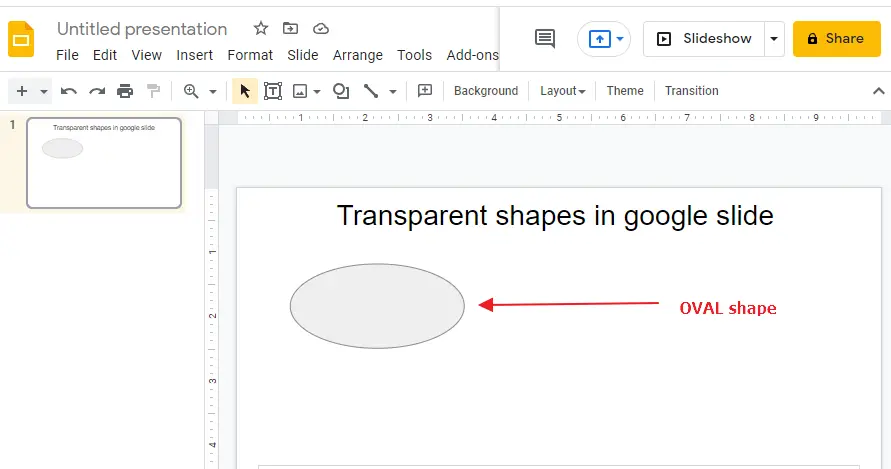
Here, I have chosen the OVAL shape from shape options. Example below,
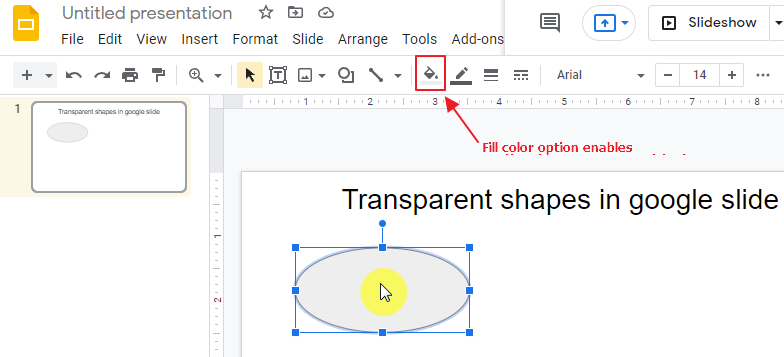
Step 3: Now click on the shape. Click on the Fill color icon under the ribbon bar.
NOTE: please keep in mind that the fill color option is only enabled when the selected shape is clicked. Example below,
Step 4: click on the Fill Color bucket icon. Click on Custom. Example below,
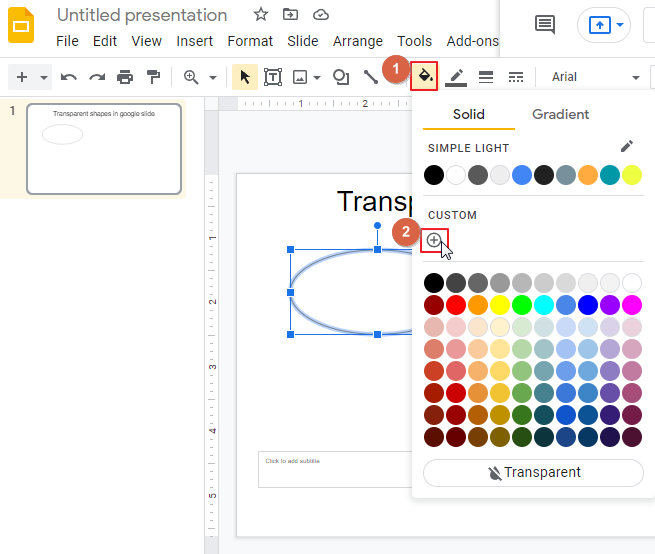
Step 5: As soon as you click on the Custom button, this will take you to a new window. Here you can change the transparency level as well as color. You can select the transparency level as per your need. Example below,
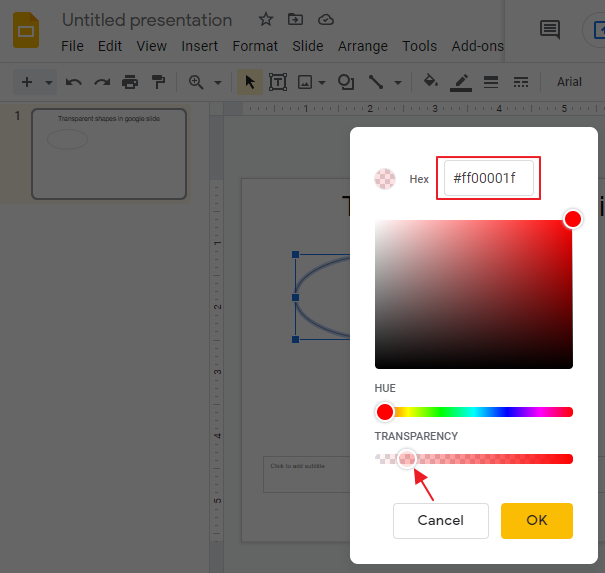
Step 6: Click OK when you are done. Example below,
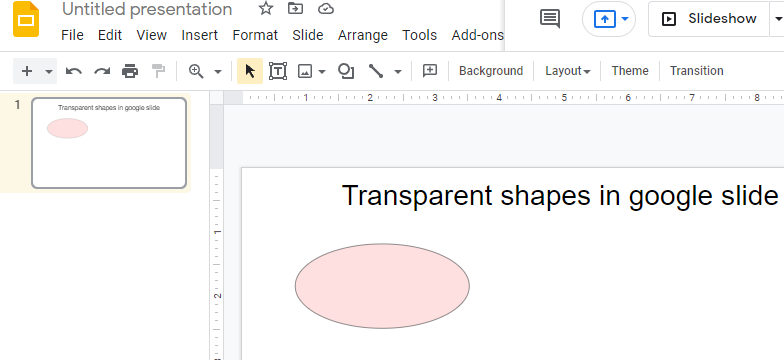
This is how you can add transparency to a shape in Google Slides.
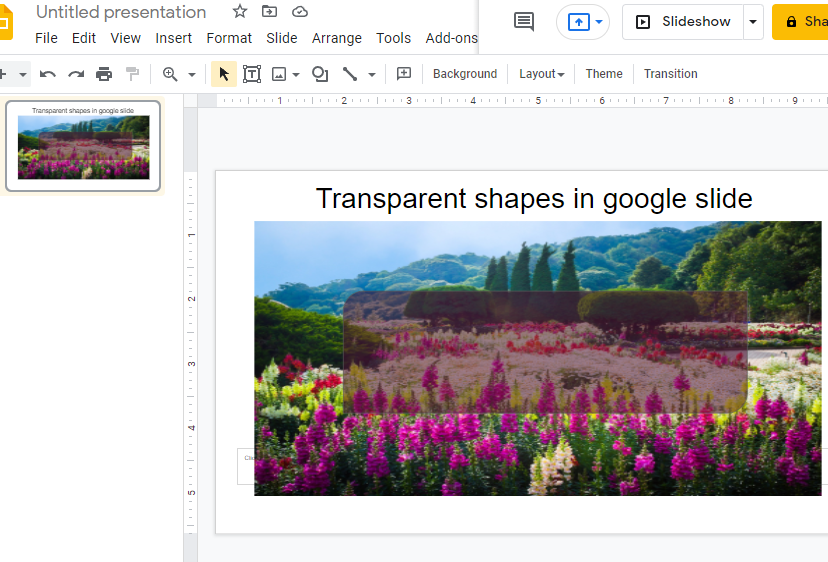
You can add a specific shape to your image in Google Slides. And make that shape transparent as well following the steps mentioned above. Example below,
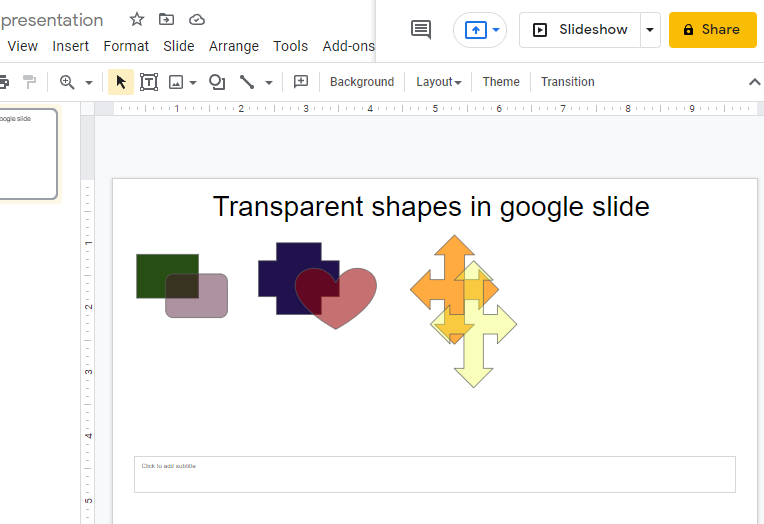
Some other examples as well,
Animated Tutorial of How to Make a Shape Semi Transparent in Google Slides
How to Make a Transparent Text in Google Slides
Not only shapes, here in google slide we can transparent the texts as well. To enhance your slide and make text transparent, please follow these steps,
Step 1: First, open google slide on your computer.
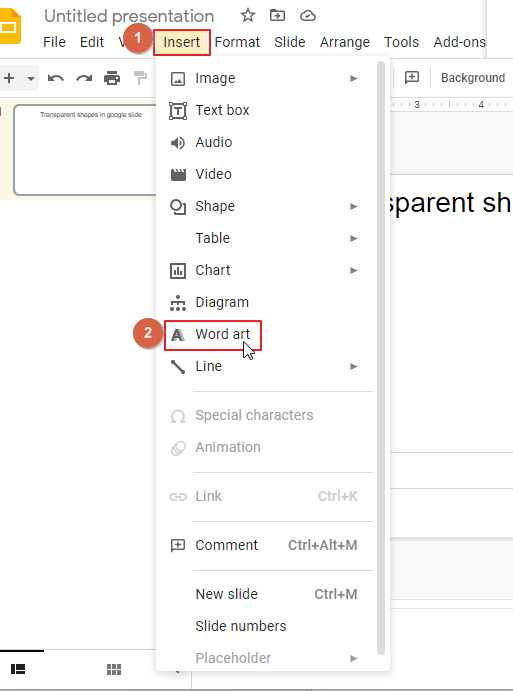
Step 2: Click on “Insert” > Click on “Word Art”. Example below,
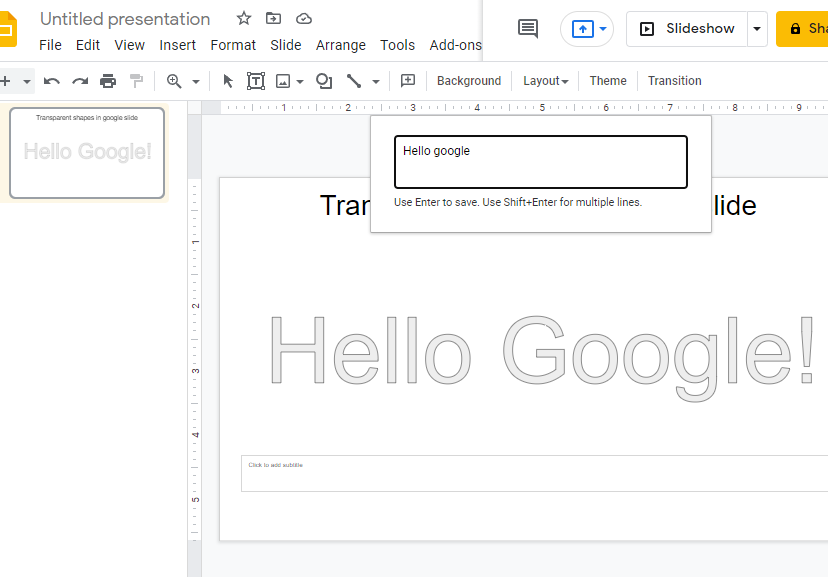
Step 3: Here write your desired text and press Enter.
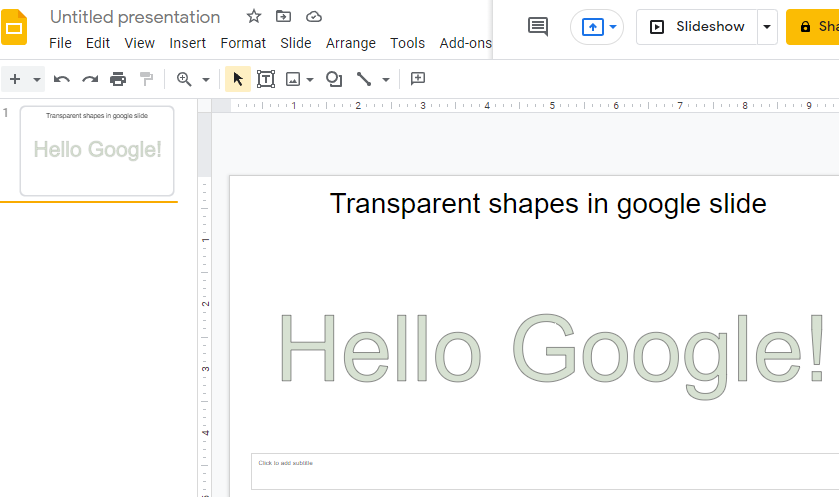
Step 4: Now click on the text so that the Fill color icon is enabled.
Step 5: Click on the Fill color icon. Click on Custom.
Step 6: Now select the transparency level according to your wish.
Step 7: Press OK. Example below,
You can add an image to your google slide and transparent text as well. To do so, first insert an image according to your wish, add text and repeat the process mentioned above to make the text transparent.
Example below,

How to Make a Shape Semi Transparent in Google Slides Video Tutorial
Frequently Asked Questions
Is Changing Opacity the Same as Making Text and Shape Semi-Transparent in Google Slides?
Changing opacity in Google Slides is not equivalent to making text and shapes semi-transparent. Adjusting opacity in google slides allows you to change the transparency of an entire object, while making text and shapes semi-transparent involves modifying their fill color or applying a transparency effect to achieve the desired effect.
Conclusion
Today we have learned how to make shapes and text transparent in Google Slides. If you have any other problems, please don’t forget to check our other sections here in OfficeDemy.com.


