
To Move a Picture On Microsoft Word
Using Positions:
- Insert a picture in Word.
- Select the picture.
- Go to “Format” > “Arrange” > “Position“.
- Choose a position option to move the picture.
Using Wrap Text:
- Insert a picture in Word.
- Select the picture.
- Go to “Format” > “Arrange” > “Wrap Text“.
- Choose a text wrapping option (e.g., Square).
- Click and drag the picture to move it freely.
Hi, today we are going to learn how to move a picture on Microsoft word. Microsoft Word is indeed a Word-document application, but it also includes various tools for editing images, starting from cropping an image to making it transparent and then moving a picture in Microsoft Word is a very minor factor. Pictures complement the content of a document so with that said it is necessary to learn how to move a picture on Microsoft Word.
Although Microsoft Word is often most familiar to users it may put you in trouble sometimes while dealing with pictures in Microsoft Word. If you are also facing the problem, while uploading pictures in Microsoft Word and are unable to correctly place them then this article on how to move a picture on Microsoft Word is for you. We will convey the complete tutorial on how to move a picture on Microsoft Word in different ways and different positions as well. So, let’s start our topic without wasting our time.
Importance of Moving a Picture on Microsoft Word
As I discussed above Microsoft Word is very handy for dealing with documents, but it may cause problems when inserting a picture. Whenever you insert the picture in Microsoft Word by default it is inserted in line with the text, this treats the object as if it were text. To move pictures freely on the whole page first you have to change their properties then you can move the picture easily. That is also the main content of this article on how to move a picture on Microsoft Word.
On the other hand, when you’re working on a hefty research project or a friendly holiday greeting card, adding images to your Word document can add value to your project but the disorder of the pictures can ruin your presentation as well. The solution is only the following tutorial you need to learn about how to move a picture on Microsoft Word.
How to Move a Picture on Microsoft Word
In this tutorial on how to move a picture on Microsoft Word, we will discuss two different methods to move pictures in Microsoft word. Both methods have their pros and cons. Let’s do an overview of both methods to better understand.
Move a Picture on Microsoft Word – Using Positions
In this method, we will learn how to move a picture on Microsoft Word in a particular manner. But the advantage of this method is that Microsoft Word arranges the picture in a very perfect manner. But you are unable to move your picture freely. Let’s be practical to better understand.
Step 1
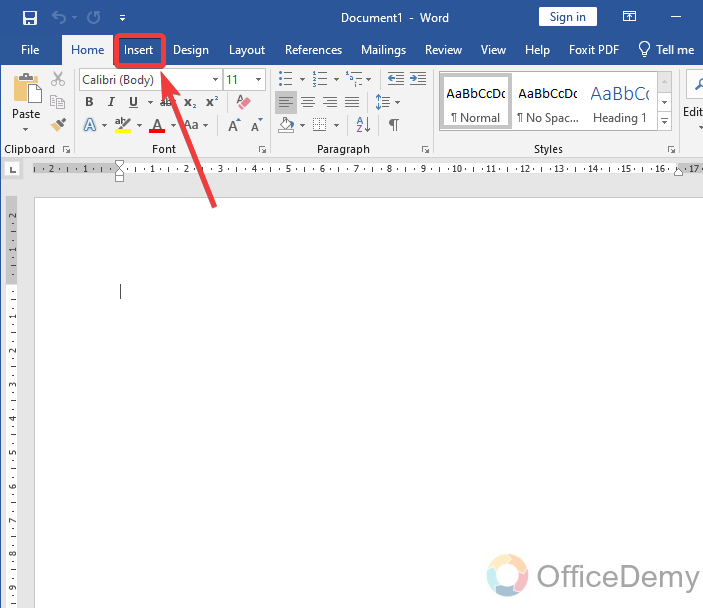
As we are learning to move a picture in Microsoft Word, let’s first insert a picture. To insert a picture, go to the insert tab of the menu bar.
Step 2
When you go into the insert tab here you will find a “Picture” option through which you can add pictures to your document.
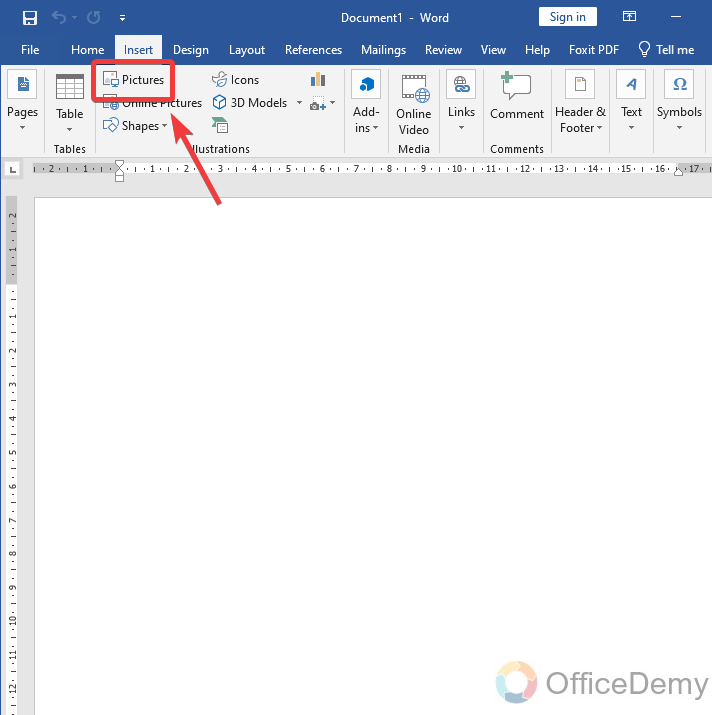
When you click on this button it will promptly ask you to browse a file, select the desired file which you want to insert into your documents, and simply press the ok button.
Step 3
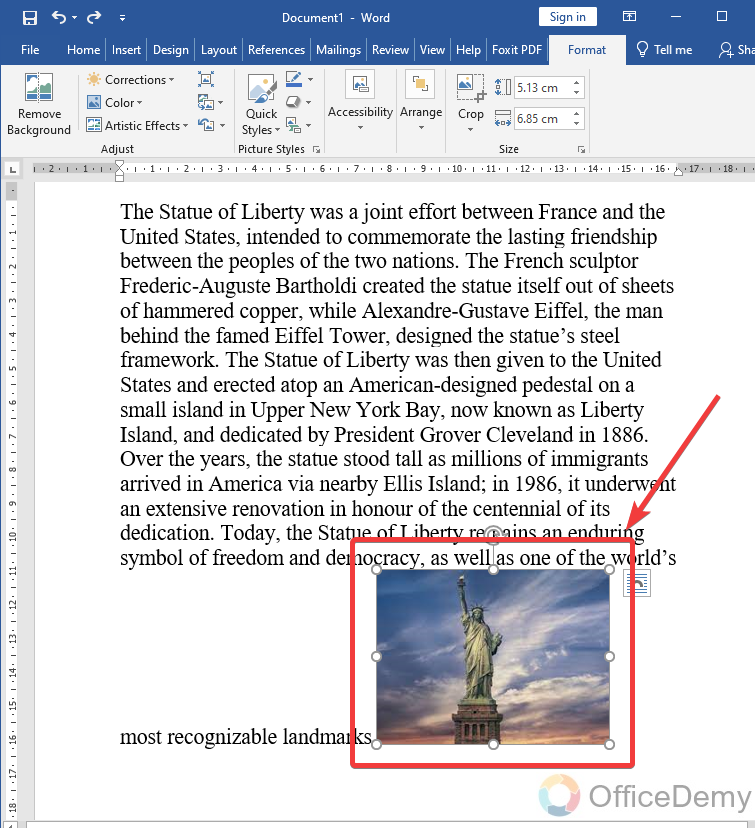
As you can see our picture has been inserted into our document, but it is not correctly placed. As you can see the result is in the following picture.
Step 4
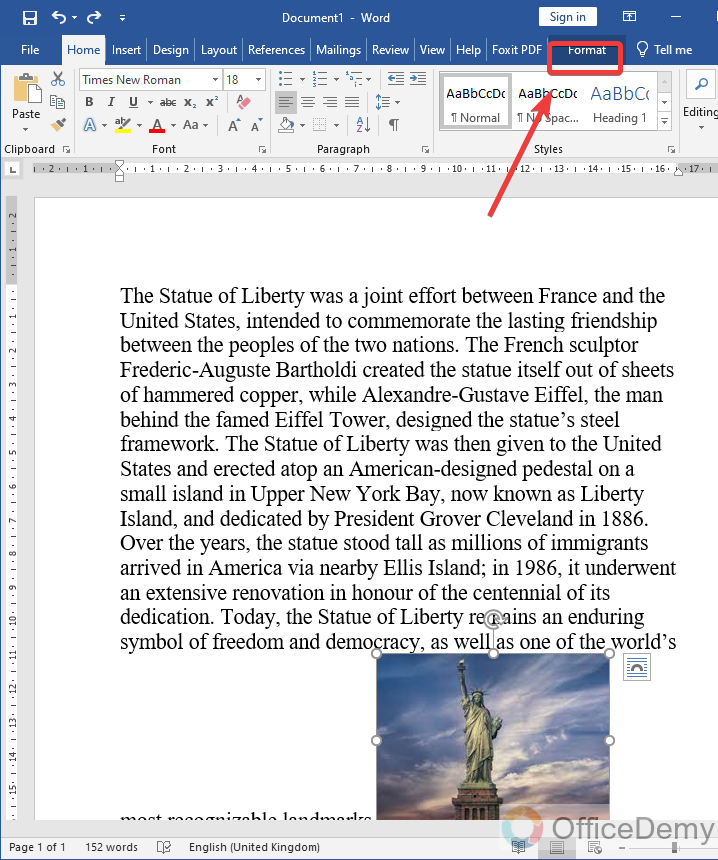
Now let’s come to the main point and start to move the picture in Microsoft Word. First, select the picture which you want to move, then a tab menu will appear in the menu bar of Microsoft Word, namely “Format” as mentioned below.
Step 5
When you open the format tab there is an “Arrange” section in which you will find at first an option “Position“.
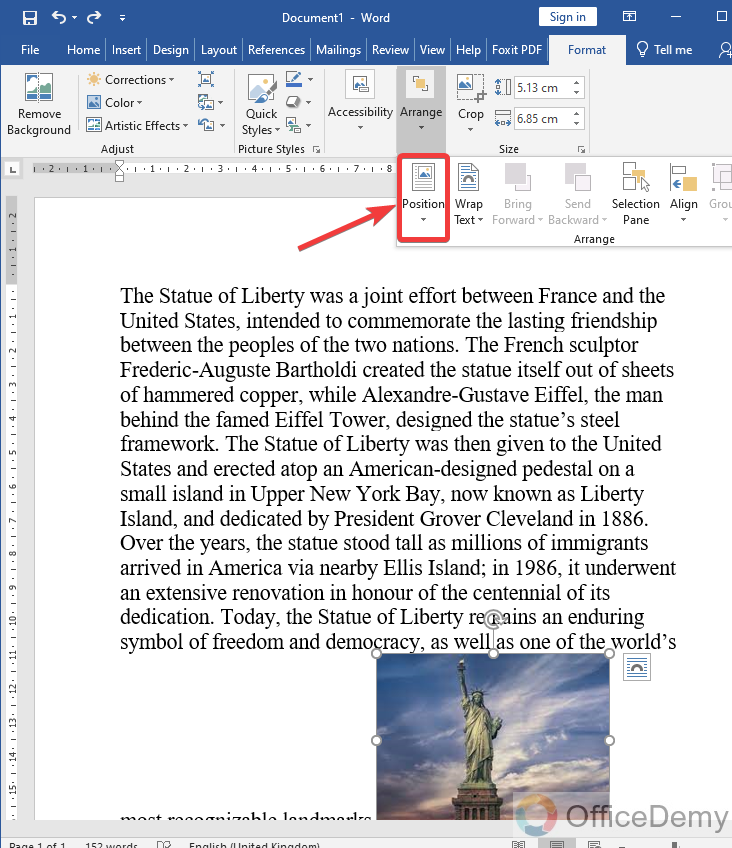
Step 6
When you click on this option it will ask you for several locations to move the picture and select the scenario in which you want to place your picture.
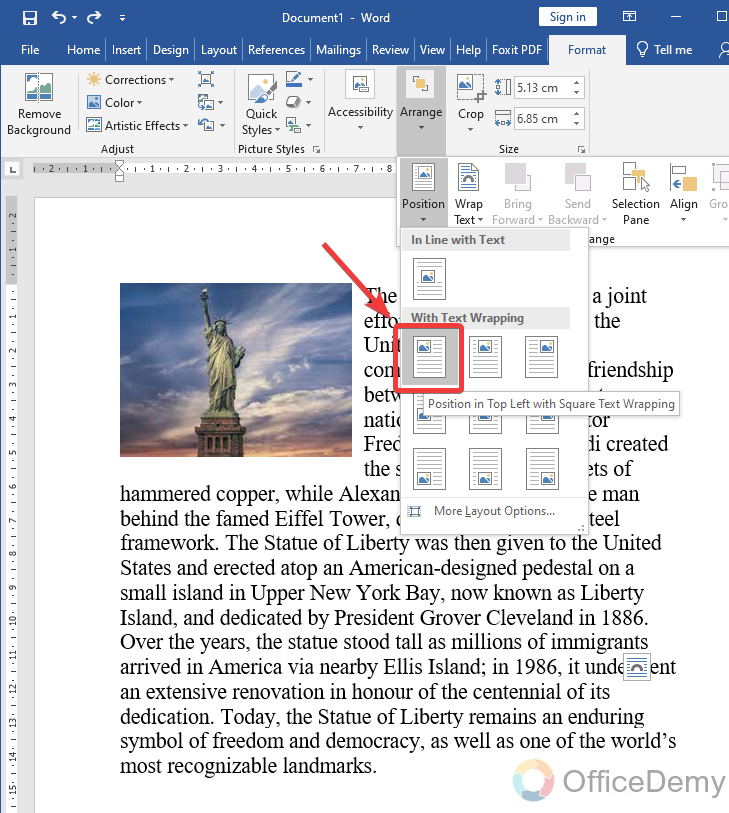
Step 7
As I have selected “Right top order” so you can see the picture has been moved towards the right top order.

Step 8
Similarly, there are some more orders where you can move your picture in your document. For example, let’s move the picture to the left top order.
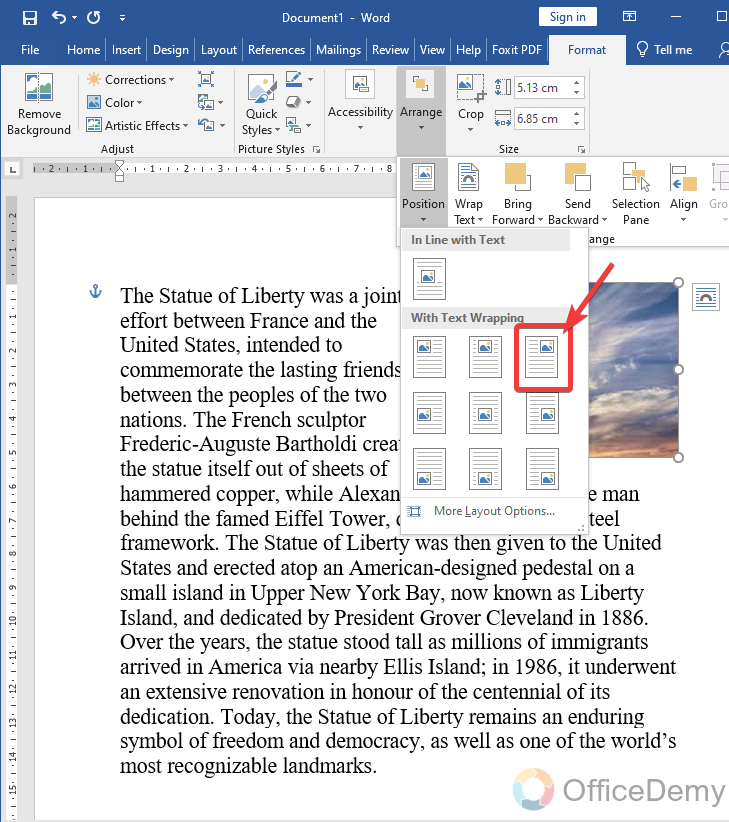
Step 9
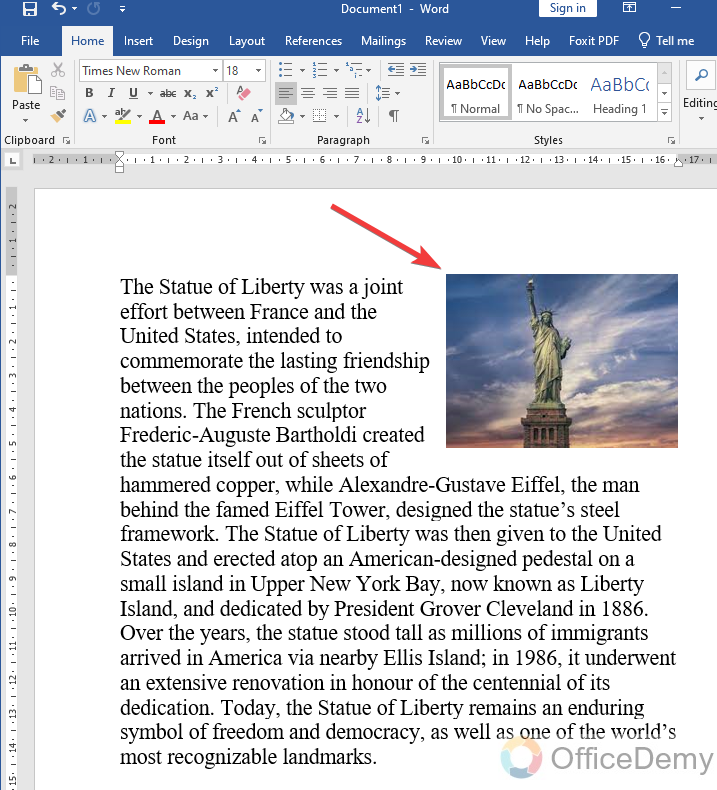
As you can see from the result below, the picture has been set up to the left top order. In this manner, you can easily move your picture in Microsoft Word.
Move a Picture on Microsoft Word – using Wrap text
In the above method, we were moving the picture in a specific position i.e. right, middle, left, bottom and center, etc. We were not able to move pictures in a free position therefore I have brought to you this method in which we can freely move pictures anywhere in our document. Let me show you with the help of the following examples.
Step 1
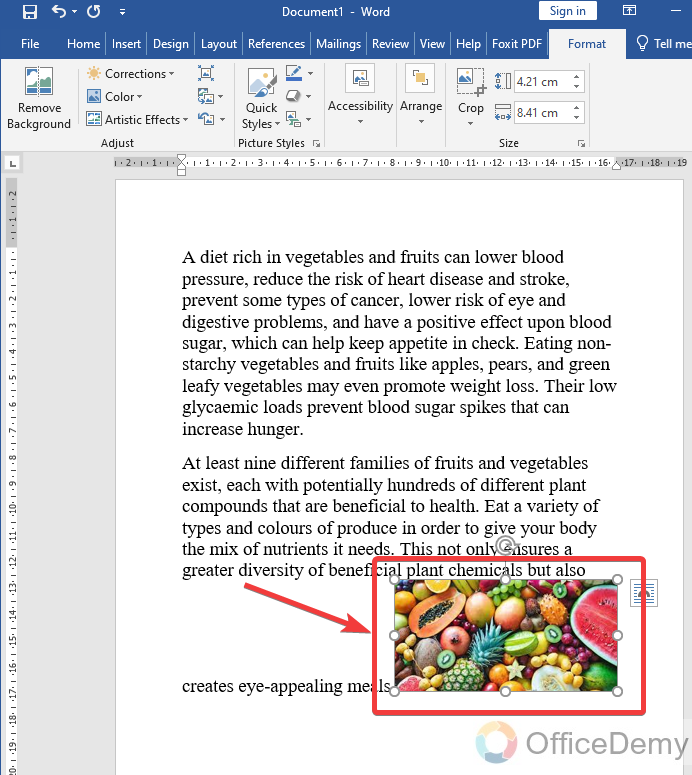
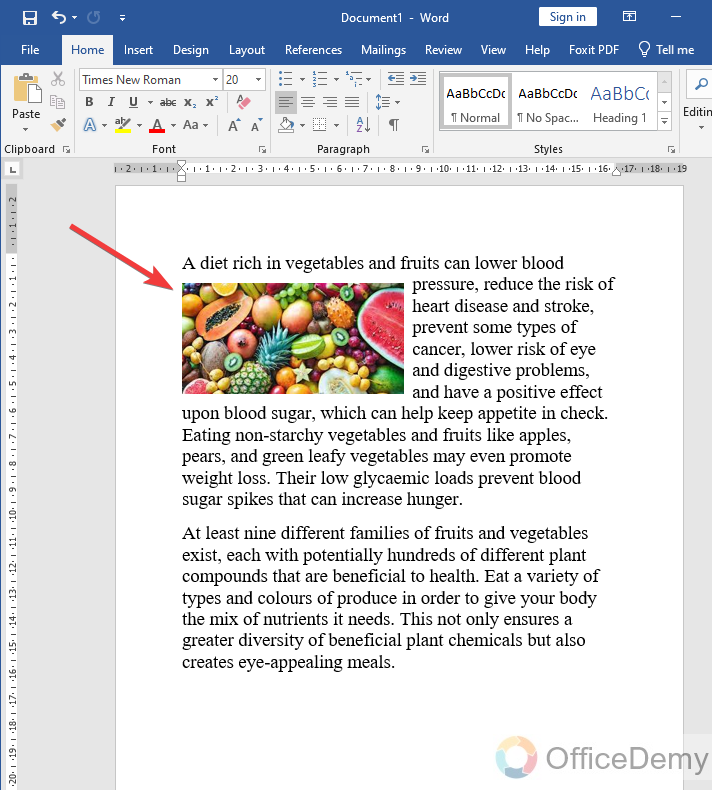
As you can see in the following picture, I have added a photo in the following document which is misplaced.
Step 2
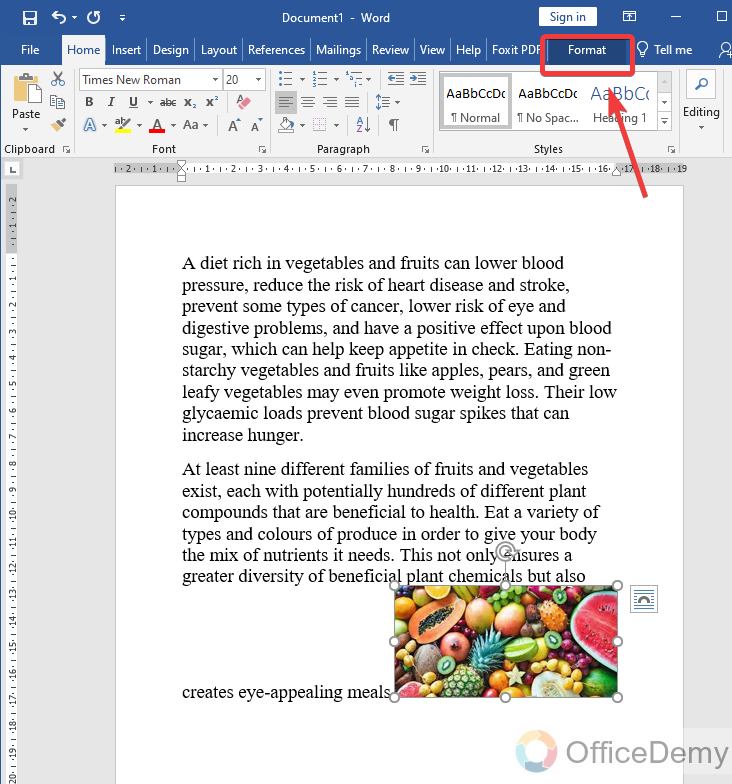
First, select the picture then go into the format tab of the menu bar as we did in the past practice.
Step 3
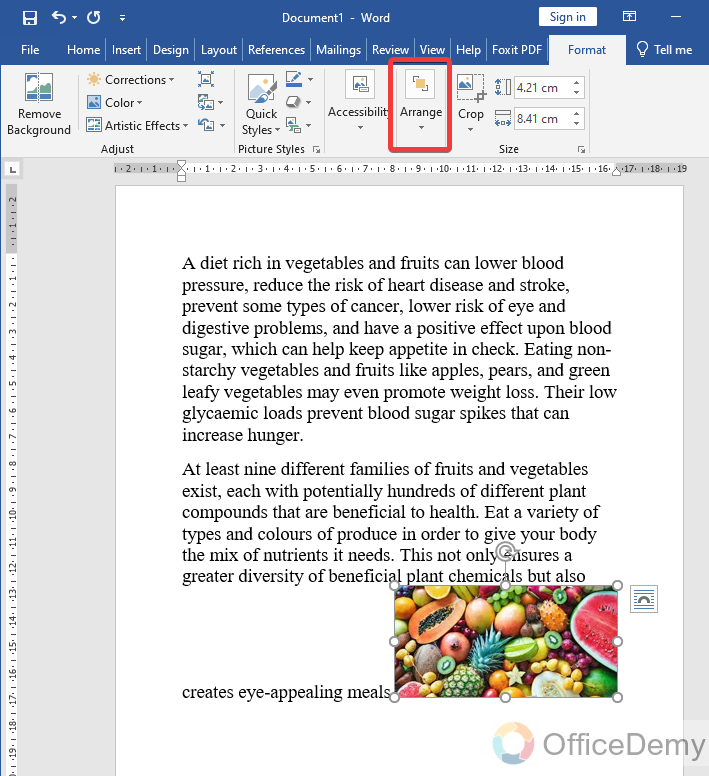
Then go into the section which is named “Arrange“.
Step 4
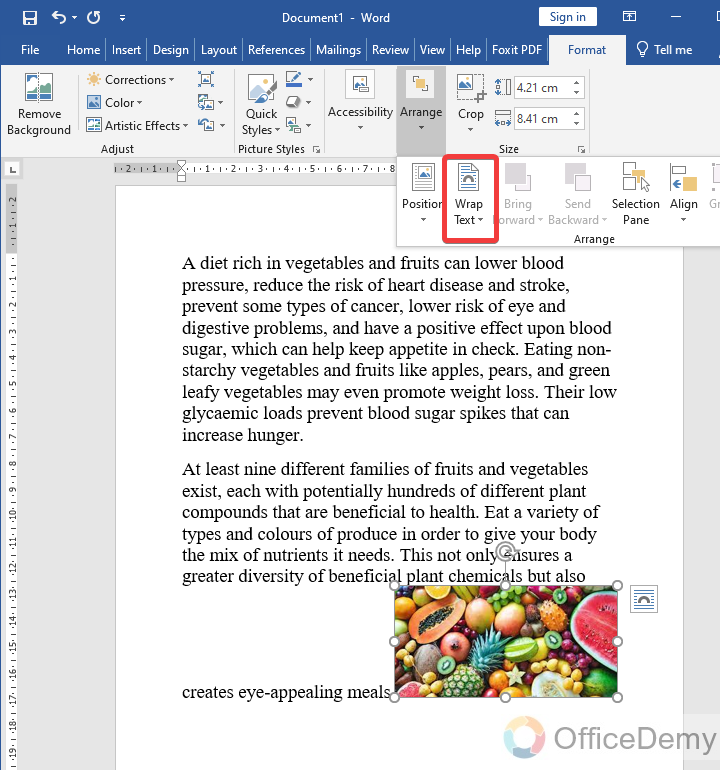
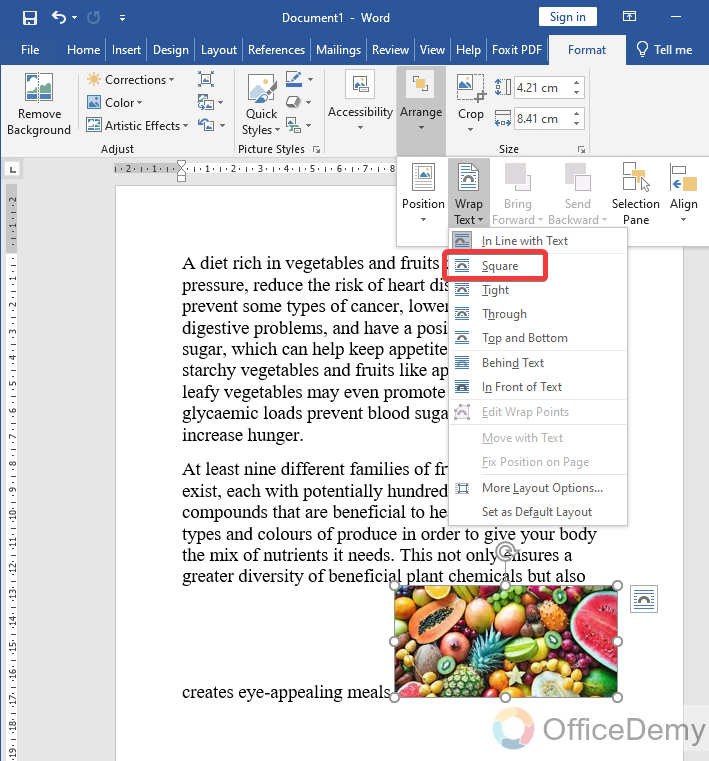
When you click on the arrange section it will expand to more menus in which select the “Wrap text” option which is mentioned in the following picture.
Step 5
When you click on this wrap text option, it will ask you several properties in which to select any of them to move the picture freely. Although these all properties have different characteristics as mentioned in their names. Generally, I select “Square” wrap text.
Step 6
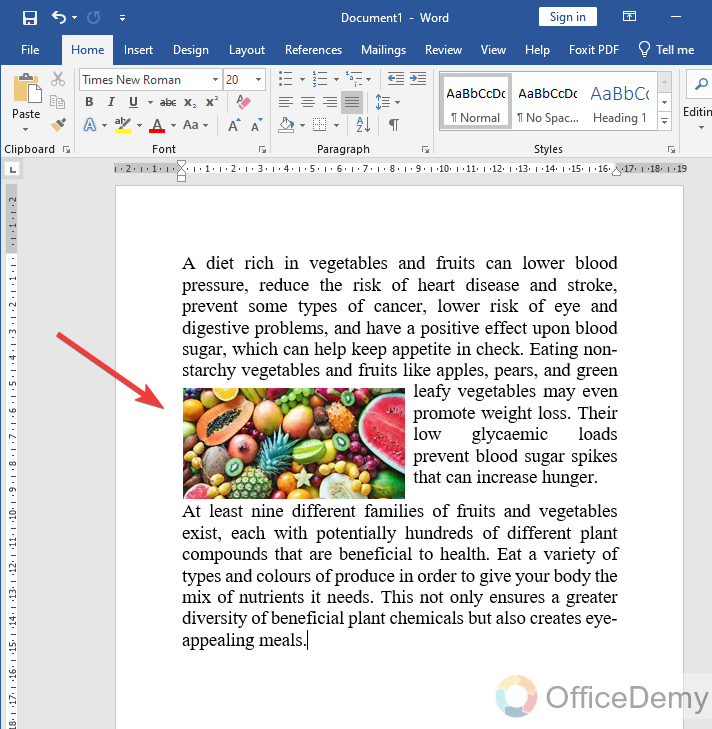
Now hold your mouse, click on the picture, and drag over the document anywhere. You will see now you are easily able to move your picture anywhere.
Step 7
As you can see from the result below, how the image is placed between the text freely.
Frequently Asked Questions
Can we download a picture from Microsoft Word?
Let’s suppose you have a docs file that includes some graphic images which you want to save individually on your device. Yes, you can easily save it with the help of Microsoft Word. Below are the steps to download a picture in Microsoft Word.
Step 1
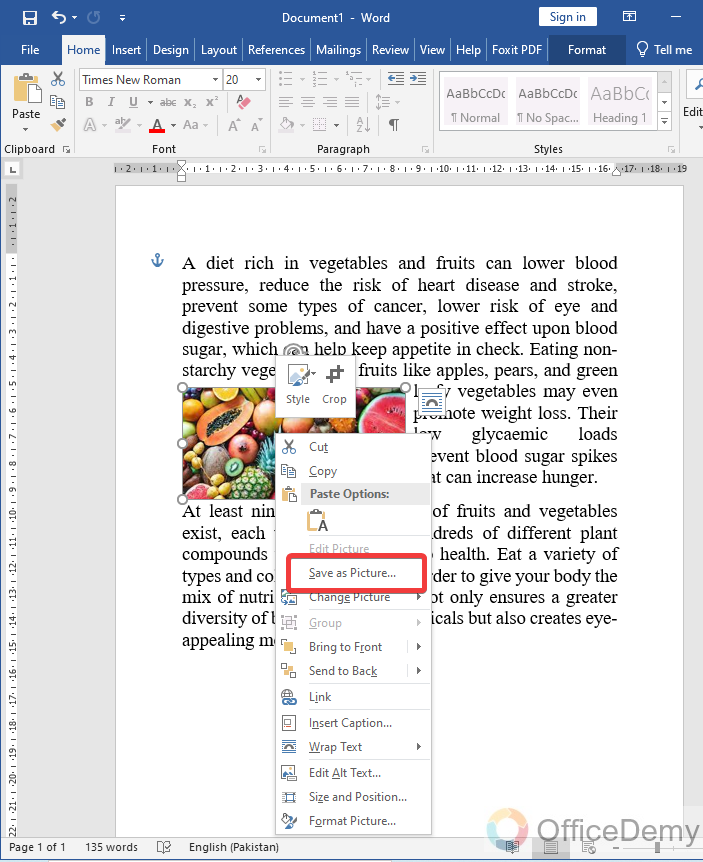
First, open your document and select the picture which you want to download, press the right click of the mouse on it, and you will find a “Save as” option in the drop-down menu. Click on it.
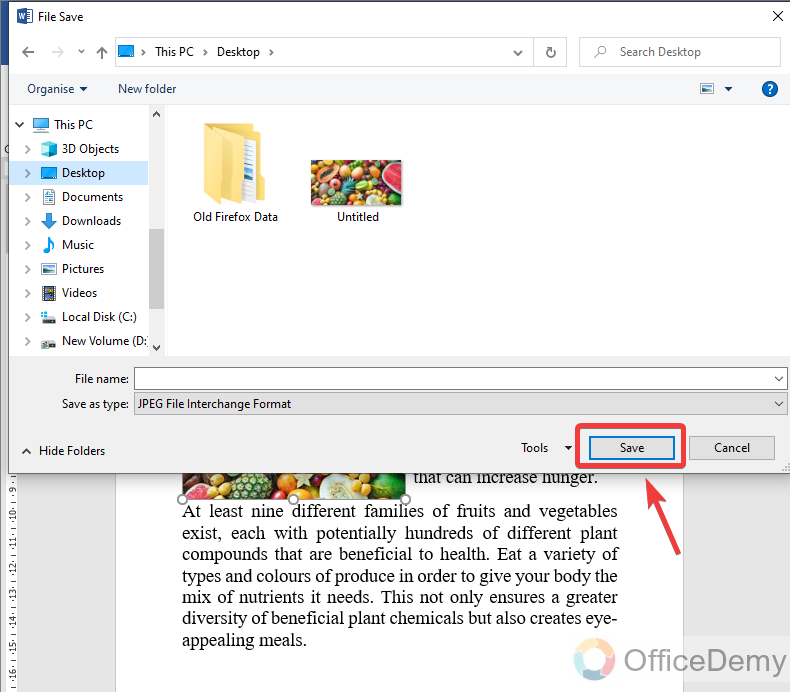
Step 2
When you click on the save as option, a new window will open which will ask you the location of the file to save it. Select the path in which you want to save your picture then simply just click on the save button. Your image will be downloaded at your selected location.
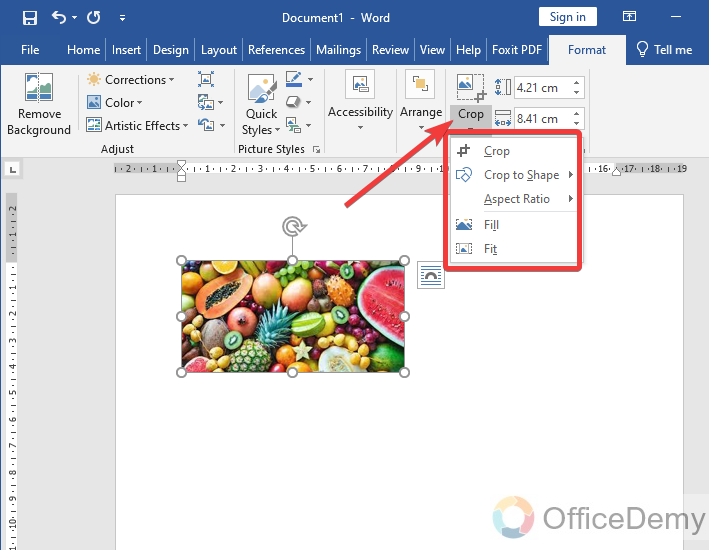
Can we crop a picture on Microsoft Word?
As we discussed above, Microsoft Word offers not only features regarding Word processing but also image editing. Similarly in Microsoft Word, you can also crop your picture, not only crop but also can add and format it professionally. To crop a picture in Microsoft Word, follow the following guidance.
Can we resize a picture on Microsoft Word?
Yes of course you can resize the picture in Microsoft Word easily. There is always a guideline along the edges of a picture in Microsoft Word through which you can resize the picture in Microsoft Word. You can even resize the height, with both in Microsoft Word.
How many pictures can we upload in Microsoft Word?
There are no restrictions or limits while uploading a picture in Microsoft Word, you can upload as many pictures as you want.
Conclusion
Today we learned how to move a picture in Microsoft Word. Many people leave their work or documents while inserting pictures in Microsoft Word because they usually are not able to move pictures in it. But hence you don’t need to do this after reading this article on how to move pictures on Microsoft word. Hope you will not get lost in your work anymore after reading this article on how to move pictures on Microsoft Word.


