
To Use Conditional Logic in Google Forms
- Create a form.
- Add a required Multiple Choice question.
- Establish sections.
- Duplicate sections as necessary.
- Apply logic.
- Use questions “more options“.
- Choose “Go to section based on answer“.
- Define destinations > Preview for accuracy.
Sometimes, we have some specific questions for specific respondents and would like the other respondents to skip those questions. E.g. talking realistically, if we are surveying multiple brands’ items, there is no need to take a review if the respondent have never used the product. In such cases, we should not take their review on that specific product and move the Submit Form or other remaining sections. Google Forms allow us to use conditional logic, i.e. it allows us to change sections based on the response provided by the respondent.
In this article, we will demonstrate how to use conditional logic in Google Forms.
Why do we add conditional logic to a Google Form?
Conditional logic can be called automation. It provides a set of rules or conditions that can change your process based on prior input. Conditional logic is user friendly and improves the user’s experience. Using Conditional Logic, respondents will only have to fill and answer relevant sections of the form based on prior input. As discussed above, there is no need to display the irrelevant questions to the respondents.
How to add conditional logic to a Google Form?
Adding conditional logic can be a hard process. Before we demonstrate how to add the conditional logic to a Google Form, let’s create our Google Form and demonstrate using it.
Create a Google Form
Step 1: Go to Google Form’s website.
To create a Google Form, visit Google Forms website. I have created a hyperlink here.
Now there are two buttons that you can click on to start creating your Google Form.
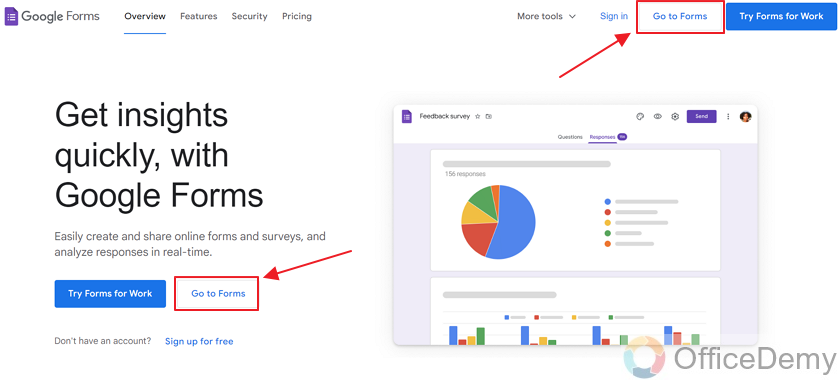
There are two buttons for “Go to forms”. Clicking on either will take you to your Google Form.
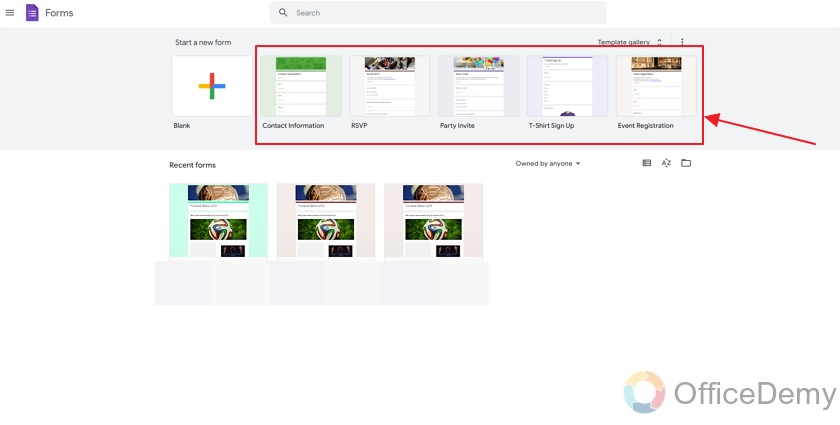
Step 2: Make your form
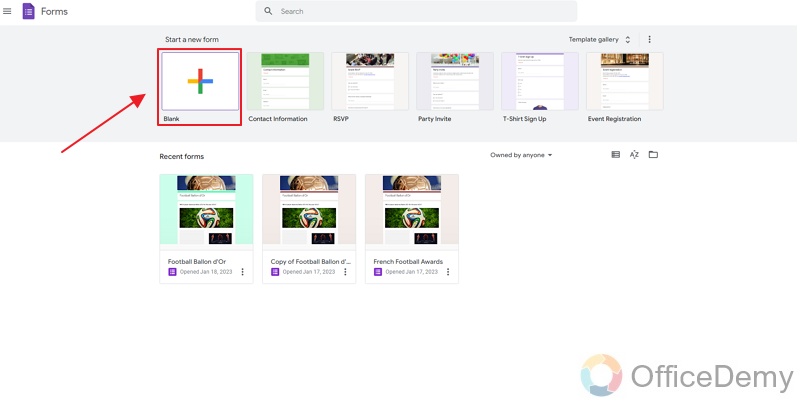
After you click on “Go to forms”, a new window will open. Here are a few templates offered by Google Forms. You can use any of these if you’d like.
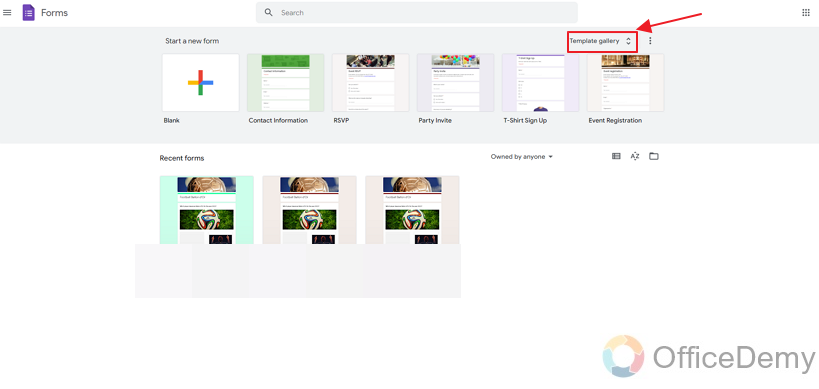
There are more templates which you can see by clicking on “Template Gallery”. Let’s have a quick look at the Template Gallery first.
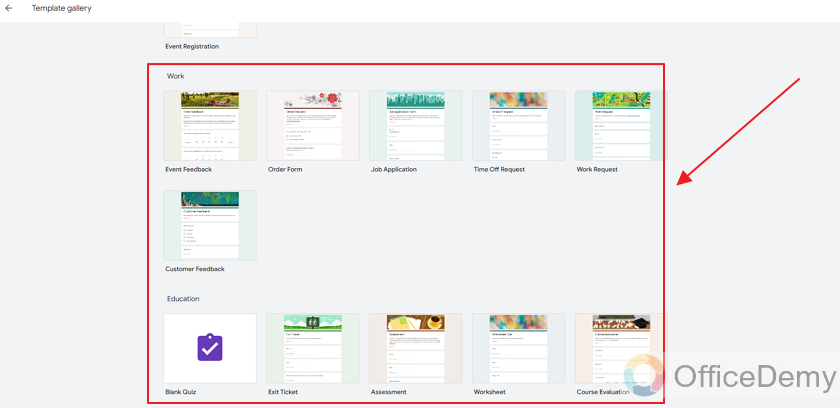
Click on “Template Gallery” as:
Here, you can see more templates which you can use for your Google Form.
We will use a Blank template to make our form as shown:
Step 3: Finish setting up your Google Form
Google Form is created, you may customize it as per requirements. Let’s add a title to it and add a question to finish it.
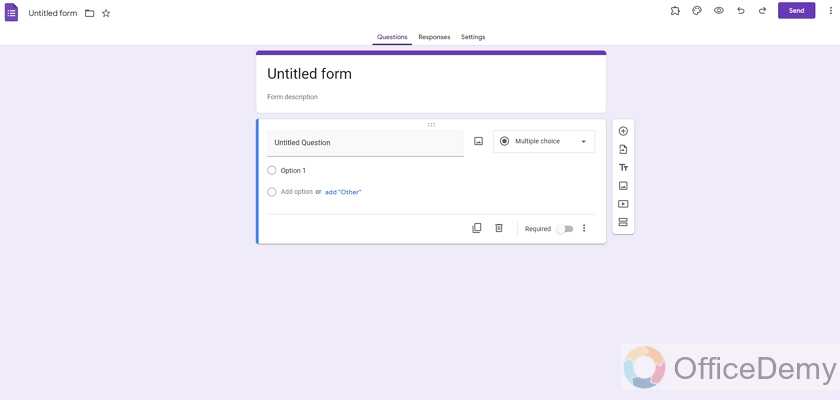
Here is how the blank form appears:
Add conditional question to a Google Form
Now that our Google Form is created, we will demonstrate how to add conditional logic. It can be a long and technical process.
Firstly, we need to add a conditional question, on the basis of which, conditional logic will be applied.
Here, we will make a question that will be used as a condition. Based on the output of this question, our form will move to a relative section of the form.
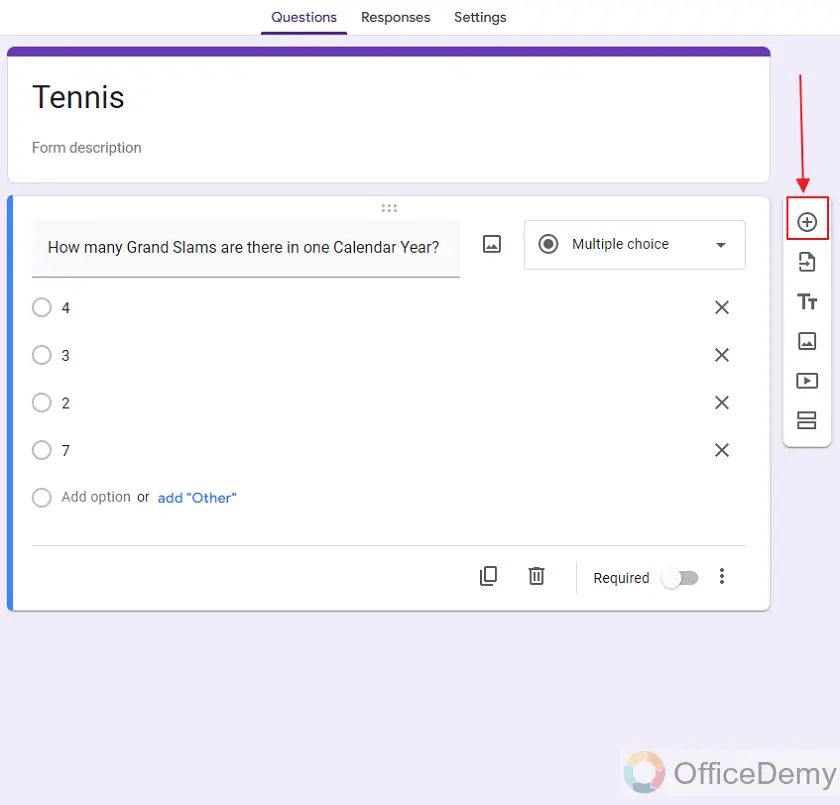
Click on the “Add question” button.
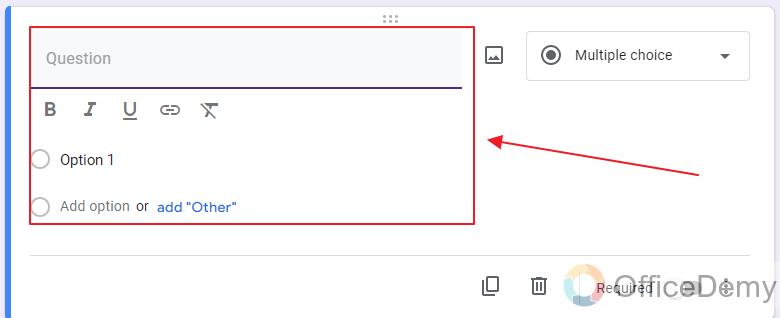
You will see below that a new question is added.
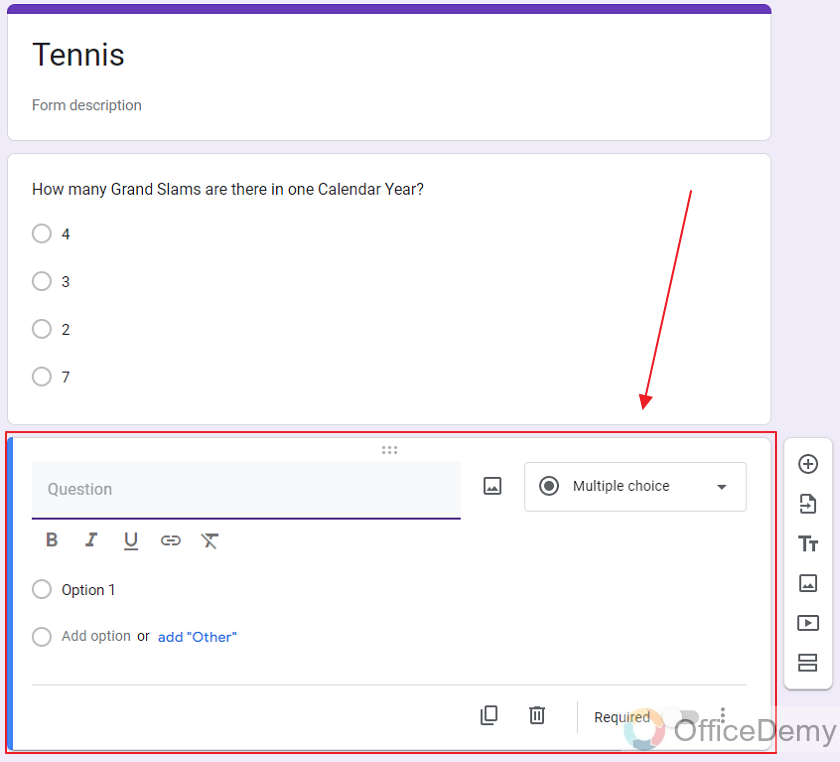
Questions on Google Forms can be of different types. For example, it can be a short question, multiple choice, paragraph, and many more. Click on the question type to see below for all types of questions in Google Form.
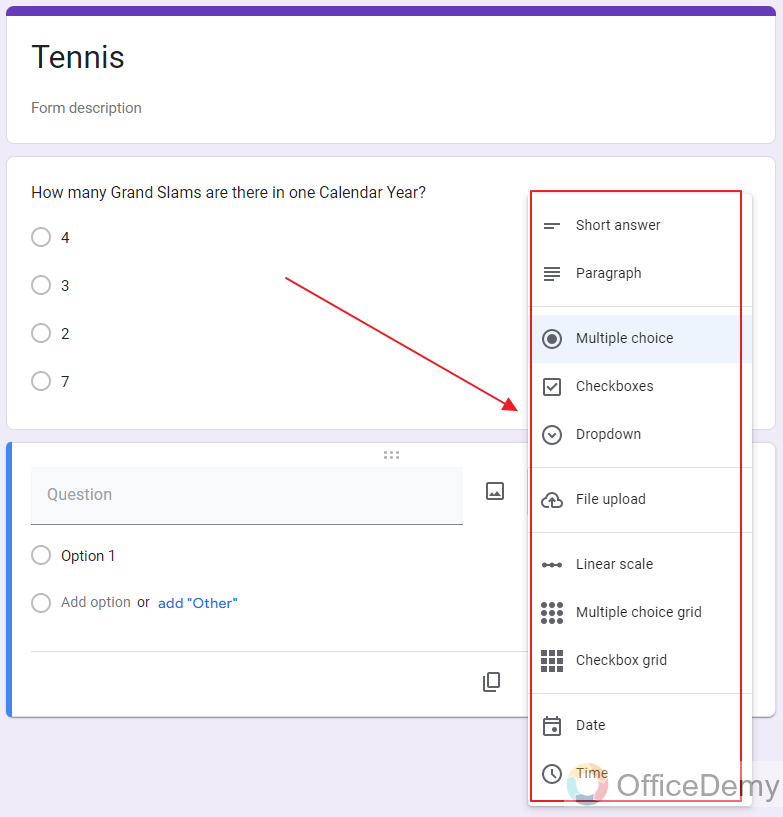
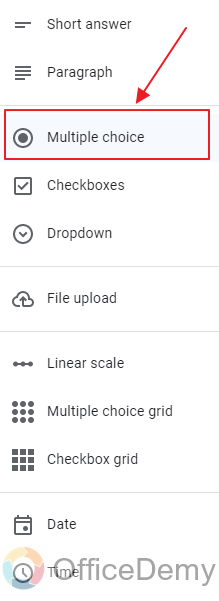
For conditional logic, we need our question to be multiple choice. Purpose is to change sections based on the option selected by respondents.
Click on “Multiple Choice” to choose Multiple Choice Question as:
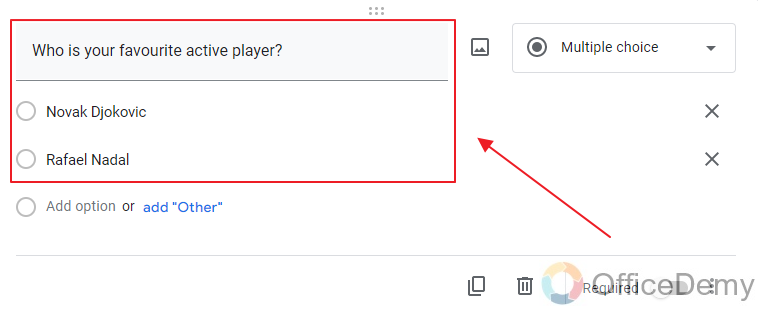
Now let’s finish our question. Add question title and options.
Here, we have added the title and options as:
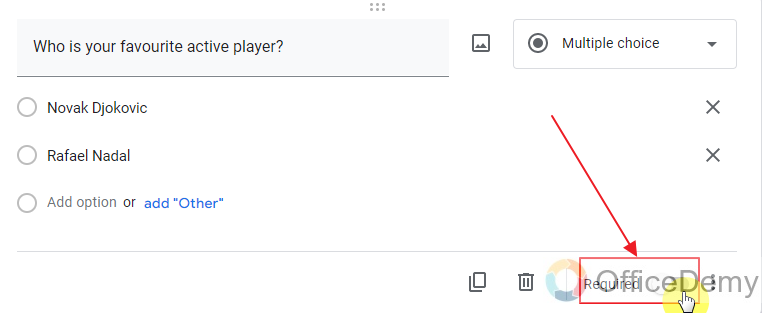
Since this question will be conditional logic, let’s make it required so that this question can’t be skipped.
Toggle on the “required” button on the bottom right corner of the question as:
Add sections in the Google Form
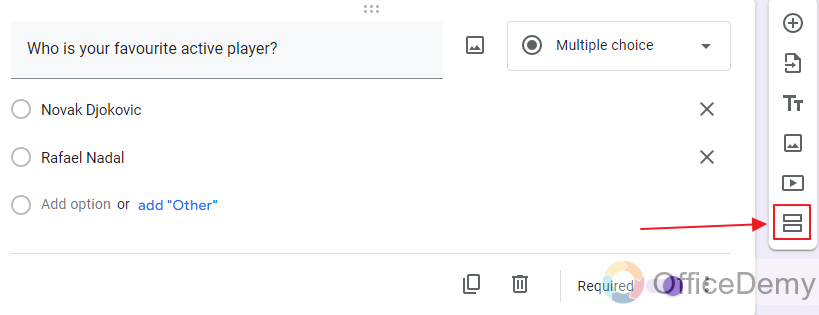
We have successfully made a conditional question. Now, in order to make that conditional question operational, we need to make sections. Since we have 2 options for our conditional questions, we will make 2 sections.
Click on “Add section” button as:
We have successfully made a new section as:
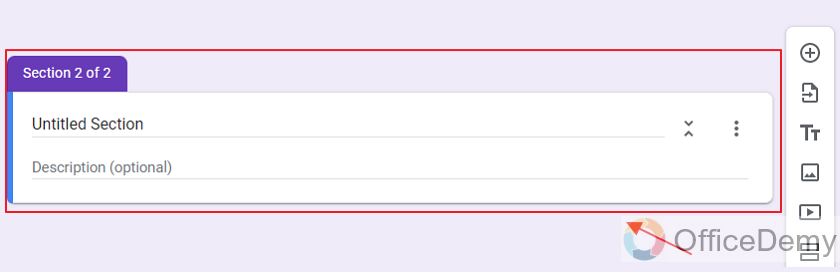
To finalize our section, let’s change the title of this section.
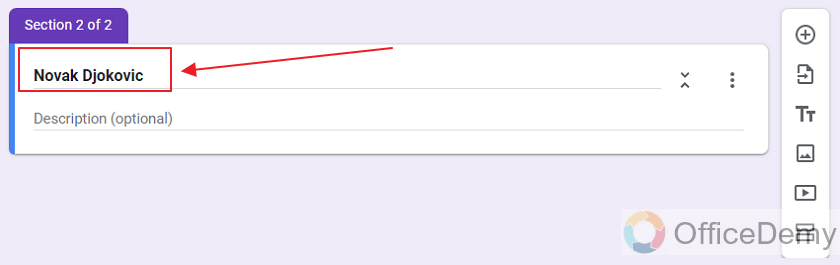
Now that the section has a title, let’s add a question to finalize this section before moving to the next one.
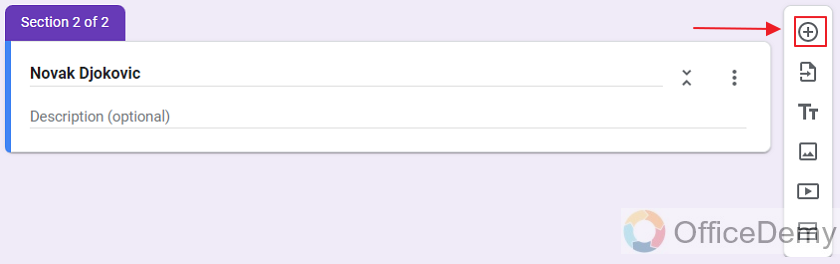
Click on the “add question” button to add a new question in this section.
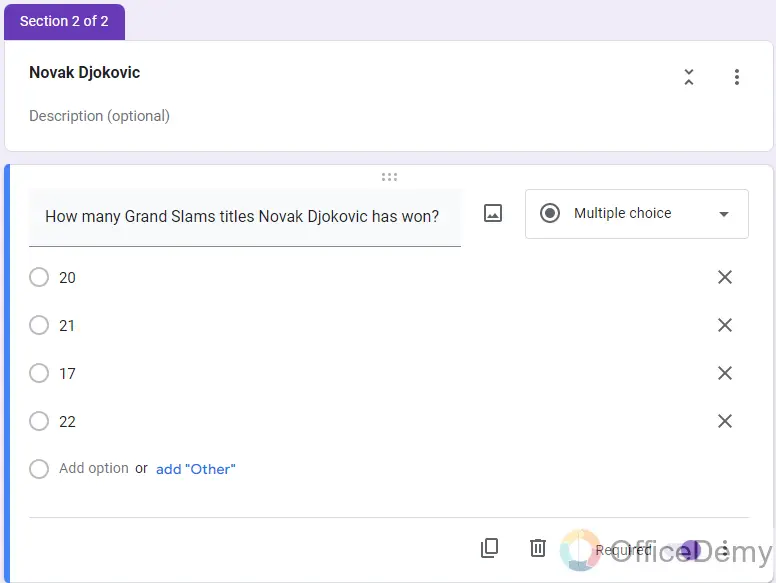
New question is made as:
Now finalize the question by adding title and options.
Duplicate a section in Google Forms
Now that section 2 is complete. We need to make another section for our other option in the conditional question.
Instead of repeating this process manually, we can just simply duplicate section 2 and edit it accordingly.
Click on “More” button as:
You will see different options from the more button in the form of dropdown menu as:
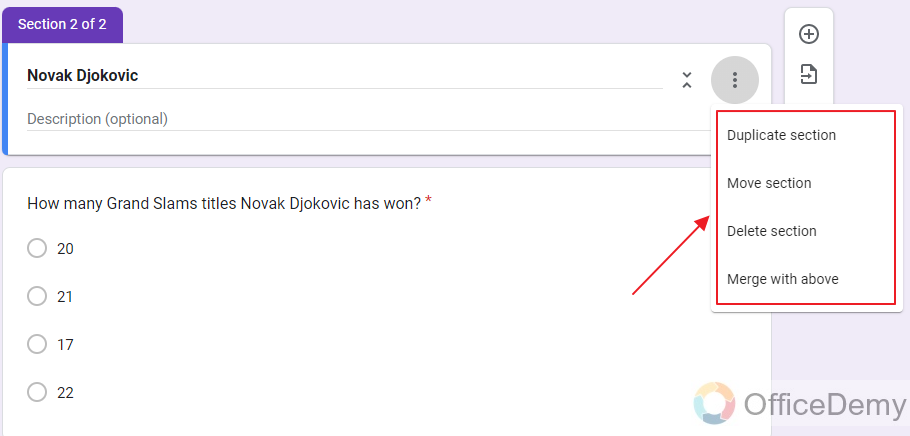
One can move, delete, and duplicate sections. You can also merge the section with the above questions.
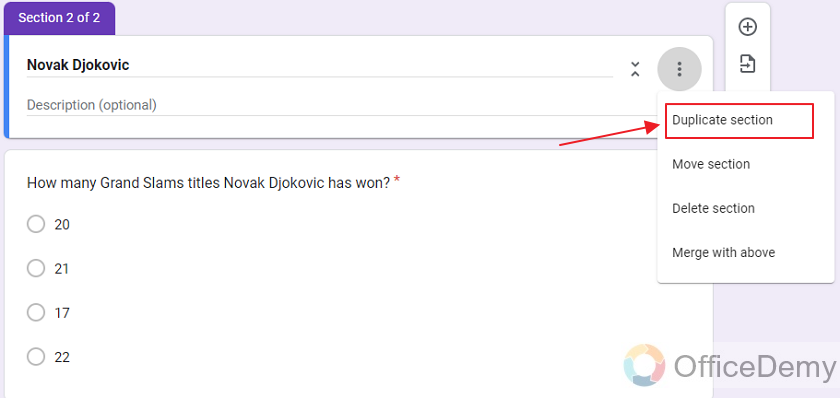
However, we need to duplicate Section 2 and edit it for our conditional logic to be operational. So, we will choose Duplicate Section as:
Now, we have a new section 3 which is a duplicate of section 2 as:
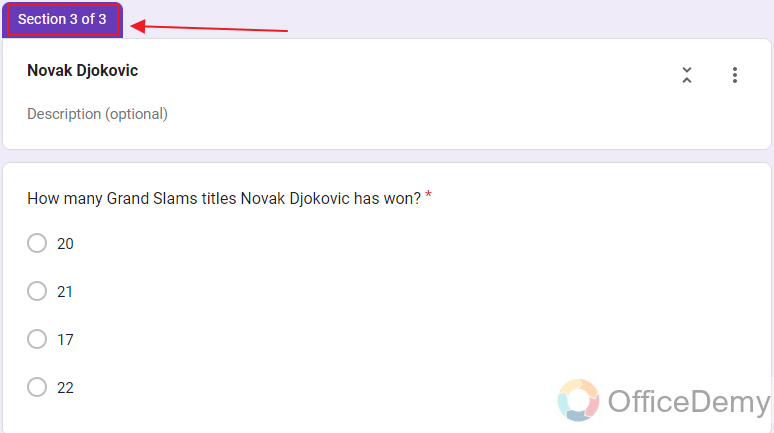
Let’s edit section 3 according to the other option in our conditional question.
Here is how section 3 becomes:
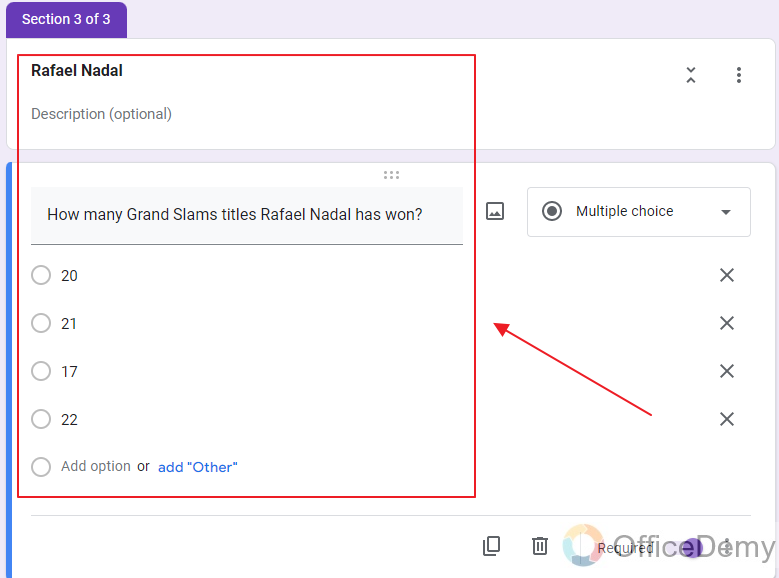
Section 3 is all set!
Make the Conditional Logic in Google Form
Now let’s add conditional logic to our question that we are going to use as a condition.
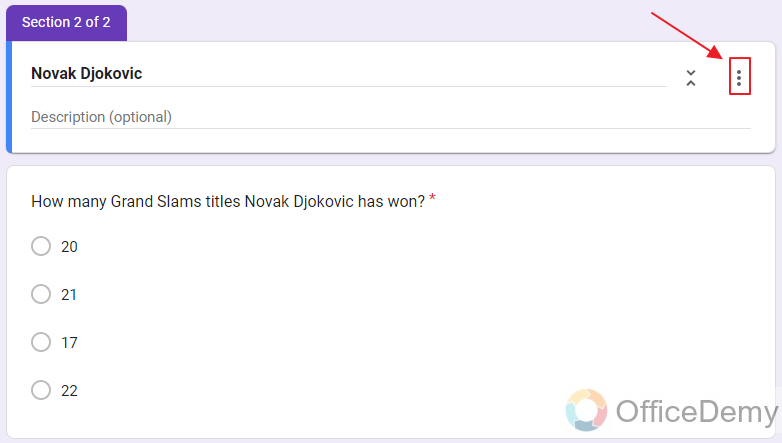
Click on the “more options” button on our conditional question.
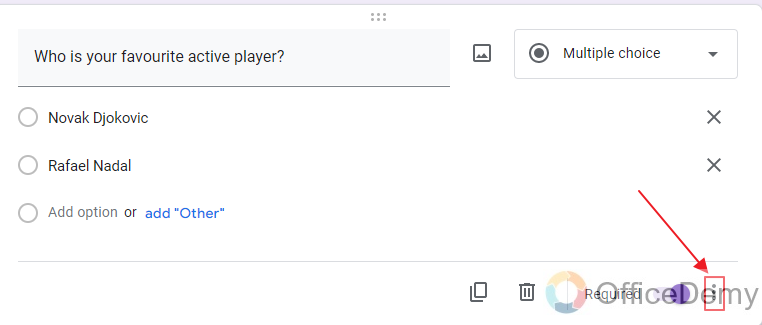
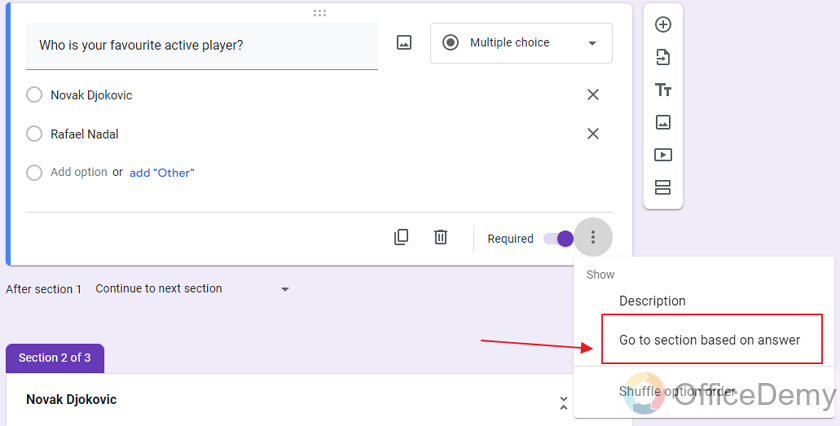
Now there are different options from this menu however we need “Go to section based on answer”.
Click on “Go to section based on answer” from the dropdown as:
After choosing “Go to section based on answer”, you will notice small drop-down buttons next to our options in the conditional question. These drop-downs will finalize the conditional logic.
Click on the drop-down to confirm your choice.

You can see different options from the drop-down menu and decide to submit a form or move to different sections upon answering this question.
For the demonstration, we will select Section 2 for our Option 1 and section 3 for our option 2 as shown below:

Now our form is all set. Conditional logic has been added.
Let’s have a preview of our form now.
Preview the conditional logic in the Google Form
Conditional Logic is all set. If a person chooses option 1, he will be sent to Section 2 and for option 2, section 3 is shown. We will take a preview first to check the logic. Click on the preview button as:

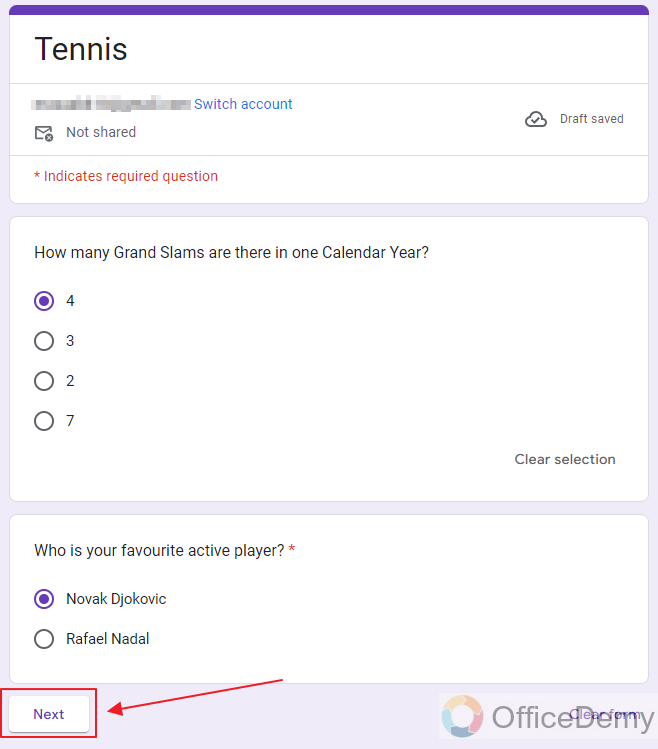
This is the preview of our form, Now select an option from conditional question and click “next” so that next section is shown:
You may notice that we selected option 1 (Novak Djokovic). So, Section 2 (Novak Djokovic) is visible now.
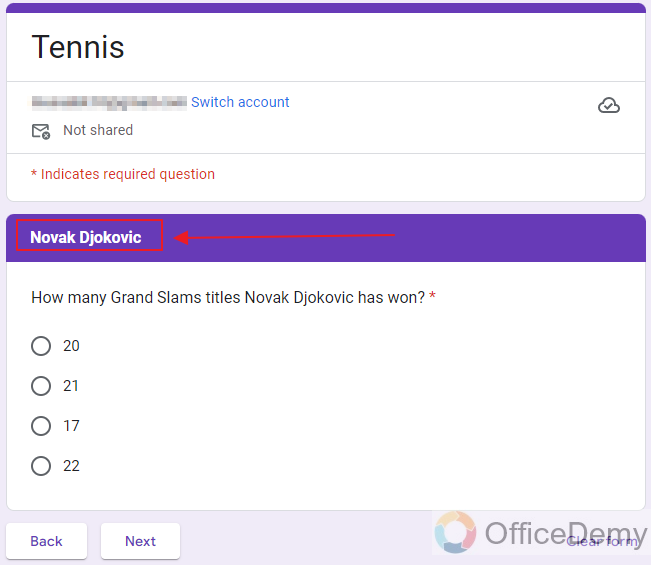
This means that our conditional logic is operational now. In the same way, respondents choosing option 2 will be sent to fill out Section 3.
Keep in mind that after filling the section 2 (for the respondents choosing option 1), they will be sent to Section 3. If we want to omit section 3 and straight ahead go to “Submit Form”, we can also do that. For this, we need to choose “Go to section based on answer” -> “Submit Form” for all the options of Section 2.
Things To Remember
- Google Forms allow us to use conditional logic. It means that we can opt to choose the next section based on the answer (response) provided by the respondents.
- Multiple Choice and Dropdown Question Types can serve the conditional logic in Google Forms. Other question types cannot be used to serve the conditional logic.
- You must always avoid a “conditional loop”. A loop means to circle around something. Here, you may choose conditions in a way, that after section 2, section 3 is displayed and after section 3, section 2 is displayed. This way, user will never be able to submit a response and only move about in sections.
Frequently Asked Questions
Can we add conditional logic to Google Forms?
Yes, Google Forms allow us to use conditional logic for our form. It allows us to send the respondent to the Submit Form or any other section based on the answer provided by the respondents.
Which question types can I use to make the conditional question in Google Forms?
Multiple Choice and Dropdown Question Types can be used to make the conditional logic in Google Forms. As they have predefined options to be chosen from, they allow to specify the next section based on each option chosen.
Can I use Checkbox Question Type to make the conditional question in Google Forms?
No, one can not specify conditional logic based on the Checkbox question. Although checkbox questions offer predefined options, they allow multiple options to be chosen at the same time. So, they cannot serve a conditional logic.
Conclusion
In this article, we discussed that Google Forms allow us to use conditional logic in forms. Based on the response of the respondent on a specific question, we can choose the next section displayed to the respondent. Using this conditional logic, some sections may be skipped or shown to some specific users. One may also be directed to Submit Form on the basis of some specific question. In order to make use of conditional logic, we will make a conditional question having its options. Based on the options chosen by respondents, we will send the respondents to a specific section or Submit Form.
We discussed the following steps in detail:
- Create a Google Form
- Add conditional question to a Google Form
- Make sections in the Google Form
- Duplicate a section in Google Forms
- Make the Conditional Logic in Google Form
- Preview the conditional logic in the Google Form
Thanks for reading!


