
To Wrap Text in Google Slides
- Create a text box in Google Slides.
- Add your text and position it.
- Insert your image or graphic.
- Resize and place the image as needed.
- Adjust the text box size to wrap text around the image.
In this article we will learn about how to wrap text in google slides in details.
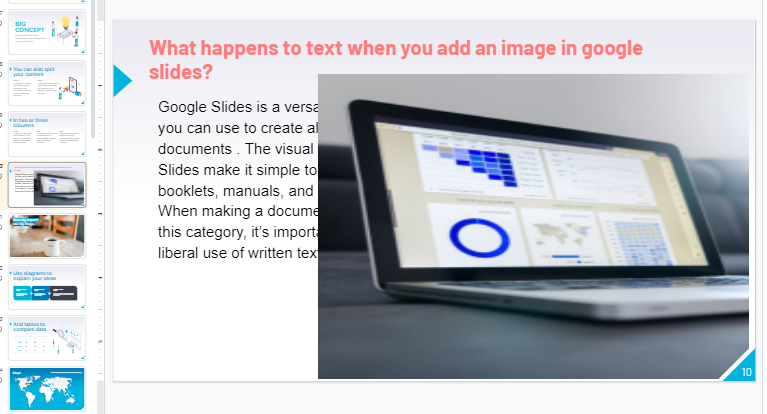
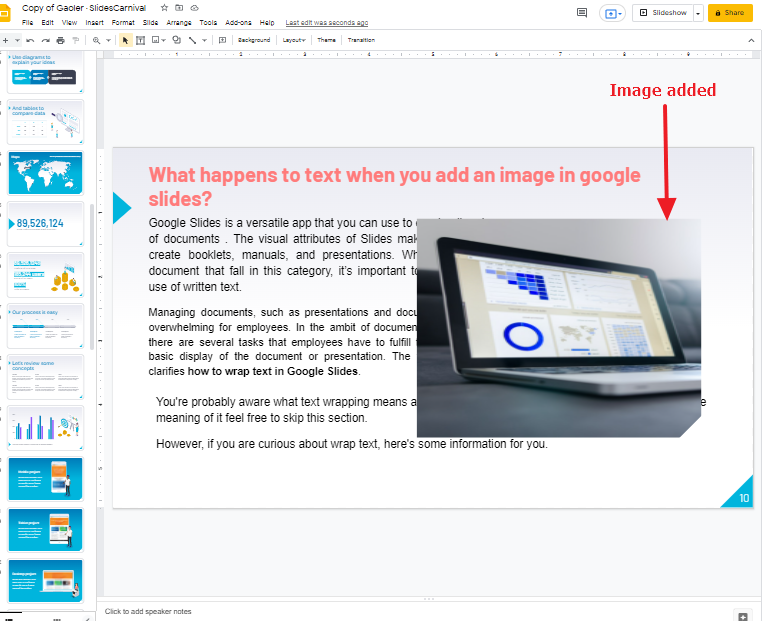
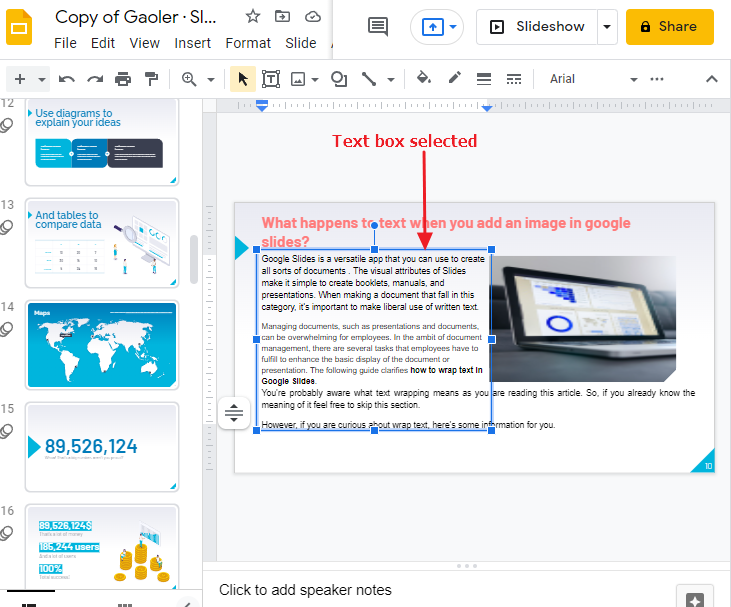
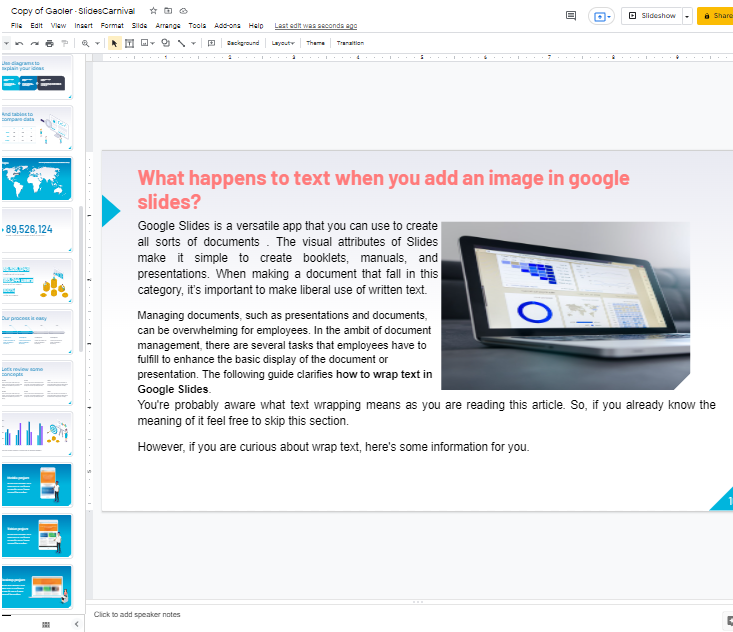
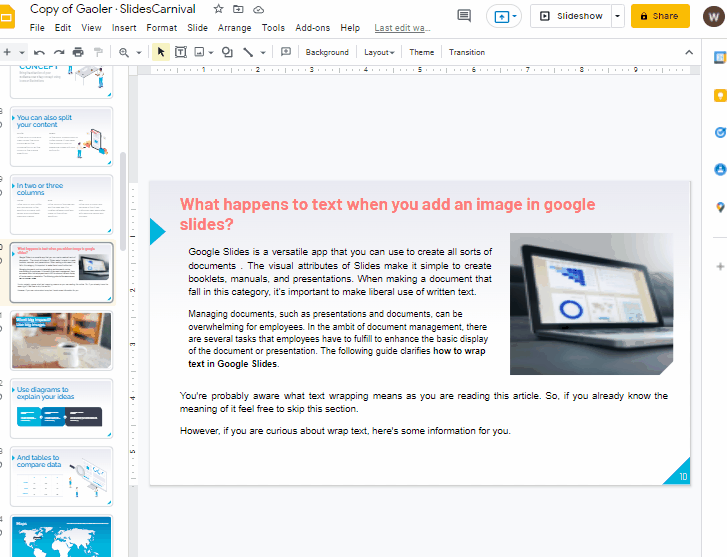
Google Slides is a versatile app that you can use to create all sorts of documents . The visual attributes of Slides make it simple to create booklets, manuals, and presentations . When making a document that fall in this category, it’s important to make liberal use of written text.
Managing documents, such as presentations and documents, can be overwhelming for employees. In the ambit of document management, there are several tasks that employees have to fulfill to enhance the basic display of the document or presentation. The following guide clarifies how to wrap text in Google Slides.
It’s true—you can’t wrap text in Google Slides. But if you want something that looks just like it, you can resize the image and the text box to create a similar effect.
First, click on your image and “Crop.” You’ll see that there are options to crop your image in different ways.
Next, select the text box and adjust its size so that it fits snugly around the cropped image. You may have to tweak these two elements a bit before they look right.
Definition of text wrapping
You’re probably aware what text wrapping means. So, if you already know the meaning of it feel free to skip this section.
However, if you are curious about wrap text, here’s some information for you.
So, what´s text wrapping? Well, adding an image to a document or presentation will typically make the image in-line with the text. So, Google Slides will consider an image as text, merely like regular text.
As a result, the image hides the text that is added to the slide.
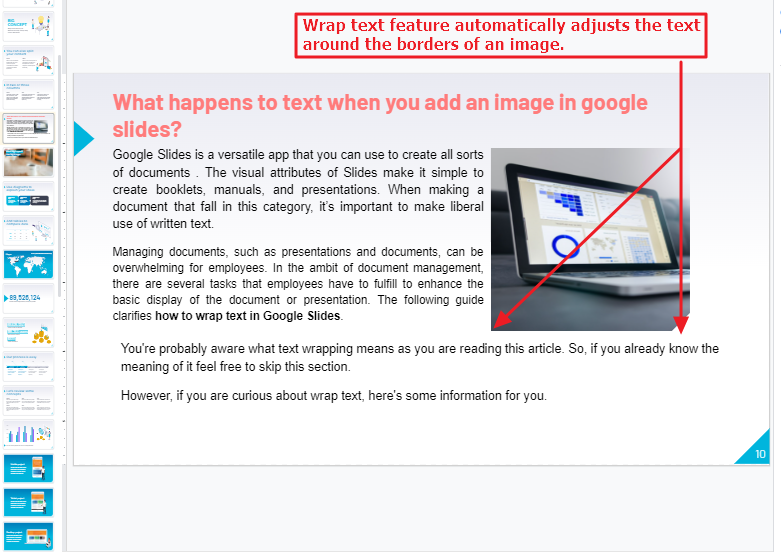
The Wrap Text feature of Google Slides ensures the text isn’t interrupted by an picture/ image or other object on the slide. Instead, the text automatically adjusts and fits around the object’s edges.
So, when inserting images or graphs/charts, or inserting other graphics, the use of wrap text feature of Google Slides ensures that both the graphic and the text make up a solid text block. This is undoubtedly the most efficient way of putting in texts and images together.
How to Wrap Text in Google Slides
Google Slides doesn’t embed an image with a text wrap feature. To wrap text around an image in Slides, you’ll need to develop a text box around Google Slides’ image. Here are the instructions for wrapping text around an image in Slides.
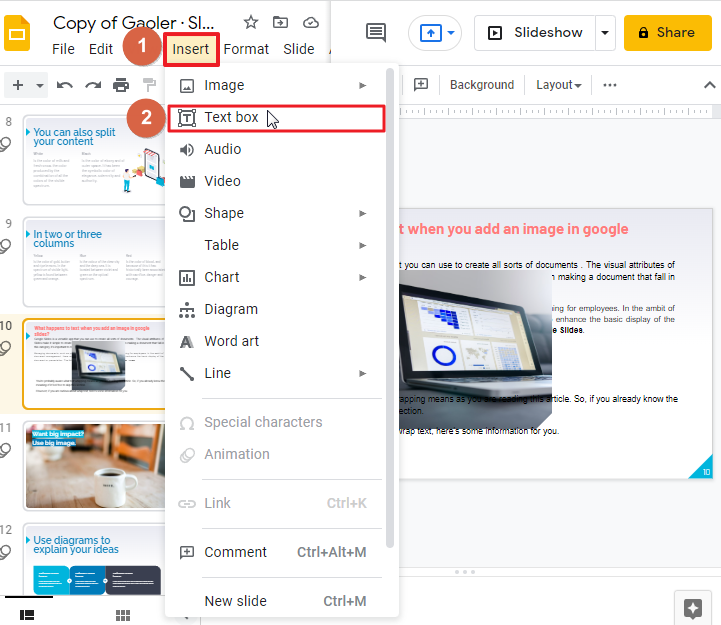
Step 1: Just open the document that needs editing and then click on Text Box.
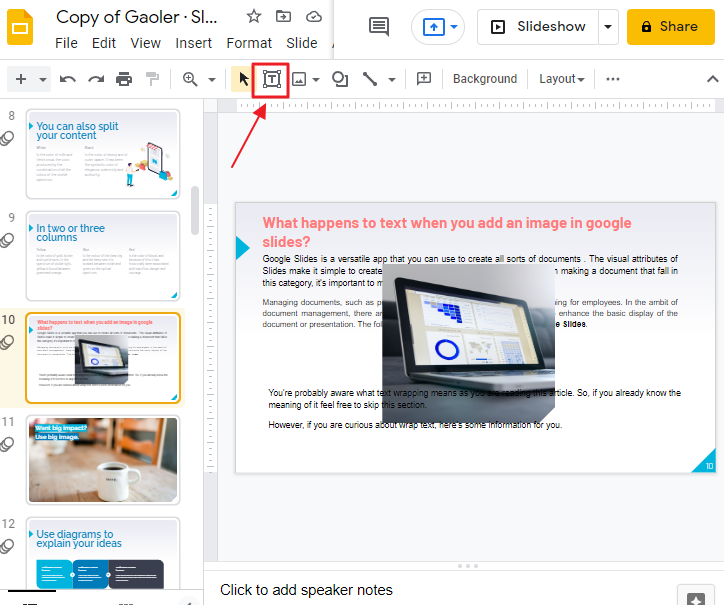
Another option is to find it from the Insert drop-down menu.
Step 2: Add the relevant text and try to identify the spot to insert an image or graphic.

Step 3: In the next action, add the image or any other element that you desire. (I will be adding an image for this purpose).
Step 4: Make the image the appropriate size and move it to the correct location on the slide so you can reduce its size.

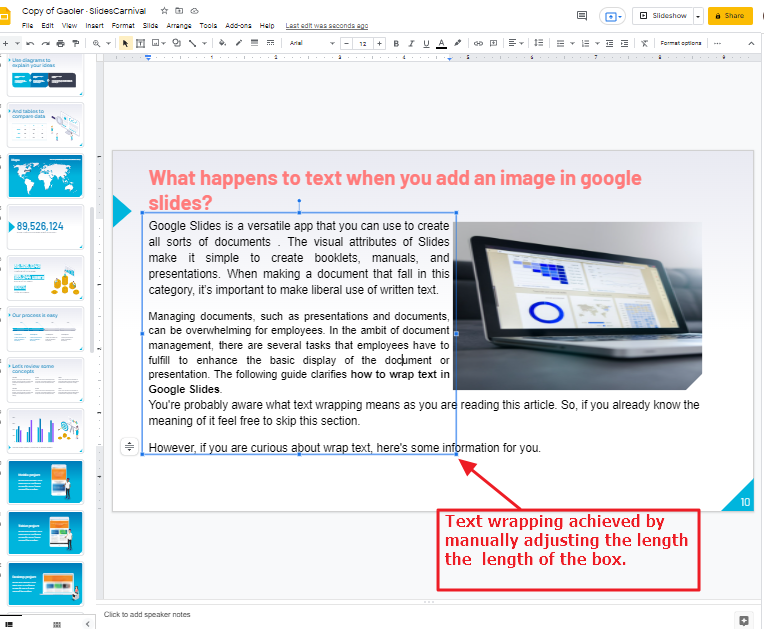
Step 5: After you’ve selected the text box, drag its border (blue color border) towards the edge of the image to make it shorter.
Step 6: Lastly, you will see that your text has appropriately surrounded the image.
How can I improve the text wrap effect in Google Slides?
When you’re examining your text wrap and you’re not completely pleased, you can make the text look more effective. Here’s how you can do this,
Step 1: click on the text box.
Step 2: Now click on the format which is located at the top of your screen in the menu bar.
Step 3: As soon as you click on the format, a drop-down menu will appear, click on Align & Indent > Click on Justified.

Step 4: This changes the alignment on the text box, so it looks more professional.
How to Curve Text in Google Slides?
For certain sets of text, we might need to curve it. But how does one accomplish this? There is no direct built-in way to Curve Text in Google Slides. Microsoft PowerPoint works wonders in this regard, and then copying the image is another option. Alternatively, you can also use an online tool such as MockoFUN.
I wrote a very detailed article on how to Curve Text in Google Slides, walking you step-by-step through all the info. Check this post out, give it a read, and enjoy!
How to Curve Text in Google Slides (Best 2 Methods)
Why do I need to wrap text in google slides?
Created by Google LLC, Google Slides is a presentation program that is available across multiple platforms, such as Android, iOS, Windows, macOS, BlackBerry, and Chrome OS.
Google Slides tends to be used as an alternative to Microsoft PowerPoint. It can handle Microsoft PowerPoint file formats and allows users to create and edit files in the cloud. They also have the option to collaborate with others while editing Google Slides material.
It might be mysterious to you why you should wrap text while you are making a presentation. Don’t fret about this. It is a feature that makes your photos and text look more aesthetically pleasing. By wrapping text, you can have text wrap around the pictures in your presentation. That means that if there are several elements in your presentation, it’s a good idea to wrap text around them.
Let’s get down to the task of wrapping up text in Google Slides.
Video Tutorial: How to Wrap Text in Google Slides
Frequently Asked Questions
Is the Best Practice for Wrapping Text in Google Slides the Same as in Google Docs?
The best practice for wrapping text in Google Slides might appear like the same as in Google Docs, but there are slight differences. When it comes to google docs text wrapping, you can adjust it by selecting the image and clicking on the Text wrapping option. However, in Google Slides, you have more control over text wrapping as you can place the text around images or even create custom paths.
Conclusion
There are also ways to customize your text, like curving it or adding effects. We’ve also discussed how to do that using Google Slides’ built-in features. In general, once you get a grasp on using these different features, you can create presentations much more quickly and achieve the outcomes you’re looking for.
In this article, we’ve covered how to wrap text in Google Slides. You can follow the steps and achieve the expected outcome.
Thank you for your time indeed. I hope you will have found this article easy to follow, informative, and perhaps also be of benefit to you in creating compelling presentations.


