
To Whitelist an Email in Outlook
Outlook App:
- Choose your desired account.
- Click “Home” in the main menu.
- In the Home menu, click “Junk” in the delete section.
- Select “Junk E-mail Options“.
- A new “Junk Email Options” tab appears.
- Click “Safe senders” > Click “Add“.
- Type the email address or domain.
- Click “Ok” > Click “Apply” to save.
Outlook Web:
- Go to Office.com > Log in with your Microsoft Exchange account.
- Click the gear icon (Settings).
- Select “View all Outlook settings“.
- Choose “Junk Email” on the left.
- Under “Safe senders and domains” click “Add“.
- Type the email address or domain.
- Press “Enter” > Click “Save” to whitelist the email.
Hi. Today, we are going to learn how to whitelist an email in Outlook. In today’s digital age, email communication has become an essential part of our daily lives, whether it’s for personal or professional purposes. However, with the rise of spam emails and phishing attacks, many email providers have implemented strict filtering mechanisms to protect their users from unwanted emails. As a result, some legitimate emails may end up in the spam or junk folder. This is where email whitelisting comes in handy.
In this tutorial, we will guide learn how to whitelist an email in Outlook, so that you can ensure important emails from trusted senders always make it to your inbox.
Importance of making Whitelist an Email in Outlook
When you are working a lot in email communication, then learning how to whitelist an email in Outlook becomes important because it helps prevent important emails from getting lost or overlooked in your spam or junk folder. Whitelisting an email address or domain tells Outlook that you trust the sender and that their emails should always be delivered to your inbox. This can be especially important for work-related emails from colleagues, clients, or vendors, as missing an important email can have serious consequences.
Additionally, whitelisting can help reduce the risk of falling victim to phishing scams or other malicious attacks, as known trusted senders are less likely to be flagged as suspicious by Outlook’s filters. By whitelisting important senders, you can stay on top of your inbox and ensure that you never miss an important message.
How to Whitelist an Email in Outlook?
We have a simple native method in Outlook app and web versions by which we can easily add email(s) to the whitelist and we declare that these senders are not suspicious to always deliver their message directly to my inbox without cross-checking. I hope this makes sense. Let’s move ahead and see both methods.
Whitelist an Email in Outlook – In Outlook App
In this section, we will learn how to whitelist an email in the Outlook desktop app. So, let’s see the below steps to do that.
Step 1
Open your Outlook app and navigate to your desired account.
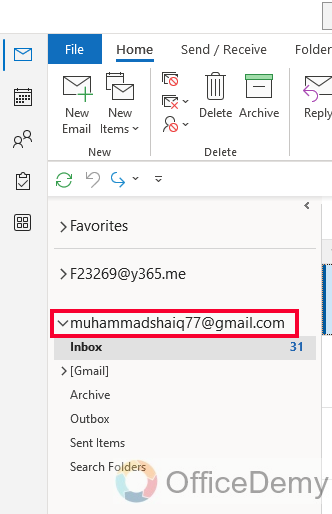
Step 2
Click on the Home tab in the main menu

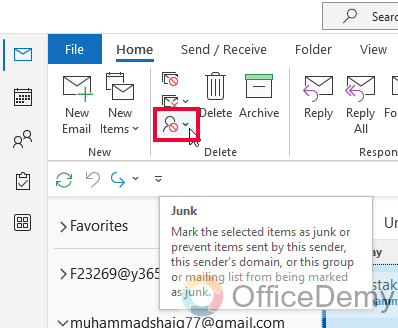
Step 3
In the Home menu, click on the dropdown icon “Junk” inside the delete section
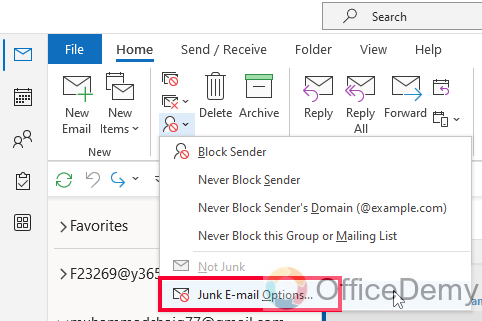
Step 4
Click on the “Junk E-mail Options” from the dropdown list
Step 5
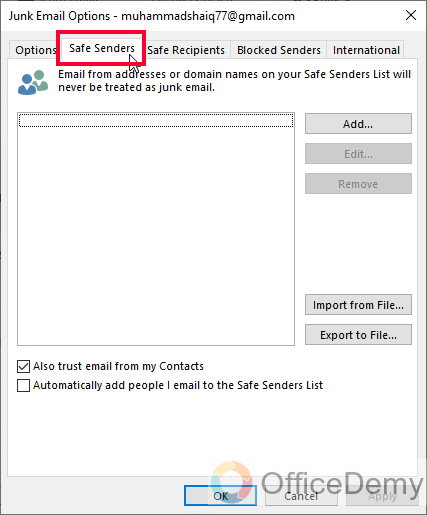
A new “Junk Email options” tab will appear
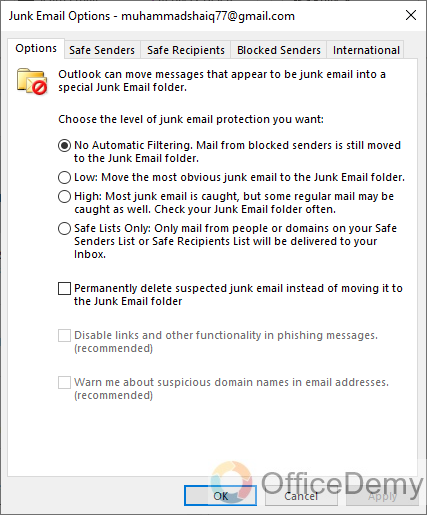
Step 6
Click on the “Safe senders” section
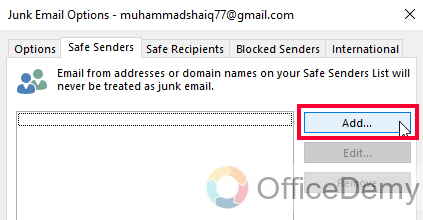
Step 7
Now click on the “Add” button
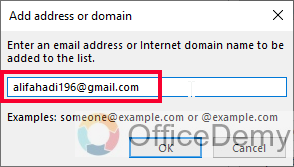
Step 8
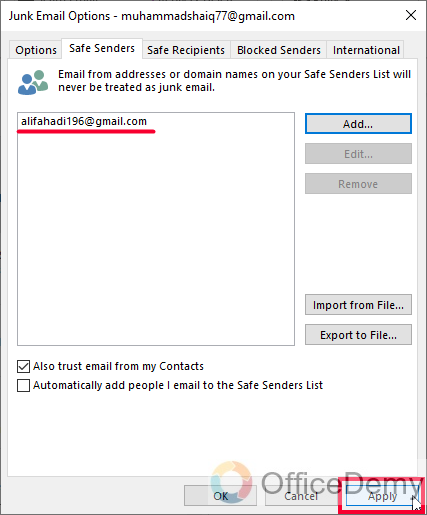
Type the email address or domain that you want to whitelist in the “Add address or domain” field.
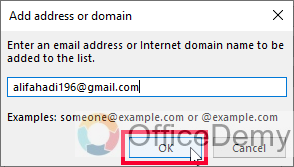
Step 9
Click “Ok” to add the email address or domain to the safe sender’s list.
Step 10
Click “Apply” to save the changes
So, this is how to whitelist an Email in Outlook using the Outlook desktop App.
Whitelist an Email in Outlook – In Outlook Web
In this section, we will learn how to whitelist an email in Outlook using the Outlook web version.
Step 1
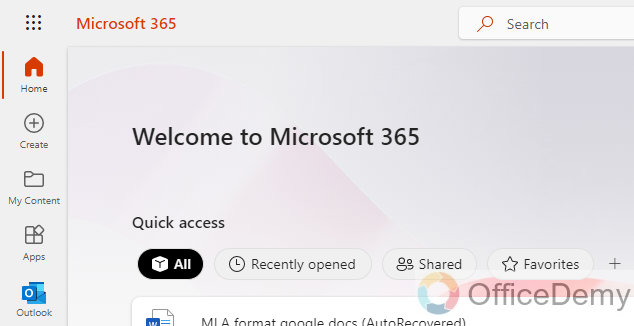
Go to Office.com and log in with your Microsoft Exchange account to go to the Microsoft Office 365 dashboard
Step 2
Choose Outlook from the given Microsoft Apps.

Step 3
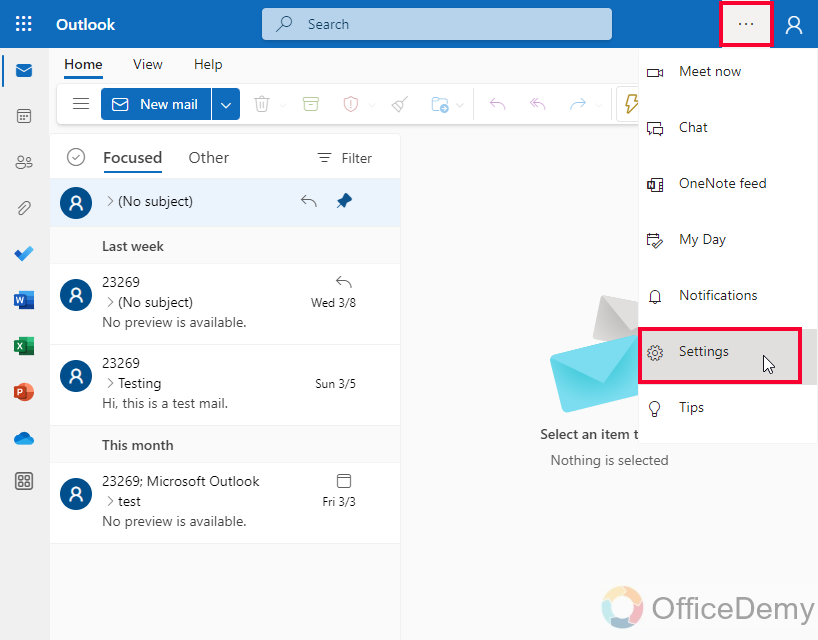
Click on the gear icon in the top right corner to open the Settings menu.
Step 4
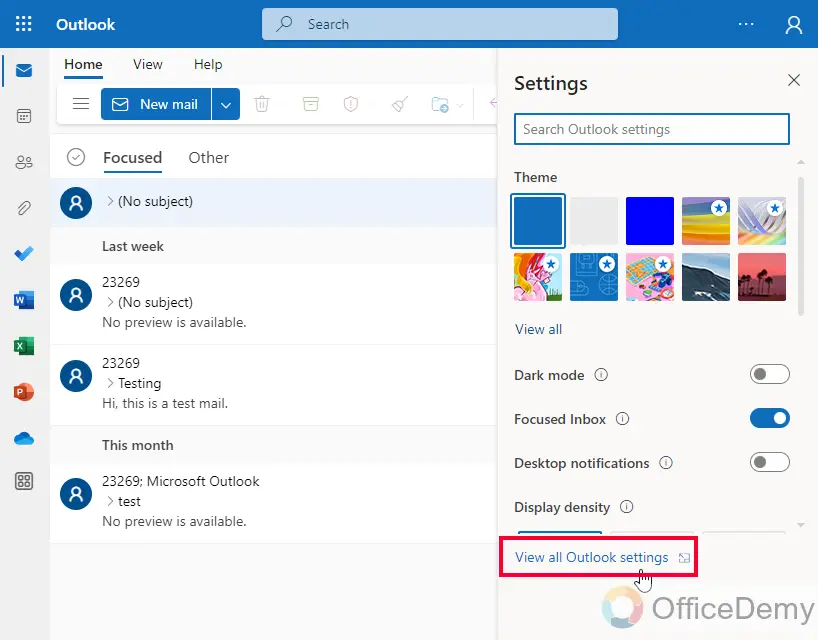
In the Settings menu, select “View all Outlook settings” at the bottom.
Step 5
In the Settings window, select “Junk Email” from the options on the left-hand side.
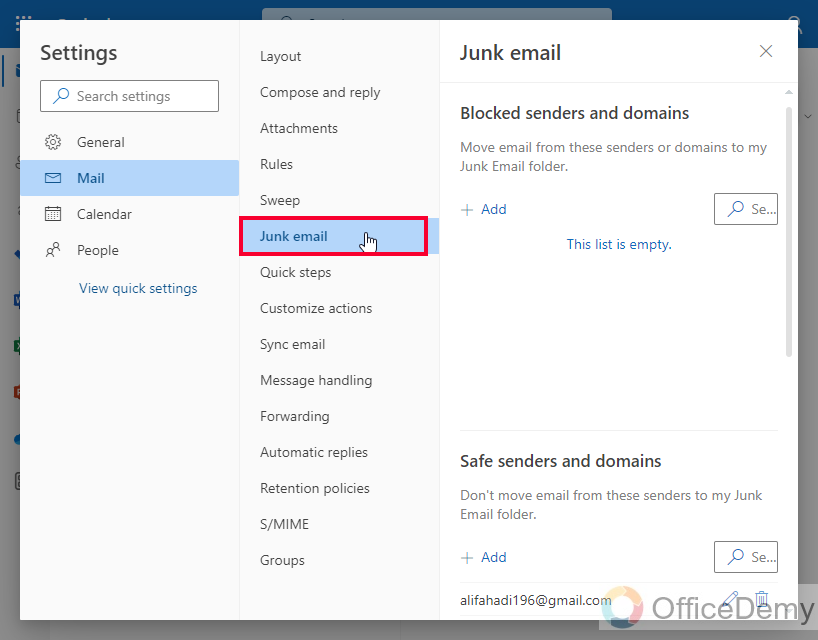
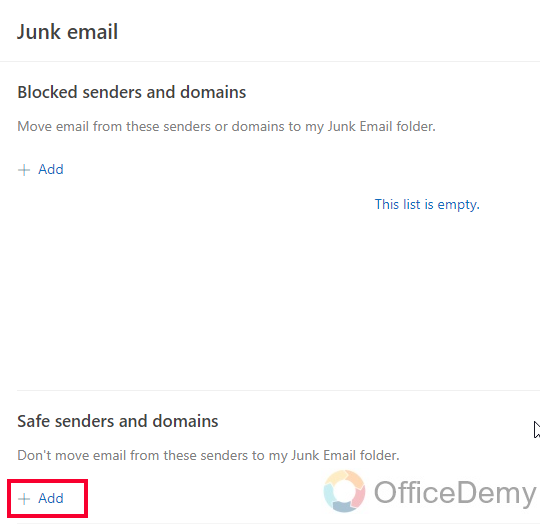
Step 6
Under the “Safe senders and domains” section, click on the “Add” button.
Step 7
Type the email address or domain that you want to whitelist in the “Add a sender or domain” field
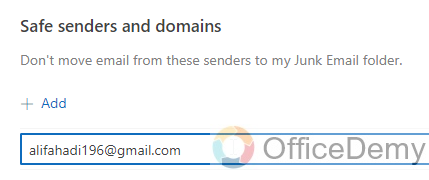
Step 8
Press “Enter” to add the email address or domain to the safe sender’s list.
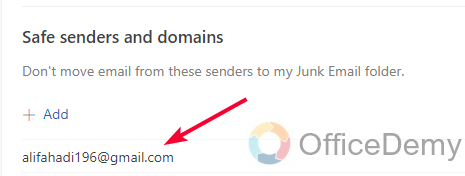
You are done. Click on the Save button to save the changes, and your email is added to the whitelist. This is how to whitelist an email in the Outlook Web version.
I hope this tutorial is helpful, there can be more methods/workarounds to whitelist an email in Outlook, but I told you the native method uses the standard procedure to do that. I will recommend adding your primary contacts to the whitelist so that you never miss any message from those senders.
Important Notes
- Always double-check the email address or domain you are whitelisting to ensure it is correct.
- Whitelisting an email address or domain in Outlook does not guarantee that every email you receive from that sender will be legitimate. You should still exercise caution when opening email attachments or clicking on links, especially if the sender is unknown.
- If you are unsure whether an email is legitimate or not, you can hover your mouse over any links or buttons in the email to see the URL it will direct you to. This can help you determine if the link is safe or not.
- Outlook allows you to create rules to automatically move emails from specific senders or domains to a certain folder, rather than your inbox. This can be useful if you receive a lot of emails from a particular sender that you want to keep, but don’t necessarily need to see right away.
- Be aware that whitelisting an email address or domain in Outlook only affects your account. If you are part of a larger organization, you may need to work with your IT department to ensure that important emails from trusted senders are not blocked by the organization’s email filters.
Frequently Asked Questions
What is whitelisting in Outlook?
Whitelisting in Outlook is the process of adding a trusted email address or domain to your safe sender’s list within Outlook so that emails from that sender are not marked as spam or junk and are delivered to your inbox bypassing all the spam detectors.
Can I Whitelist Flagged Emails in Outlook?
Yes, you can whitelist flagged emails in outlook. By designating certain senders or domains as safe, you can ensure that their emails bypass the spam filter and land directly in your inbox. Whitelisting flagged emails in Outlook allows you to prioritize important contacts and prevent their messages from being overlooked or sent to junk folders.
Why should I whitelist an email address in Outlook?
Whitelisting an email address in Outlook ensures that important emails from trusted senders are not lost or overlooked in your spam or junk folder. This can be especially important for work-related emails or emails from family and friends.
How do I whitelist an email address in Outlook?
To whitelist an email address in Outlook, go to the Junk E-mail Options menu, select the Safe Senders tab, and click on the Add button to add the email address or domain to your safe sender’s list.
Can Whitelisting Emails in Outlook Help Prevent Phishing Attacks?
Whitelisting emails in Outlook is an effective method to combat phishing attacks. By enabling the feature for phishing email reporting in outlook, users can ensure that emails from trusted sources are delivered to their inbox, while suspicious or potentially harmful messages are filtered out. This proactive approach enhances email security and minimizes the risk of falling victim to phishing scams.
Can I whitelist an entire domain in Outlook?
Yes, you can whitelist an entire domain in Outlook by adding the domain name (e.g., “@example.com“) to your safe sender’s list. this is the most primarily used in organizations.
What happens to emails from a whitelisted sender that are still being marked as spam or junk?
If you have already whitelisted a sender in Outlook but their emails are still being marked as spam or junk, you may need to check your email rules or filters to ensure that they are not being automatically moved to a different folder or deleted.
Conclusion
That’s all about how to whitelist an Email in Outlook using Outlook App and Outlook web versions. I tried to answer all the possible questions in the FAQs section above. I hope you find this guide helpful, and that you have learned something new from it. Thanks, and keep learning with Office Demy.


